Efficient sealing in A-Series envelope loading is crucial for maintaining productivity and minimizing waste in any high-volume mailing operation. Poorly adjusted envelopes lead to jams, misfeeds, and ultimately, increased costs associated with rework and rejected mail pieces. The subtle interplay between envelope size, loading mechanism settings, and sealing pressure directly impacts the success rate and overall efficiency of your process. Furthermore, inconsistent sealing can damage sensitive documents and impact brand image.
This article will provide a comprehensive guide to optimizing your A-Series envelope loading and adjustment for superior sealing performance. We will walk you through a step-by-step process, equipping you with the knowledge and techniques needed to achieve flawlessly sealed envelopes every time, leading to significant improvements in your operational efficiency and bottom line.
Preparation and Safety Guidelines
- Always ensure the A-Series envelope is correctly oriented and placed within the loading mechanism to prevent jams and misfeeds. Improper placement can damage both the envelopes and the equipment.
- Never operate the sealing equipment with the safety guards or covers removed. Moving parts pose a significant risk of injury.
- Regularly inspect the sealing mechanism for wear and tear. Damaged rollers or heating elements can lead to inconsistent sealing and potential fire hazards.
Step-by-Step Instructions
Envelope Preparation and Insertion
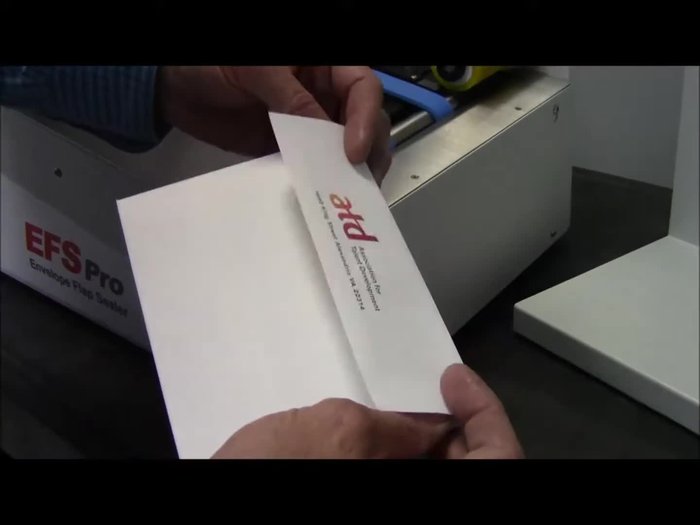
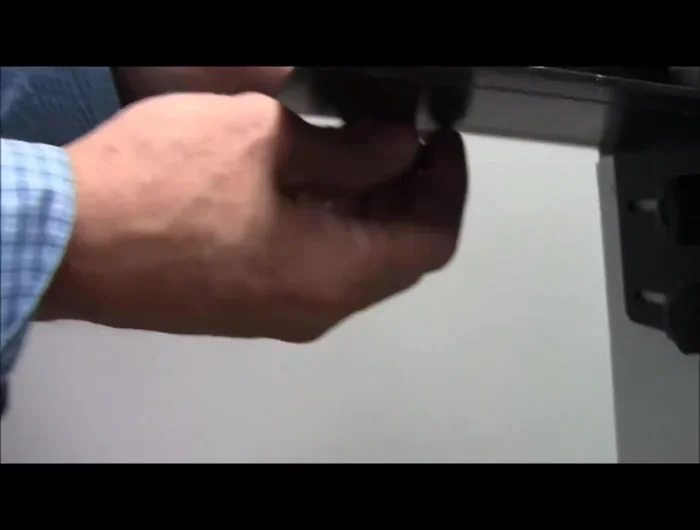
- Ensure the envelope is tapped down completely to the bottom, aligning the fold line (square flap) with the machine's mechanism. This allows for proper cracking and sealing of the flap.
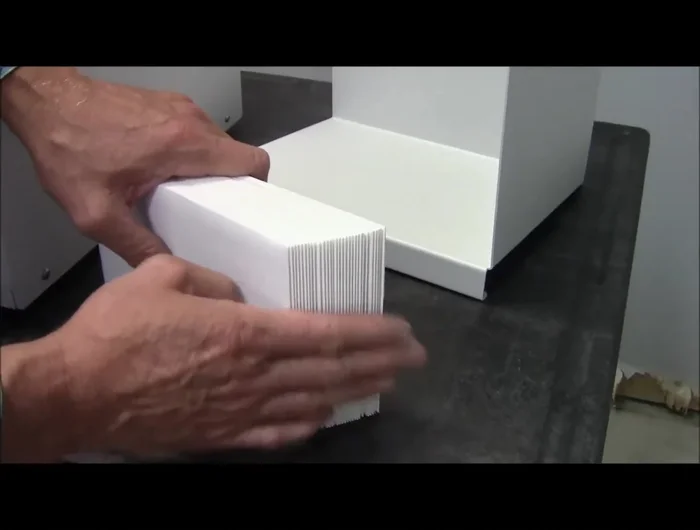
- Tap down envelopes into the hopper at a slight angle, with the flap at the back and down. Ensure they follow the wedge at the back and the gate cylinder at the front.

Envelope Preparation and Insertion Gate and Separator Adjustment
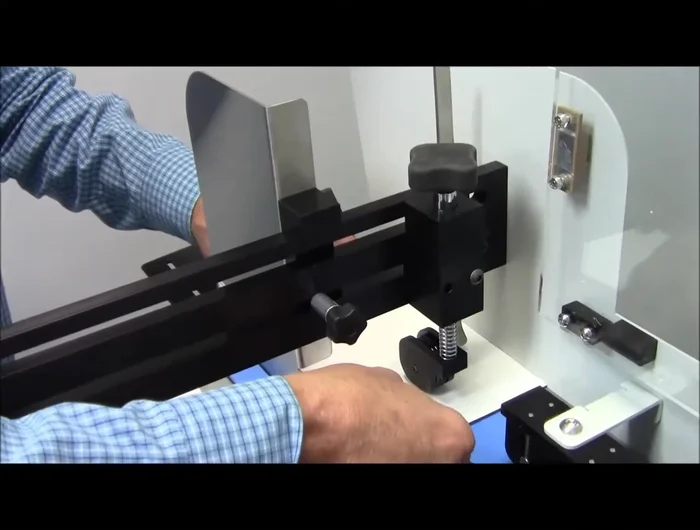
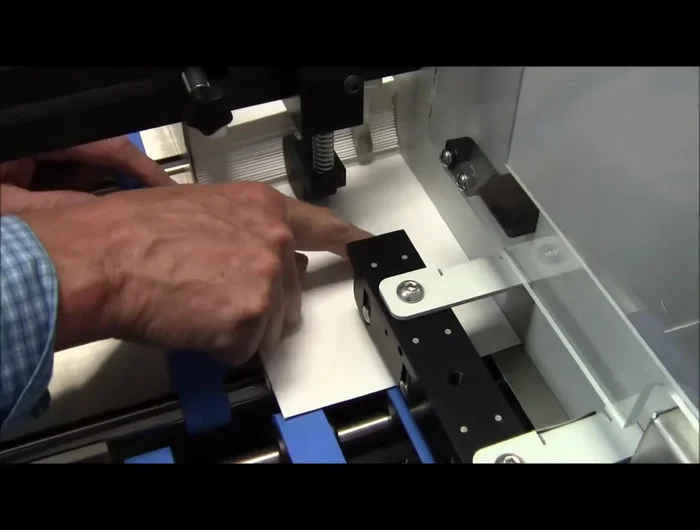
- Place one envelope under the O-ring separator, add a second, and slide them back and forth. Lower the gate until you feel resistance on the top envelope, ensuring only one passes through at a time.
Gate and Separator Adjustment Envelope Alignment and Guide Adjustment
- Position the envelopes so the top edge is against the back plate. Loosen the side guide, allowing slight clearance, and then lock it down.
Envelope Alignment and Guide Adjustment Wedge Adjustment for Smooth Feeding
- Loosen the angle bracket holding the wedge, and adjust it to hold the envelope slightly off the deck. This provides necessary play for smooth feeding.
Wedge Adjustment for Smooth Feeding Final Feeding Verification
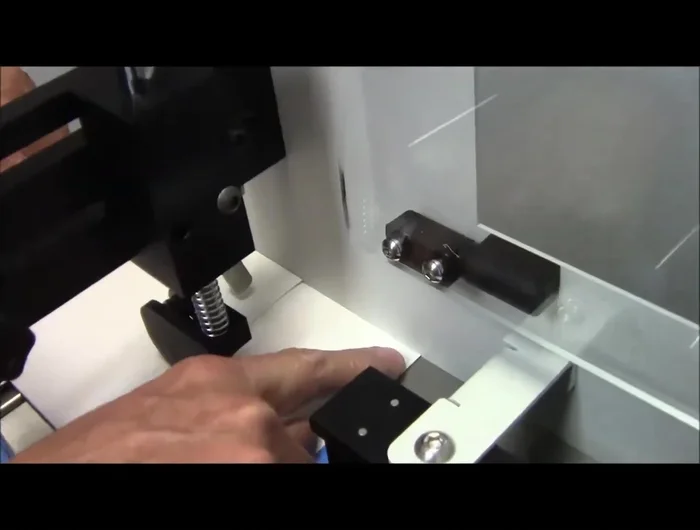
- Verify that the top of the envelope is against the back of the feeder. Observe the envelope falling smoothly into the cracking mechanism.
Final Feeding Verification
Tips
- The fold line on the square flap indicates the correct alignment for inserting the envelope into the machine. Proper insertion ensures seamless operation.
- A slight resistance when adjusting the gate indicates optimal separation of the envelopes during the feeding process.
- Ensuring a small amount of clearance after adjusting the side guide prevents jamming and ensures smooth envelope flow.
- A proper wedge adjustment is crucial for smoothly feeding the envelopes and preventing jams or misalignments.