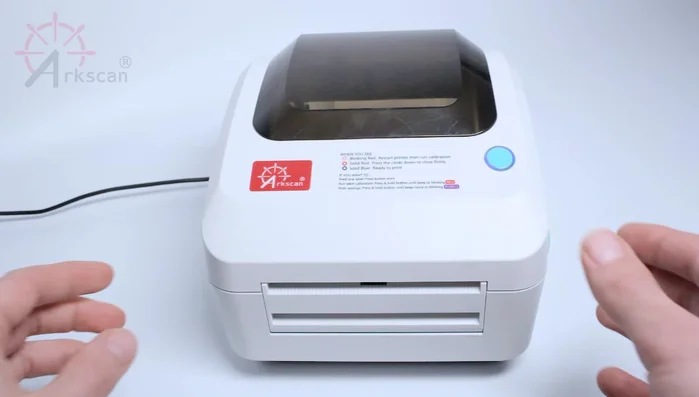
ArcScan label printers offer efficiency and precision, but maximizing their potential hinges on correctly loading your labels. Fan-fold labels, while convenient for high-volume printing, require a specific loading procedure to avoid jams and ensure optimal print quality. Improper loading can lead to wasted labels, frustrating delays, and potentially damage your printer. Understanding the correct technique is key to smooth, uninterrupted operation.
This guide provides a comprehensive, step-by-step approach to loading fan-fold labels into your ArcScan label printer, eliminating guesswork and ensuring a seamless printing experience. From initial alignment to final testing, we'll walk you through each crucial stage, so you can confidently load your labels and get back to efficient label production. Let’s dive into the process.
Safety Guidelines
- Always turn off the ArcScan printer and unplug it from the power source before loading labels or performing any maintenance.
- Avoid touching the label surface to prevent smudging or damage. Handle labels by their edges.
- Ensure the fan-fold labels are correctly aligned and seated before turning the printer back on to prevent jams and misprints.
Methods: Loading Fan Fold Labels Through the Back Slot
Tools Needed
- ArcScan Label Printer
- Optional: LP204 External Label Holder
- LP204 External Label Holder
Step-by-Step Instructions
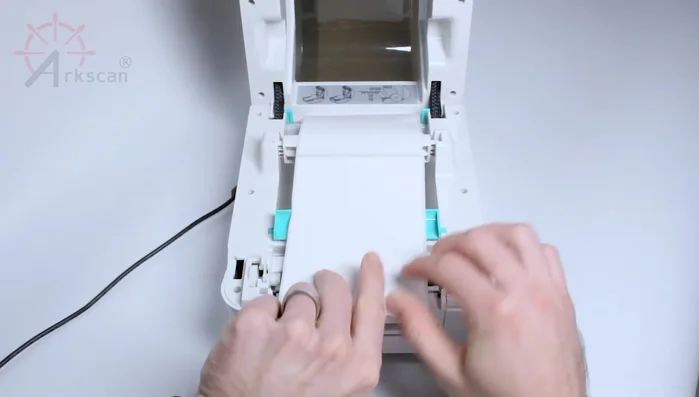
Prepare the Printer
- Open the printer cover by pulling and lifting upward on the green side levers.

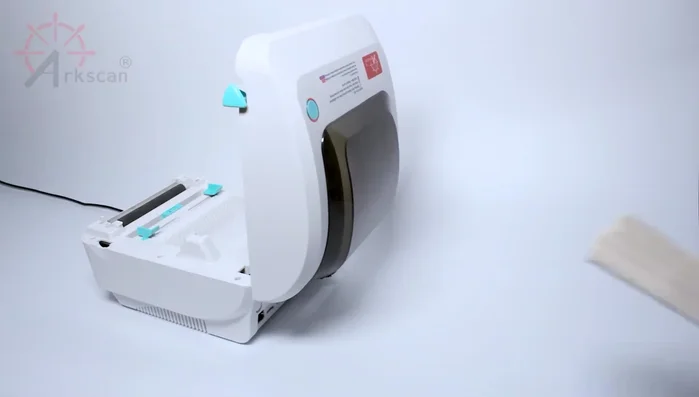
Prepare the Printer Position the Labels
- Place your labels behind the printer, ensuring the sticker side is up.
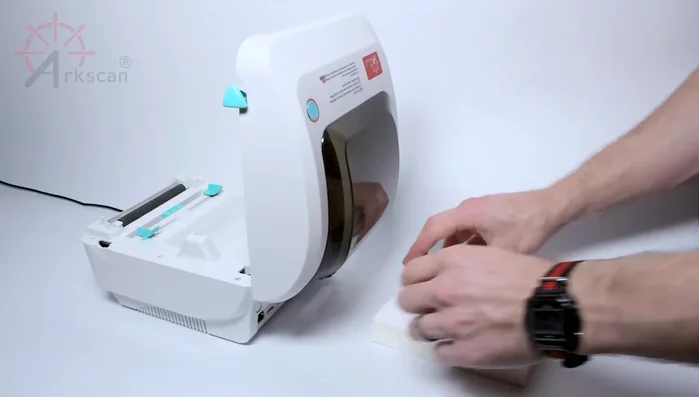
Position the Labels Insert and Feed Labels
- Insert the label into the back slot of the printer.
- Pull the label through the slot from the front.
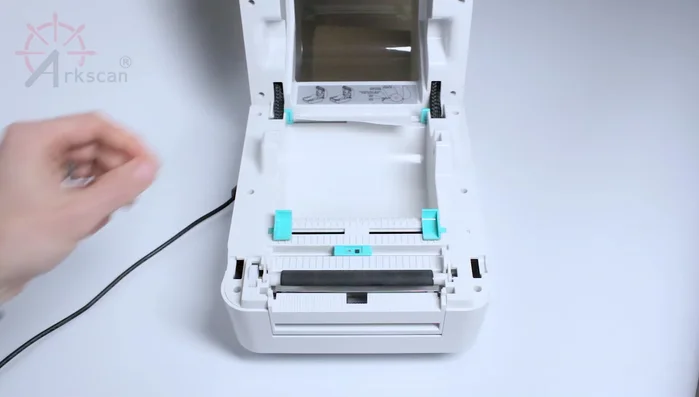
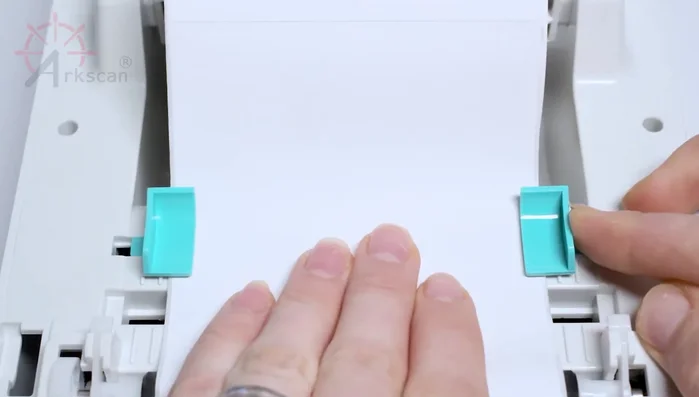
Insert and Feed Labels Adjust and Secure Labels
- Place the label between and under the two green sliders.
- Push the sliders together gently until they just touch the labels.
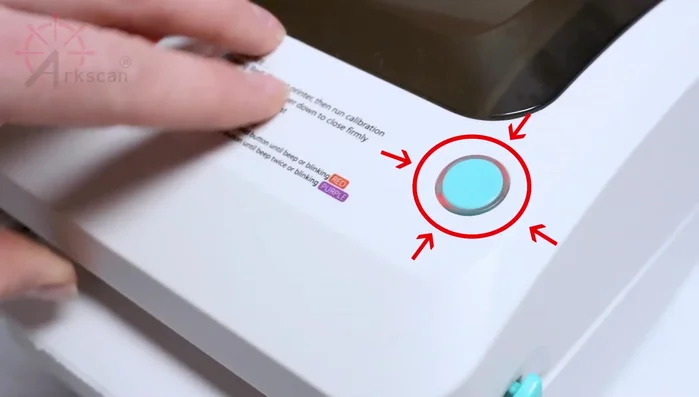
Adjust and Secure Labels Finalize and Close
- Pull out enough paper so that it sticks out from the printer about half an inch.
- Close the lid, ensuring a solid click.
Finalize and Close

Tips
- Using the optional rod is highly recommended to help the labels feed through the printer properly.
- Use the measurement markings to center the label, but it doesn't have to be perfect.
- If the light on top is solid red, the lid did not close all the way. Push it down until you hear another click.
Methods: Loading Large Rolls of Labels (Diameter > 5 inches)
Tools Needed
Step-by-Step Instructions
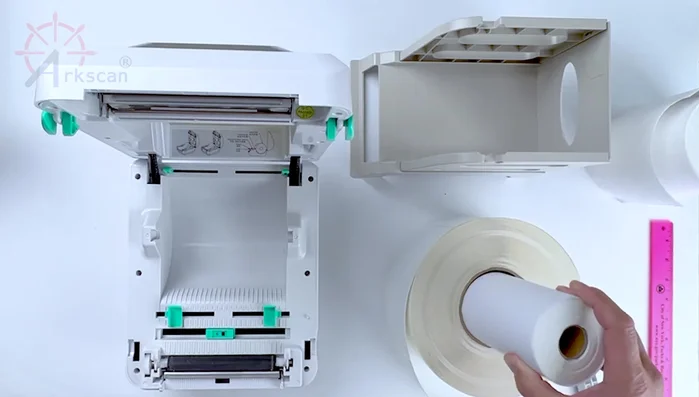
Prepare Large Roll for Printer
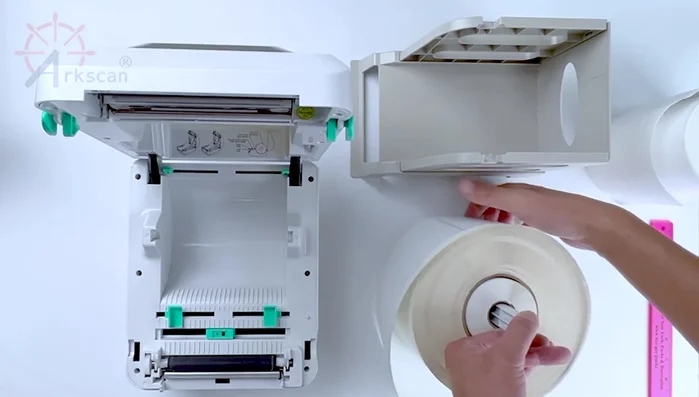
- Use an unfinished roll of labels with a 1-inch core as a space filler inside the large roll's 3-inch core.
- Insert the 1-inch rod into the 1-inch core of the space filler.
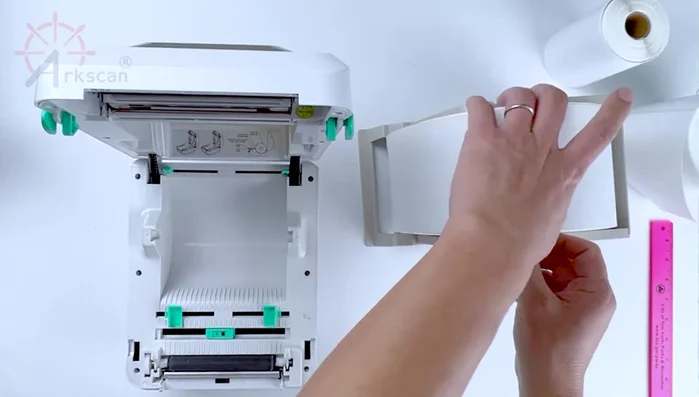
- Insert the whole thing into the LP204 label holder.
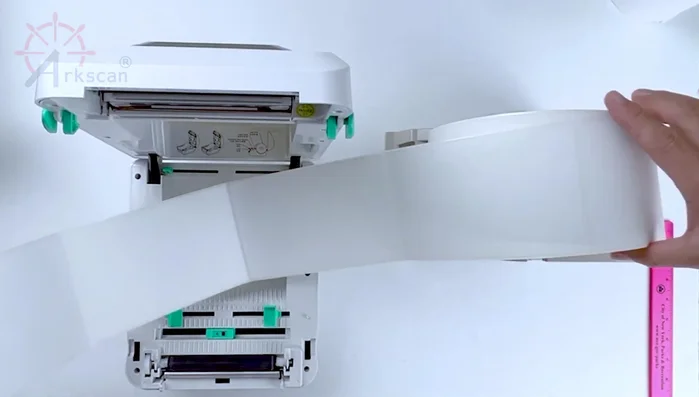
Prepare Large Roll for Printer Load Labels into Printer
- Load the labels through the back of the printer as shown previously.
Load Labels into Printer