Love the rustic charm of Etsy key holders but cringe at the prices? You're in luck! This project shows you how to create your own unique and stylish key holder using nothing more than scrap wood and a few simple tools. Forget expensive artisan pieces; we'll guide you through crafting a personalized key holder that perfectly blends practicality with a touch of homemade elegance. This project is ideal for beginners and requires minimal woodworking skills, making it a perfect weekend project for any skill level. Think of the satisfaction of displaying your handiwork, a charming addition to your entryway or kitchen.
Forget sifting through countless online listings; you’ll be surprised how easily you can replicate that coveted Etsy aesthetic. We'll take you step-by-step, from selecting your scrap wood to applying the finishing touches, ensuring a perfectly polished result. Ready to get started and create your own beautiful and functional key holder? Let's dive into the simple process!
Preparation and Safety Guidelines
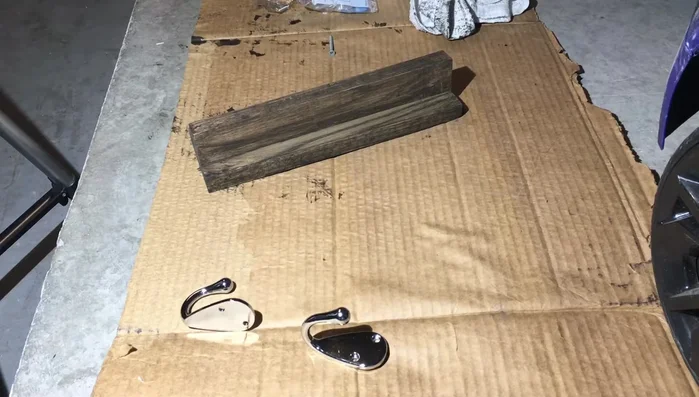
- Scrap wood (1x2s, 1x4s, 1x8s)
- Screws
- Wood stain
- Sandpaper
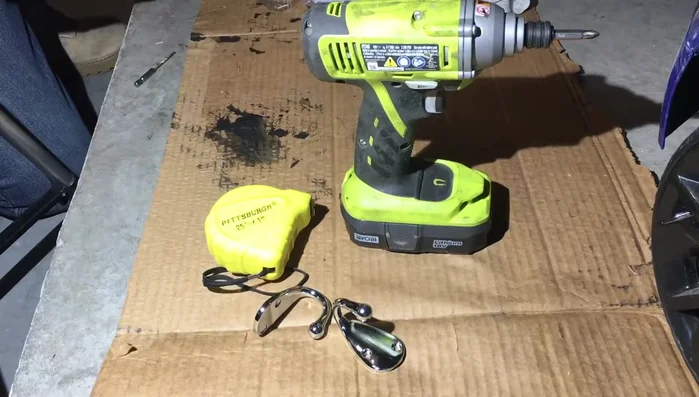
- Picture frame hangers
- Drill
- Pilot drill bit
- Always wear safety glasses when using tools like saws and sanders to protect your eyes from flying debris.
- Ensure the wood is properly secured before cutting or sanding to prevent injury and ensure accurate cuts.
- Use appropriate adult supervision for children involved in any part of the project, especially when using power tools.
Step-by-Step Instructions
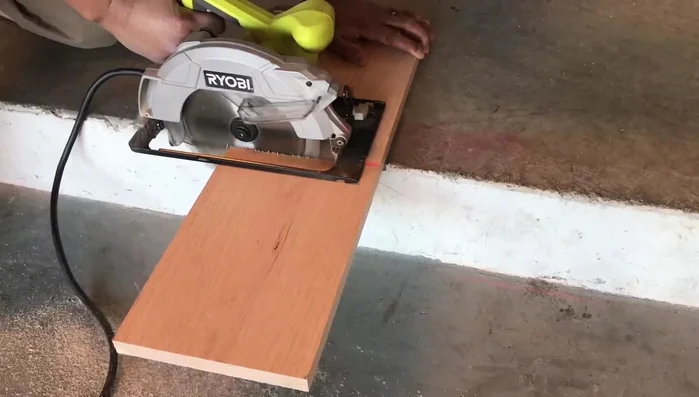
Prepare the Wood
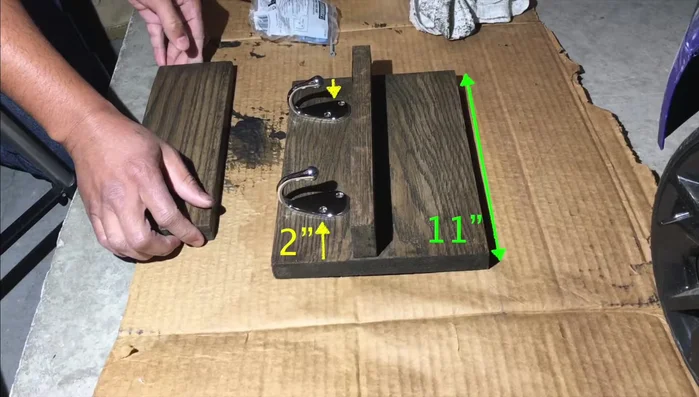
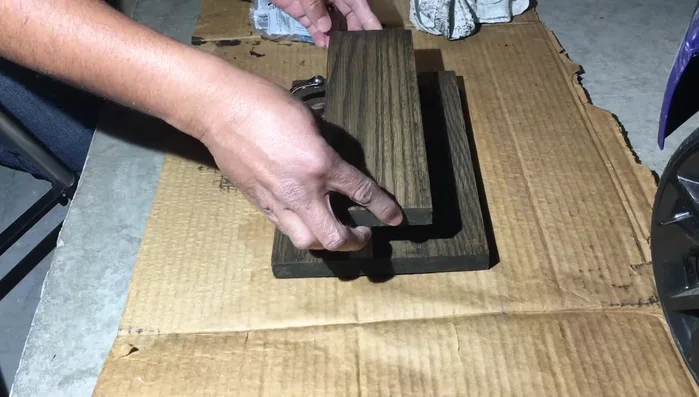
- Measure and cut wood pieces to size. The creator used 2-inch pieces for the hooks and an 11-inch piece for the main board.
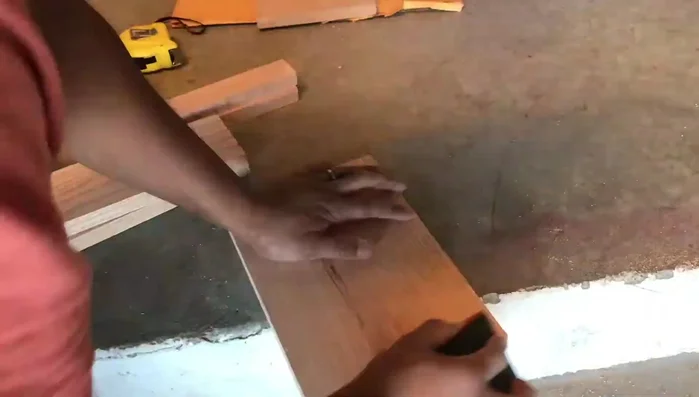
- Sand all wood pieces to prepare for staining.
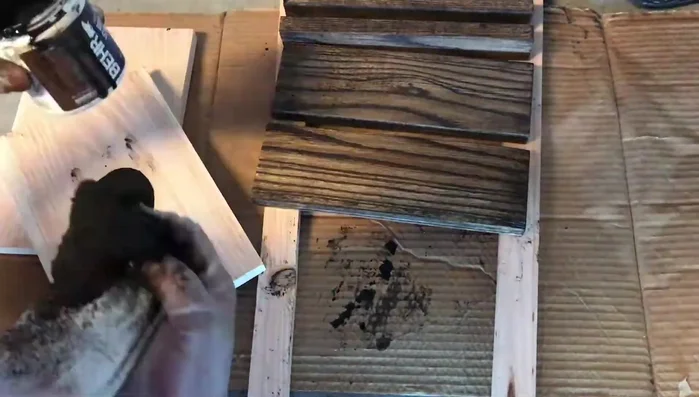
- Apply wood stain to all pieces.

Prepare the Wood Assemble the Key Holder
- Dry fit all pieces to ensure proper placement before securing.
- Pre-drill pilot holes to prevent wood splitting when attaching the hooks.
- Secure the hooks to the main board using screws.
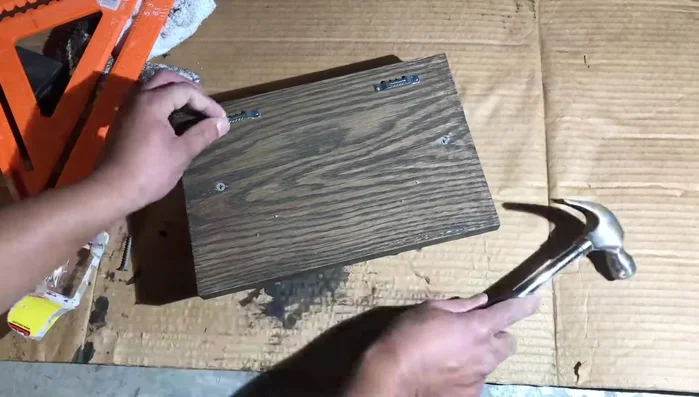
Assemble the Key Holder Attach the Back & Hangers
- Pre-drill pilot holes to attach the back piece to the shelf.
- Attach the back piece to the shelf using screws.
- Attach picture frame hangers to the back for wall mounting.
Attach the Back & Hangers

Read more: Conquer Your Inbox: The Action-Based Email Management System in Outlook
Tips
- Use pilot holes to prevent wood splitting when screwing.
- Dry fitting before securing ensures proper placement and avoids mistakes.