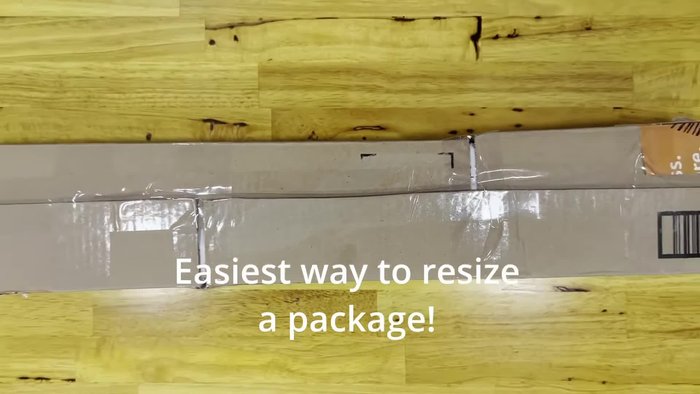
Moving house? Flat-pack furniture assembly a dreaded task? Then you'll appreciate the ingenuity of repurposing those sturdy IKEA bed shipping boxes. Instead of tossing them to the curb, consider this: what if you could transform that discarded cardboard into a valuable extension for your existing storage? This clever DIY project shows you exactly how to do just that, maximizing the space within the box itself and creating a customizable solution for blankets, off-season clothes, or even extra bedding. The robust nature of these boxes means they are far more durable than typical storage solutions.
Forget expensive, bulky storage solutions! This guide offers a simple and cost-effective way to turn your unwanted IKEA flatpack shipping materials into a practical and surprisingly sturdy addition to your existing storage. Ready to get started and build your own custom storage extension? Let's dive into the step-by-step instructions below!
Preparation and Safety Guidelines
- IKEA bed (or similar item)
- Box (slightly too small)
- Razor blade
- Tape
- Packaging material
- Ruler or measuring tape
- Optional: Christmas wrapping paper (or other wrapping material)
- Always prioritize safety. Use appropriate personal protective equipment (PPE) like gloves and safety glasses when handling box cutters and other tools.
- Ensure the extended box is structurally sound before placing any weight on it. Reinforce weak points with additional cardboard, tape, and/or supports as needed.
- Never exceed the weight capacity of the original bed box. Overloading a modified box can lead to collapse and potential injury.
Step-by-Step Instructions
Assessment and Planning
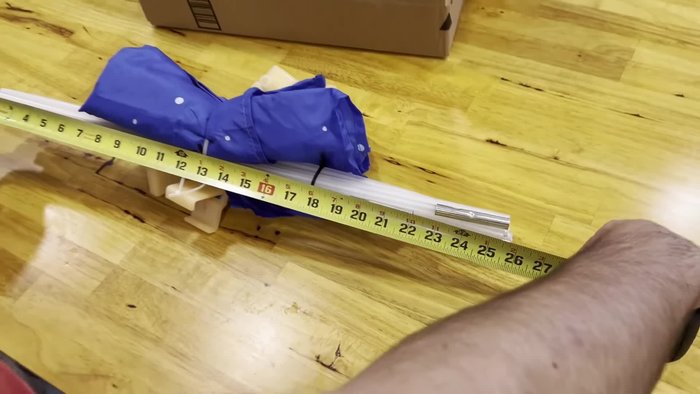
- Measure the item and the box to determine the necessary extension.
- Calculate how much longer the box needs to be to accommodate the item. In this case, 9 inches were needed.

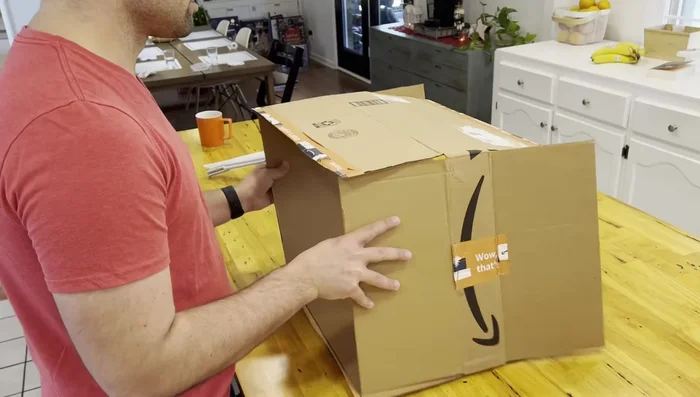
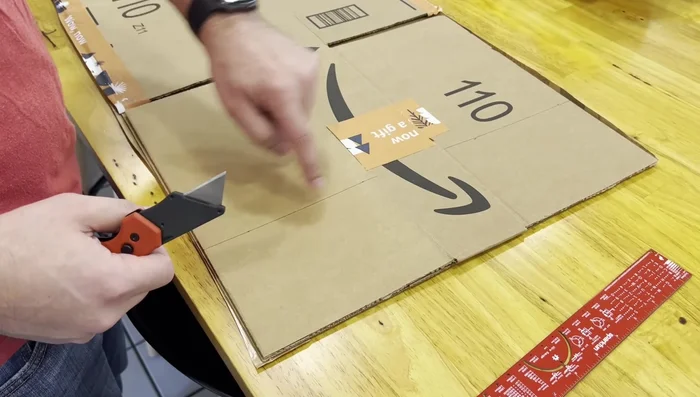
Assessment and Planning Prepare the Box
- Cut the tape and lay the box flat.
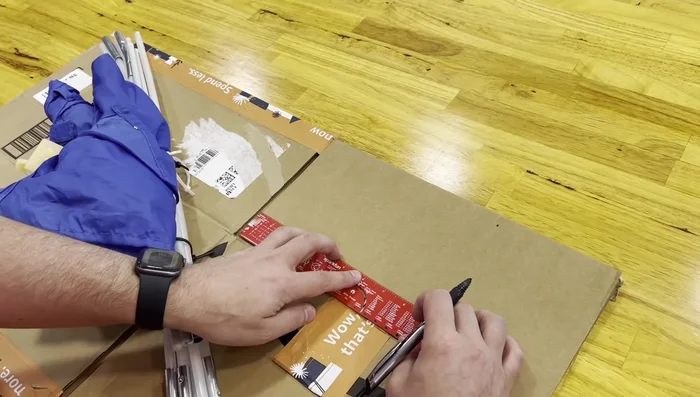
Prepare the Box Extend the Box
- Draw lines indicating the needed extension (9 inches in this example) on each flap of the box.
- Carefully cut along the marked lines to extend the box.
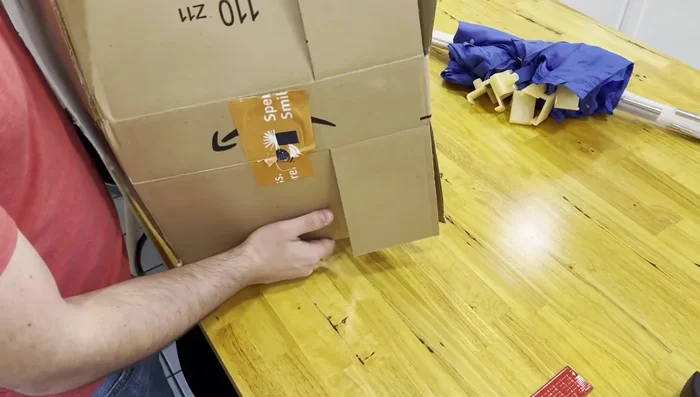
Extend the Box Refine and Adjust
- Crease the extended flaps to create clean folds.
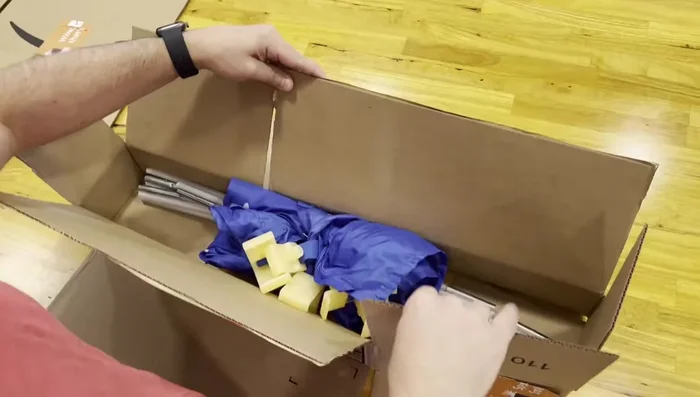
- Check if the item fits. Trim excess flap length as needed.
Refine and Adjust Finalize and Secure
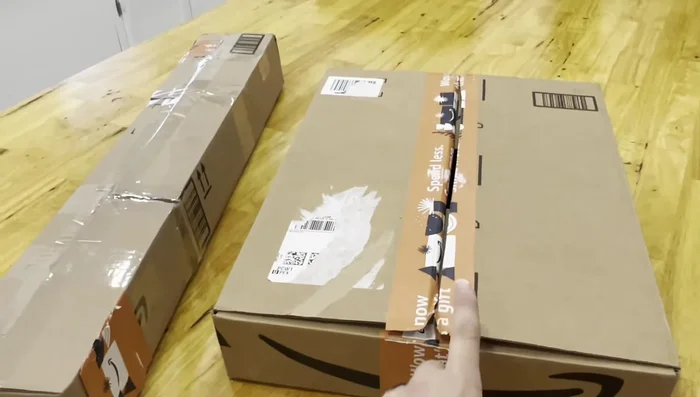
- Tape up the extended box to reinforce it.
Finalize and Secure
Tips
- Use packaging material to protect the item's edges during shipping.
- Consider adding extra support (cardboard) to any gaps created by the extension.
- Use creative wrapping! (Christmas paper was used in the video example).