Layered postage stamp frames offer a unique and charming way to enhance your digital designs, adding a touch of vintage appeal or playful whimsy. However, achieving the perfect customized frame can sometimes feel like navigating a maze of complex Photoshop tools. This article will demystify the process, presenting two efficient and surprisingly simple methods for creating and modifying layered postage stamp frames. From adjusting colors and textures to adding intricate details, we'll explore techniques accessible to both beginners and experienced Photoshop users.
We'll delve into specific step-by-step instructions for each method, guiding you through the creation of stunning, personalized frames that perfectly complement your projects. Get ready to unlock the creative potential of layered postage stamp designs and transform your images with a touch of vintage elegance or vibrant, modern flair. Let's begin!
Safety Guidelines
- Always work on a copy of your original image to avoid accidental data loss. Create a duplicate layer before making any edits.
- Use non-destructive editing techniques like layer masks and adjustment layers whenever possible. This allows for easy adjustments and corrections without permanently altering your image.
- Ensure your stamp images have a transparent background for seamless integration into your layered frame. If not, use the eraser tool or masking techniques to achieve transparency.
Methods: Method 1: Direct Layer Transfer
Tools Needed
- Photoshop Elements (or full Photoshop)
- Scrapbooking Page
Step-by-Step Instructions
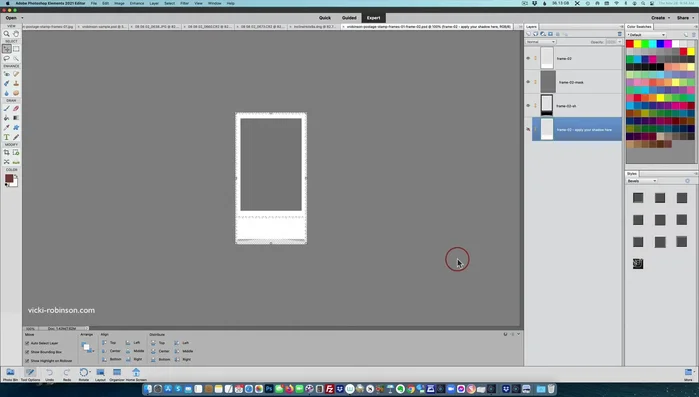
Open Template
- Open the single photo template PSD file in Photoshop Elements.

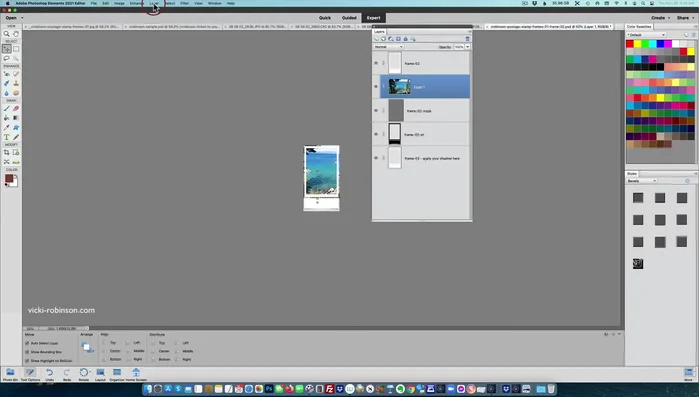
Open Template Add and Resize Photo
- Add your desired photo by dragging it into the PSD file. Resize the photo to be larger than the mask using the transform tool (Ctrl+T).
Add and Resize Photo Create Clipping Mask
- Create a clipping mask by selecting the photo layer and choosing 'Layer' > 'Create Clipping Mask'. This will clip the photo to the mask’s shape.
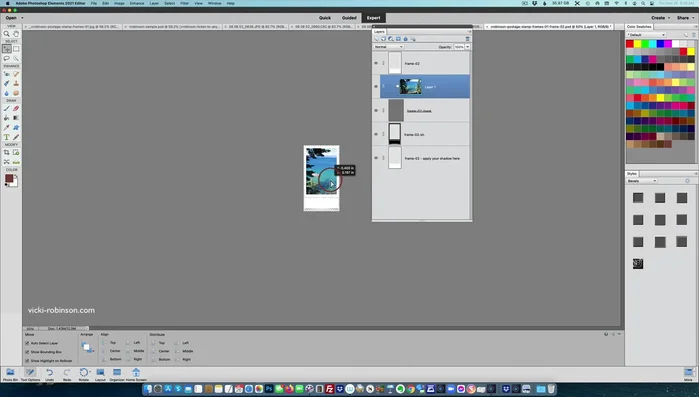
Create Clipping Mask Adjust Photo Position
- Adjust photo position within the mask as needed.
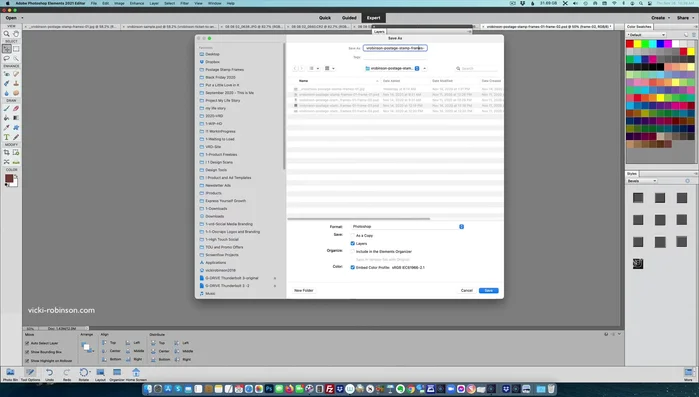
Adjust Photo Position Save Customized Template
- Save the customized template as a new file to preserve the original.
Save Customized Template Transfer to Scrapbooking Page (Method 1)
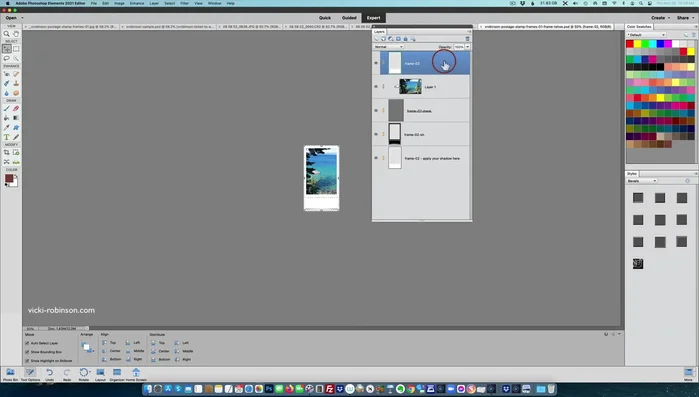
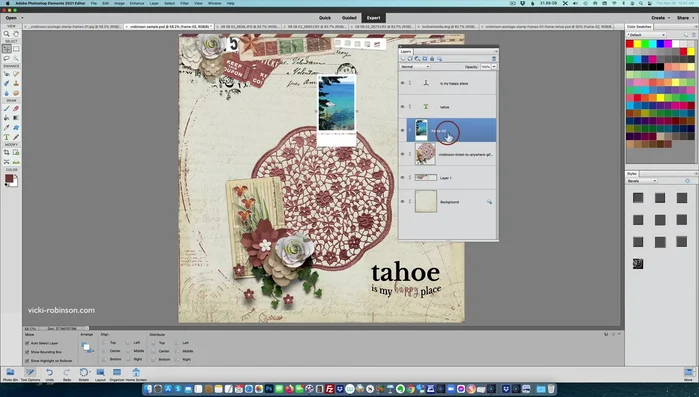
- Select all layers in the customized template (Shift+click top and bottom layers).
- Drag and drop the selected layers onto your scrapbooking page.
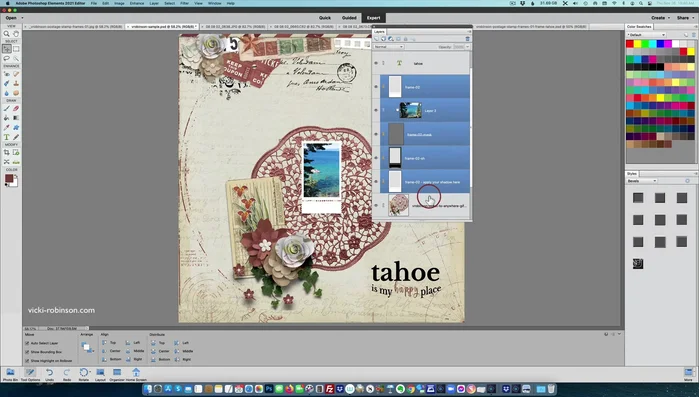
- Adjust the position of the frame on your scrapbooking page.
Transfer to Scrapbooking Page (Method 1)


Tips
- Ensure the photo is larger than the mask for proper clipping.
- Linked layers move together; unlink to move individual layers (right-click > Unlink Layers).
Methods: Method 2: Merged Layer Transfer
Tools Needed
- Photoshop Elements (or full Photoshop)
- Scrapbooking Page
Step-by-Step Instructions
Merge Layers
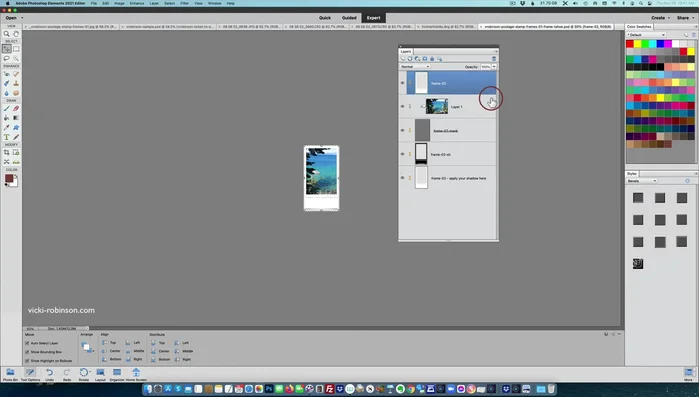
- Merge all layers in the customized template (Layer > Merge Layers).
Merge Layers Transfer to Scrapbooking Page
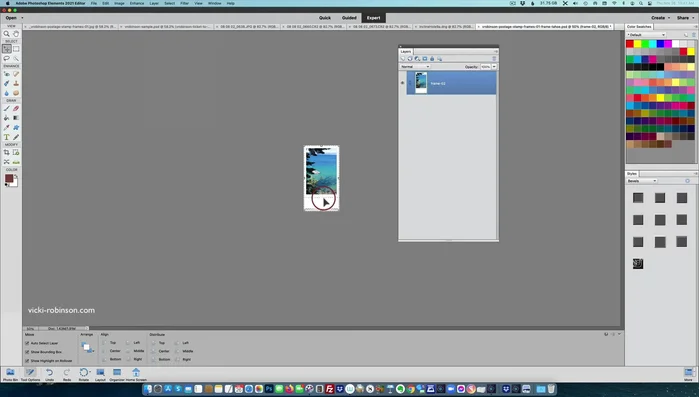
- Drag and drop the merged layer onto your scrapbooking page.
Transfer to Scrapbooking Page Position on Page
- Position the merged layer as desired on your page.
Position on Page
Tips
- Save your customized template as a new file before merging to retain the layered version for future edits.