Label dispensers are invaluable tools for streamlining various tasks, from organizing your pantry to shipping packages. Whether you're a seasoned professional or a home organizer just getting started, efficiently using your label dispenser is key to maximizing its benefits. Knowing how to properly load and print labels can save you time and frustration, ensuring perfectly aligned and easily dispensed labels every time. Improper use can lead to wasted labels and unnecessary hassle.
This quick guide will walk you through the process of printing labels from your label dispenser step-by-step, covering everything from selecting the right settings to troubleshooting common issues. Let's dive in and learn how to get those labels printed flawlessly, so you can focus on what really matters – organization and efficiency!
Preparation and Safety Guidelines
- Label dispenser
- Scale
- Computer/Phone
- Always ensure the label dispenser is turned off and unplugged before performing any maintenance or cleaning.
- Never force a label through the dispenser. This can damage the mechanism or cause injury.
- Keep fingers and loose clothing away from moving parts during operation to prevent injuries.
Step-by-Step Instructions
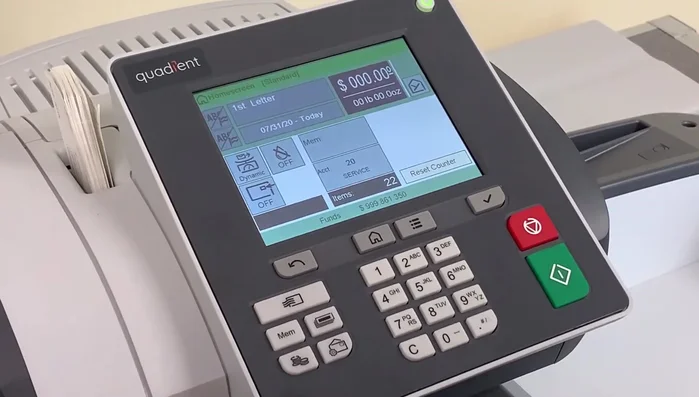
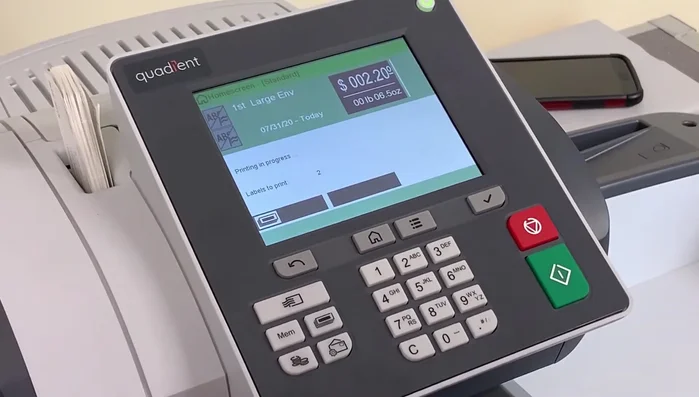
Prepare the Scale and Rate
- Change scale mode to 'Standard' to utilize the weighing platform.
- Weigh your package on the scale.
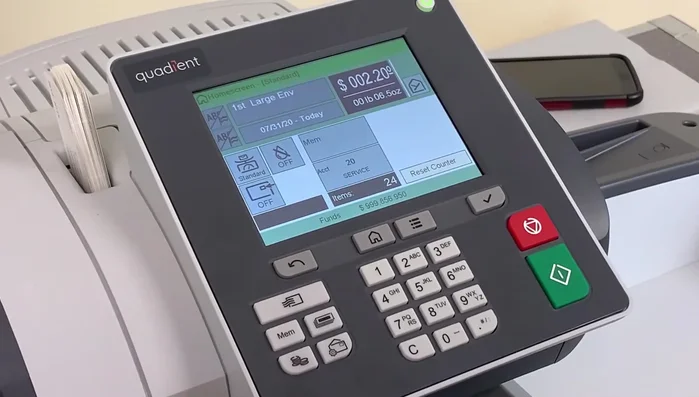
- Ensure the correct postage rate is selected on the rate screen.

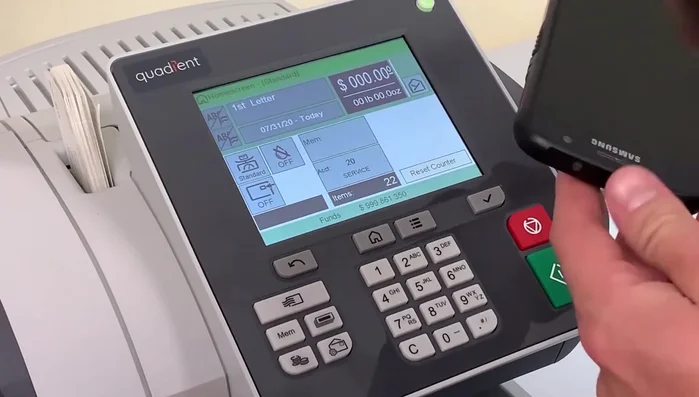
Prepare the Scale and Rate Initiate Label Printing
- Click the 'Print Label' button.
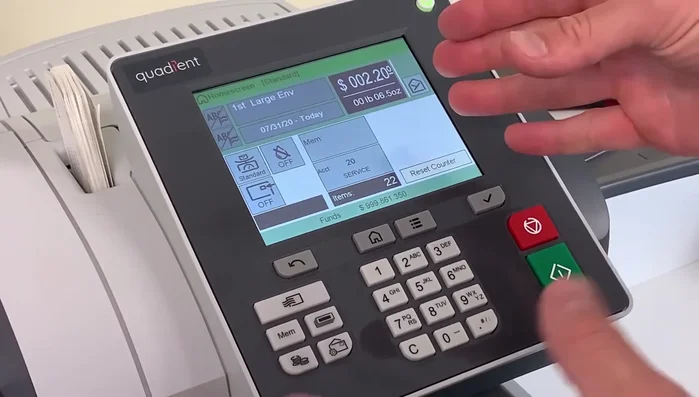
Initiate Label Printing Specify Quantity (if needed)
- Specify the number of labels needed (if printing multiple labels for identical packages).
Specify Quantity (if needed) Print Labels
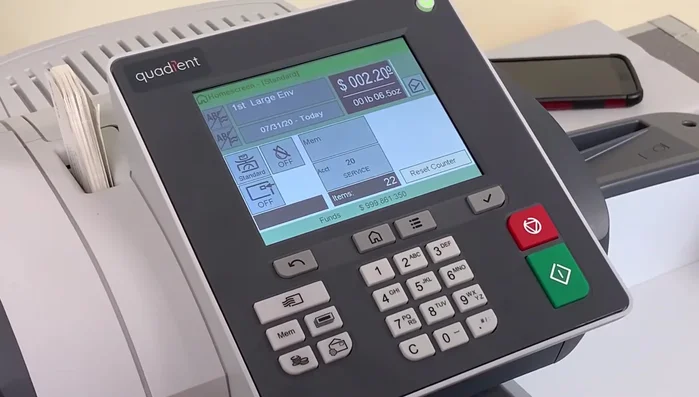
- Press the green button to initiate printing.
Print Labels Apply Labels
- Peel and stick the labels onto your package.
Apply Labels

Read more: Ultimate Guide to Preserve Your Stamp Collection: 20 Expert Tips
Tips
- If you have multiple packages with the same weight, rate, and destination, you can print multiple labels simultaneously.