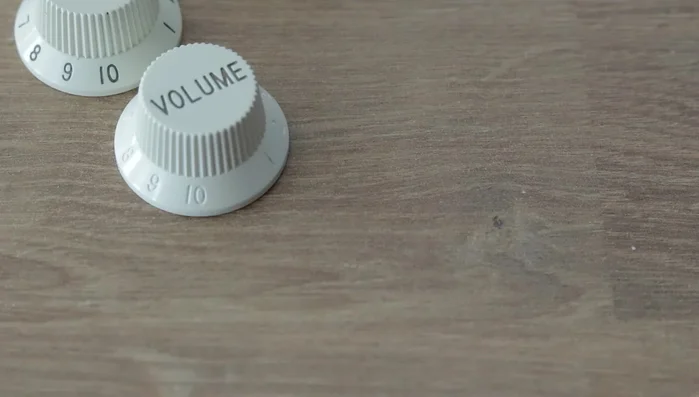
Have you inherited a vintage guitar or amplifier, only to find its once-gleaming fender knobs dulled and pitted by the ravages of time? Those tarnished metal knobs, often overlooked, can significantly detract from the overall aesthetic appeal of your prized instrument. More than just cosmetic, rusty knobs can also indicate potential internal corrosion, highlighting the importance of proper care and restoration. A simple cleaning might not suffice for heavily rusted pieces; sometimes, a more thorough approach is necessary to bring back their original shine.
Fortunately, reviving these neglected components is easier than you might think. This step-by-step guide will walk you through the process of resurrecting your rusty fender knobs, transforming them from dull and lifeless to gleaming accents that restore your instrument to its former glory. Let's dive in and discover how to reclaim the brilliance of your vintage hardware!
Preparation and Safety Guidelines
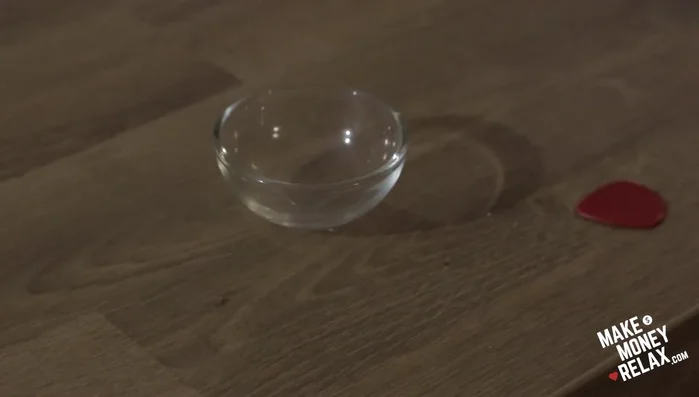
- White vinegar
- WD-40 contact cleaner
- Black car paint
- Cloth/Shirt
- Baby wipes (optional)
- Always disconnect power to the appliance before starting any work. Electric shock is a serious risk.
- Wear appropriate safety glasses and gloves to protect against scratches, cuts, and chemical exposure.
- Use adequate ventilation when working with solvents or abrasive materials to avoid inhaling harmful fumes.
Step-by-Step Instructions
Prepare the Screws
- Remove rusty screws from Fender knobs.
- Soak screws in white vinegar for 24 hours to remove rust.

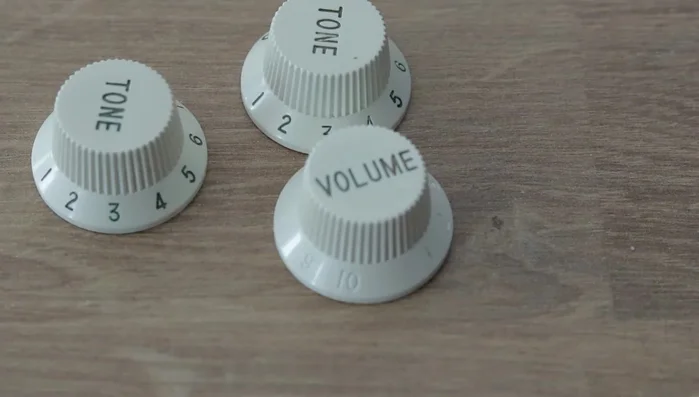
Prepare the Screws Clean the Knobs
- This may remove ink from some knobs, but not all.
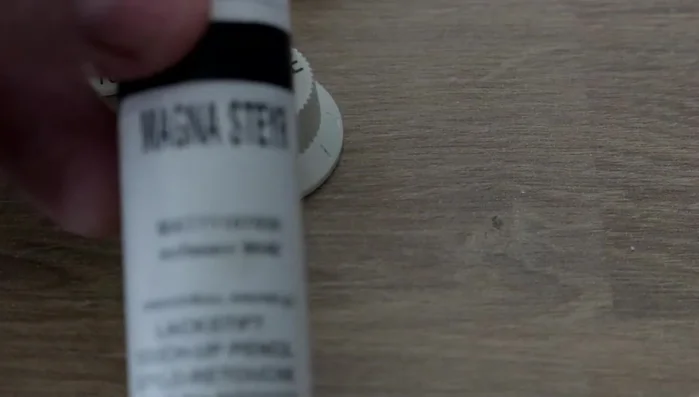
Clean the Knobs Repair Damaged Knobs (Optional)
- For knobs where ink was removed, carefully apply a *thin* coat of black car paint to the affected areas.
- Immediately wipe away excess paint with a clean cloth.
- If paint stains, use WD-40 contact cleaner to remove it quickly.
Repair Damaged Knobs (Optional) Reassemble
- Reattach screws to the knobs.
Reassemble
Tips
- Use a very thin coat of paint to avoid staining.
- Wipe away excess paint immediately after application.
- If staining occurs, use WD-40 contact cleaner to remove the paint quickly.
- Baby wipes might be a better option for wiping away the paint than a cloth.