In a world increasingly conscious of environmental impact, finding creative ways to repurpose everyday items is more important than ever. Padded envelopes, often discarded after a single use, possess surprising potential for transformation. Their sturdy construction and soft padding make them ideal for a range of crafty projects, offering a sustainable alternative to purchasing new materials. Think of the possibilities: quirky organizers, protective cases, or even unique gift wrapping. Instead of contributing to landfill waste, these seemingly humble envelopes can be reborn as cherished, handmade treasures.
This upcycling project demonstrates just how easily you can transform discarded padded envelopes into something useful and beautiful. Forget about guilt-ridden recycling; we'll be turning trash into treasure with a fun and surprisingly simple process. Ready to unlock the hidden potential within those bubble-lined envelopes? Let's dive into the step-by-step guide below and discover the endless creative possibilities.
Preparation and Safety Guidelines
- Used padded envelopes
- White paint or gesso
- PVA glue
- Water
- Paintbrush (old one)
- Napkins with solid patterns
- Scissors
- Parchment paper
- Always thoroughly clean used padded envelopes before handling. Residue from previous contents could be harmful or cause allergic reactions.
- Use sharp scissors or a craft knife carefully to avoid cuts and injuries when cutting and manipulating the envelope material.
- Be mindful of potential small parts if creating items for children. Ensure all loose pieces are securely attached to prevent choking hazards.
Step-by-Step Instructions
Prepare Envelopes
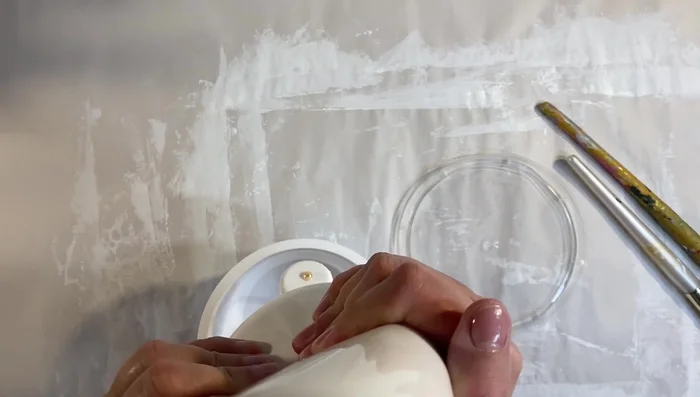
- Cover the entire envelope with white gesso (or paint) to create a blank canvas. This step is easier with white envelopes than brown ones.
Mix Glue
- Mix PVA glue and water in a ratio of approximately 3:1. The consistency should be similar to single cream.

Mix Glue Prepare Napkins
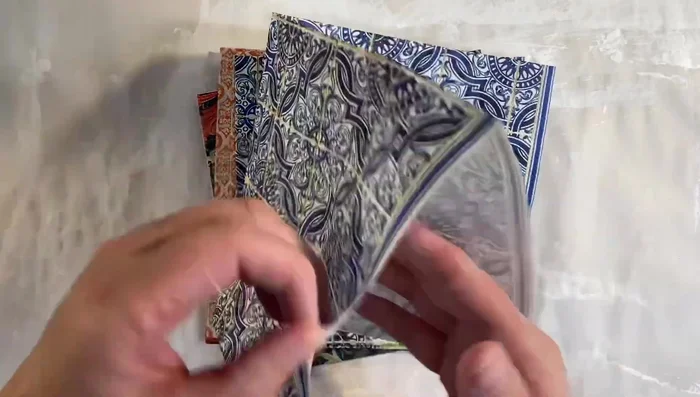
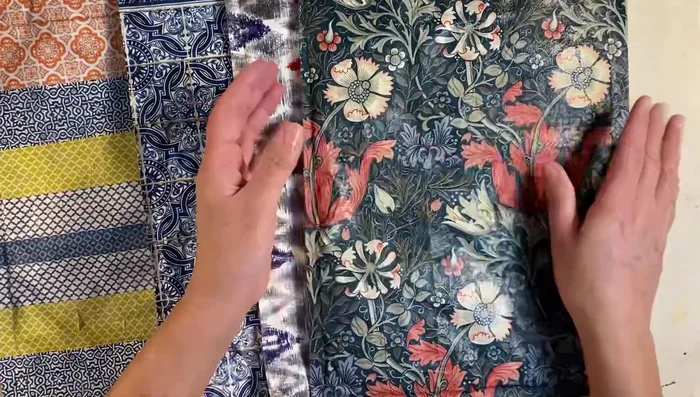
- Separate the plies of your chosen napkins, leaving only the top layer. Select napkins with a solid pattern that will completely cover the envelope.
Prepare Napkins Apply Napkin
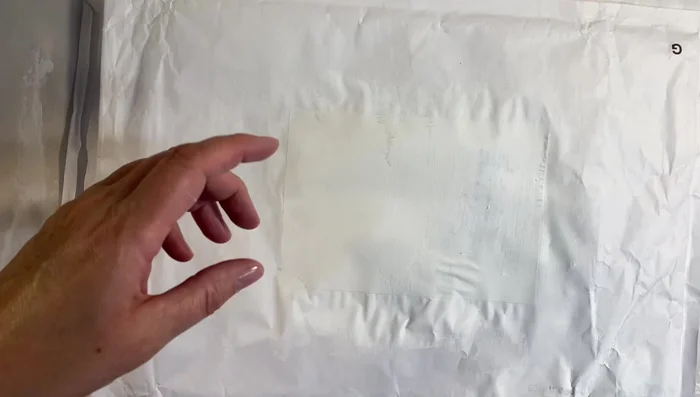
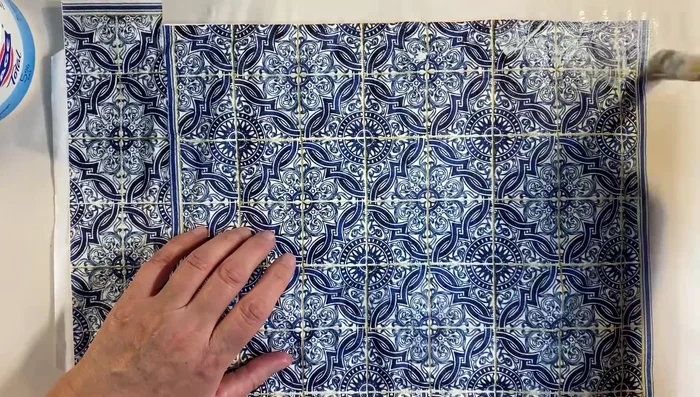
- Generously apply the watered-down PVA glue to the front of the prepared envelope. Carefully place the napkin onto the glued surface, smoothing it out to avoid tearing. Gently press to adhere.
Apply Napkin Patch and Repair
- If the napkin isn't large enough, cut off excess napkin and use it to patch any uncovered areas, matching patterns where possible.
Patch and Repair Seal with Glue
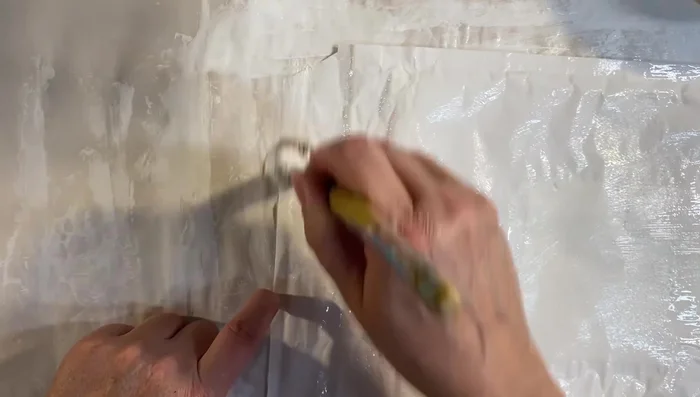
- After smoothing the napkin, apply another layer of watered-down glue over the entire surface to seal and ensure durability.
Seal with Glue Dry and Finish
- Let the envelopes dry completely on parchment paper. Once dry, trim any excess napkin and add your mailing address to the front and sender's details to the back.
Dry and Finish
Tips
- Use an old paintbrush for the glue to avoid ruining good brushes.
- Don't use art glitter glue or similar as it dries too quickly.
- Work gently to prevent tearing the napkin.
- Wrinkles are unavoidable; don't worry about them.
- Darker napkins work best for brown envelopes.