The Zebra ZP450 is a popular direct thermal and thermal transfer printer known for its reliability and ease of use, making it ideal for various applications from shipping labels to receipts. However, successfully integrating the ZP450 into your workflow requires a smooth and efficient setup process, which can vary depending on your operating system. Whether you're using Windows, macOS, Android, or Chromebook, getting your printer up and running shouldn't be a headache. This comprehensive guide will walk you through the nuances of setting up your Zebra ZP450 printer across all these platforms.
This article provides a clear, step-by-step walkthrough for setting up your Zebra ZP450 printer, no matter your operating system. We’ll cover the essential steps for each platform, from installing the necessary drivers and software to connecting the printer and performing test prints, ensuring a hassle-free experience. Let's get started with a seamless setup process for your Zebra ZP450.
Safety Guidelines
- Always ensure the Zebra ZP450 printer is powered OFF before connecting or disconnecting any cables to prevent damage to the printer or your computer.
- Download drivers and software ONLY from the official Zebra Technologies website to avoid installing malware or incompatible files. Verify the downloaded files' authenticity.
- Refer to the Zebra ZP450 user manual for detailed troubleshooting steps if you encounter any issues during the setup process or printing.
Methods: Setting up Zebra ZP450 on Windows
Tools Needed
- Zebra ZP450 printer
- Windows computer
- USB cable
Step-by-Step Instructions
Download Driver
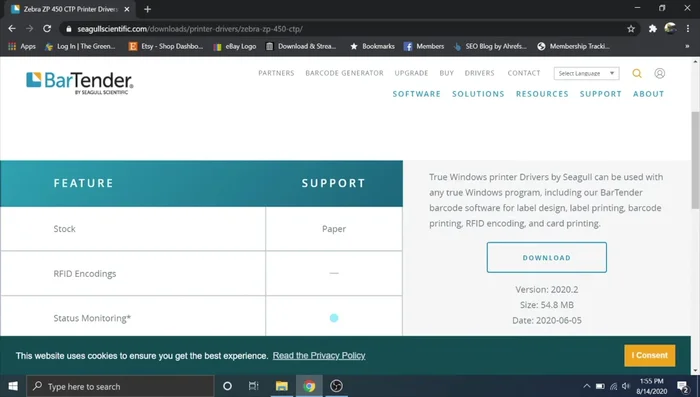
- Download the Zebra ZP450 driver from the official website.

Download Driver Install Driver
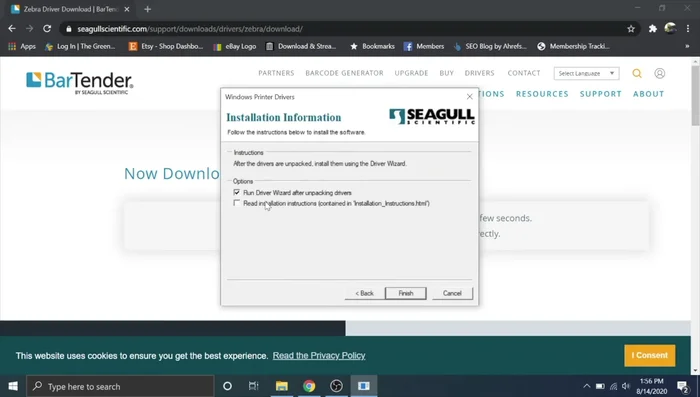
- Run the downloaded .exe file and follow the on-screen instructions.
Install Driver Connect Printer
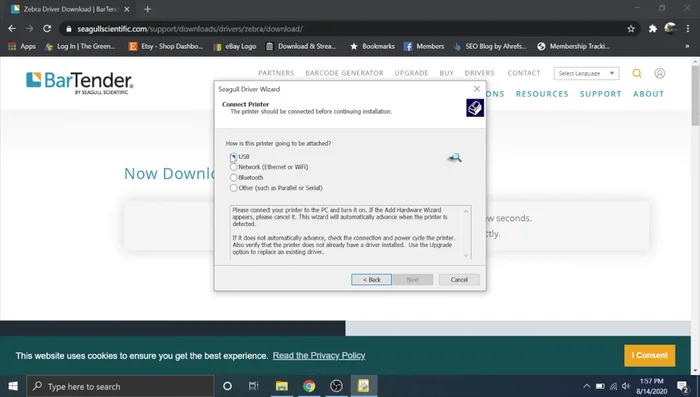
- Connect the printer to your computer via USB.
Connect Printer Select Printer
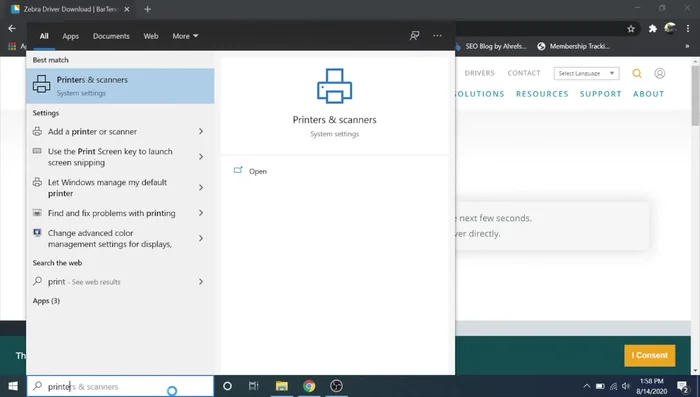
- Select the ZP450 CTP USB from the detected devices.
Select Printer Complete Installation
- Complete the installation and click Finish.
Complete Installation

Tips
- Change dithering to 'None' in printing preferences for crisper barcodes.
- Set the correct label dimensions (e.g., 4x6) in page setup.
- Adjust darkness and speed in printer properties if necessary.
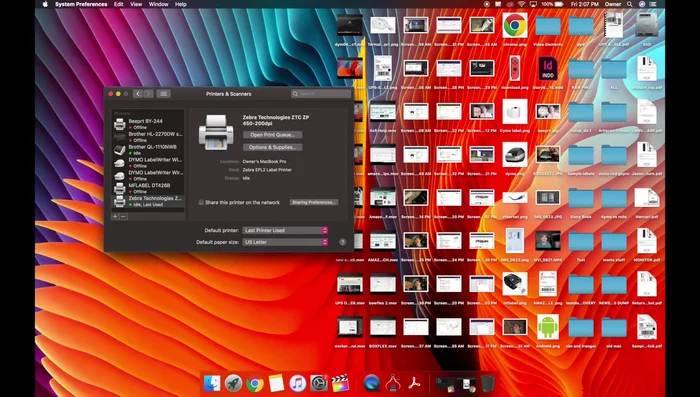
Methods: Setting up Zebra ZP450 on Mac
Tools Needed
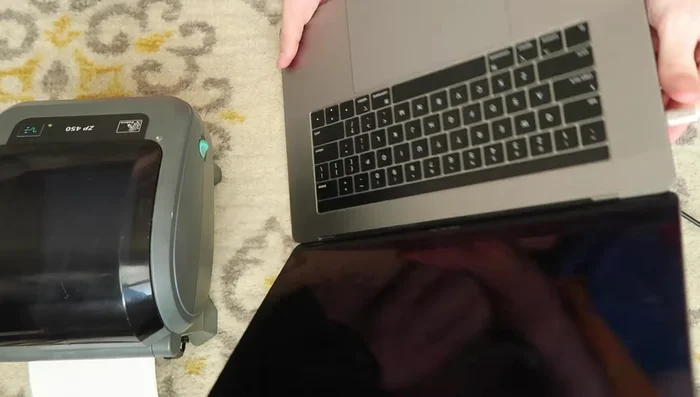
- Zebra ZP450 printer
- Mac computer
- USB-C to USB-A adapter
Step-by-Step Instructions
Connect Zebra ZP450 to Mac
- Connect the printer to your Mac using a USB-C to USB-A adapter.
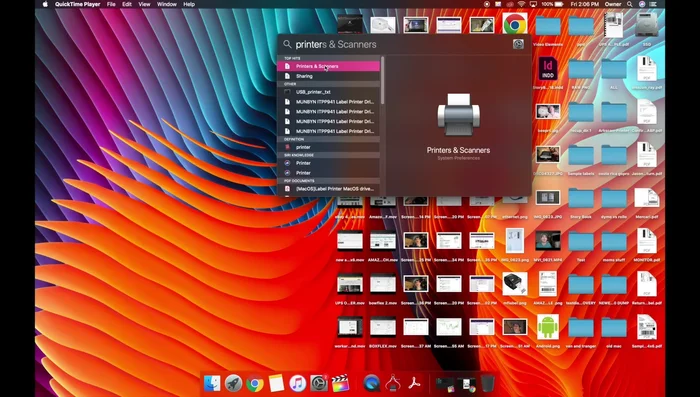
Connect Zebra ZP450 to Mac Open Printers & Scanners
- Open System Preferences > Printers & Scanners.
Open Printers & Scanners Add Printer
- Click the '+' button to add a printer.
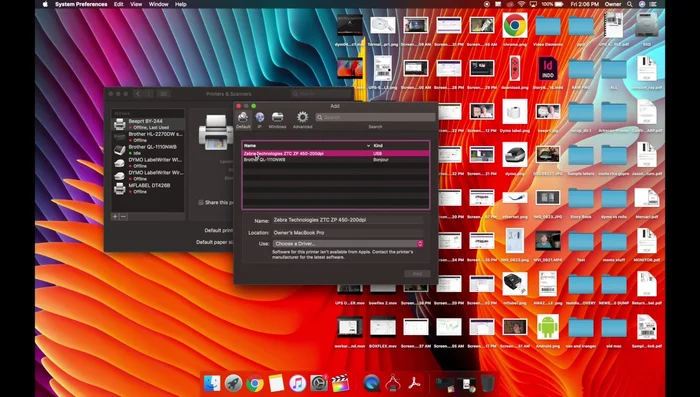
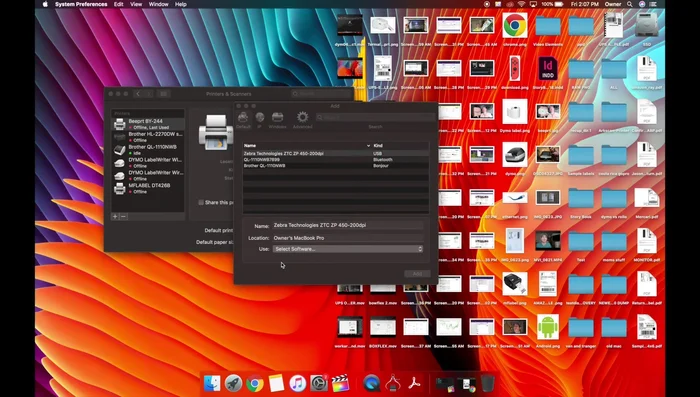
Select Zebra ZP450 and Driver
- Select the Zebra ZTC ZP450 USB printer.
- Choose the 'EPL2 Label Printer' driver.
Select Zebra ZP450 and Driver Finalize Installation
- Click 'Add' to complete the installation.
Finalize Installation
Tips
- Ensure the correct paper size (4x6) is selected before printing.
- Adjust darkness and speed in printer settings if needed. Access this through the 'Print Using System Dialogue' option and navigating to layout and printer settings.
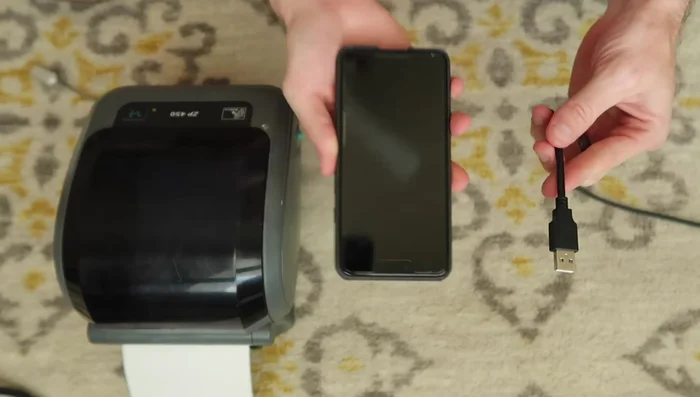
Methods: Setting up Zebra ZP450 on Android
Tools Needed
- Zebra ZP450 printer
- Android phone/tablet
- USB-C to USB-A adapter
- NocoPrint app
Step-by-Step Instructions
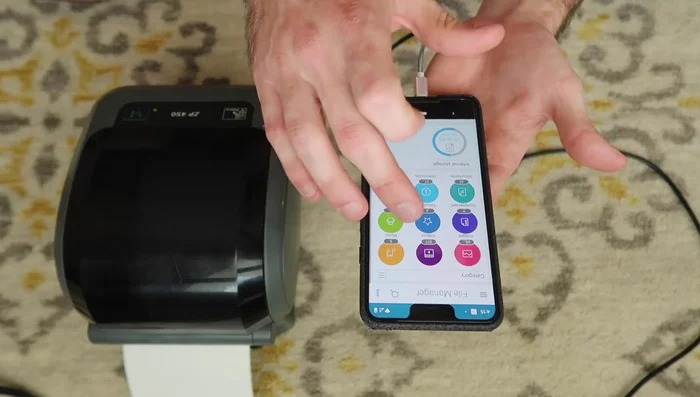
Connect Android Device
- Connect the printer to your Android device via a USB-C to USB-A adapter.
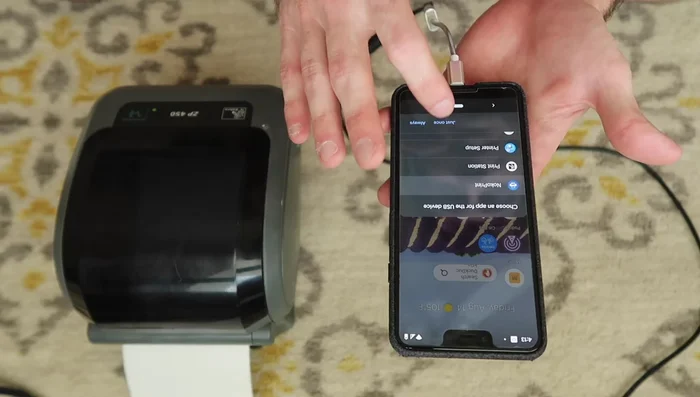
Connect Android Device Install NocoPrint
- Install the NocoPrint app.
Install NocoPrint Select ZP450 Driver
- Select the ZP450 driver in NocoPrint.
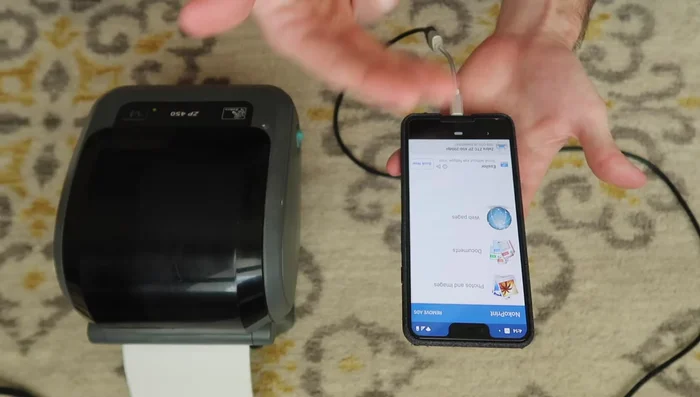
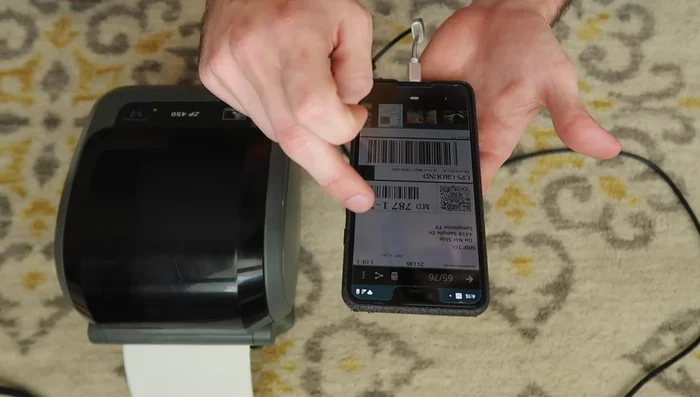
Select ZP450 Driver Download Label Files
- Download label files to your phone.
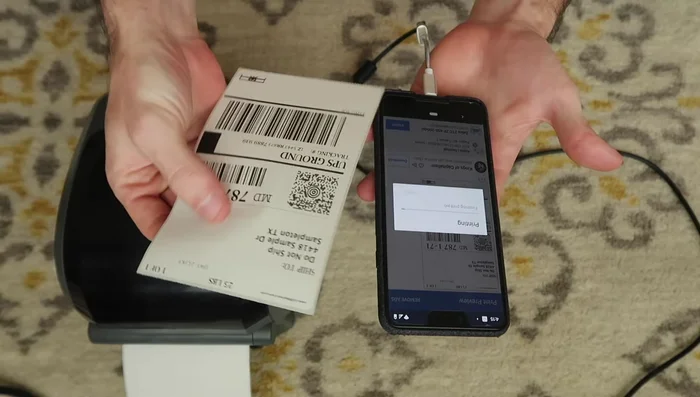
Download Label Files Print Label
- Open the label file, select 'Open with' and choose NocoPrint.
- Select print settings and hit print.
Print Label
Tips
- Ensure correct label dimensions (4x6) are set in your label generation platform (e.g., Etsy, eBay).