Keep your mail organized and your home clutter-free with this simple, budget-friendly DIY felt mail organizer! This project requires minimal sewing skills and uses readily available materials, making it perfect for crafters of all levels. Using pre-cut felt sheets, you'll create a charming and functional organizer in just a few simple steps. Customize the colors and size of the pockets to perfectly match your style and needs, and add personalized labels to streamline your mail sorting process. This project is not only cost-effective but also incredibly adaptable, allowing you to create multiple organizers for various purposes around your home or office.Say goodbye to overflowing mail piles and hello to a stylish and efficient way to manage your correspondence. This DIY project is a fantastic alternative to expensive store-bought organizers, offering a unique and personalized touch to your home organization. The detailed instructions and adaptable design provide endless possibilities for creativity and customization. Whether you choose a vibrant color palette or a subtle, neutral tone, this felt mail organizer will bring both functionality and aesthetic appeal to any space. Get ready to enjoy a beautifully organized and clutter-free environment with this easy-to-make project!
Pros And Cons
- Cheap and easy to make.
- Requires minimal materials (felt, dowel, yarn/ribbon/twine).
- Can be customized with different colors and labels.
Read more: Top 10 Best Mail Sorters in 2019: A Comprehensive Review
Materials and Preparation
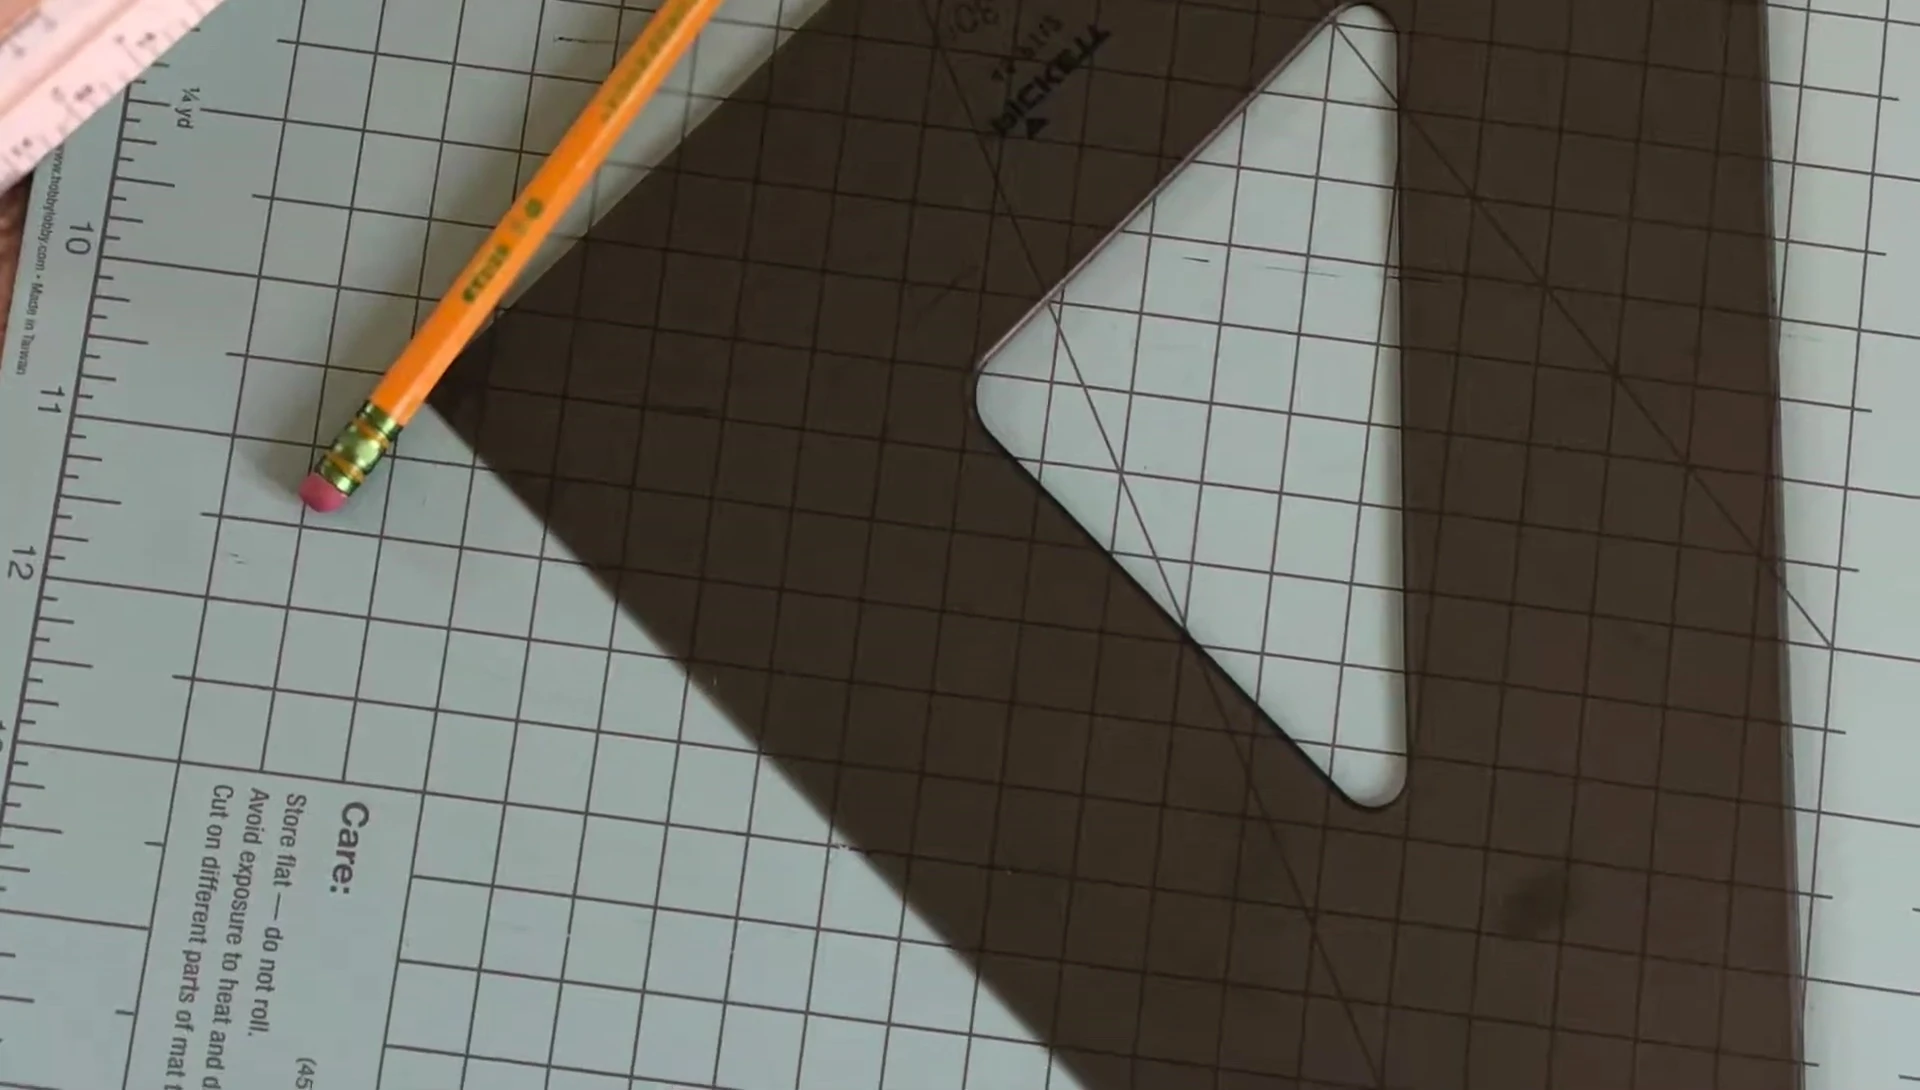
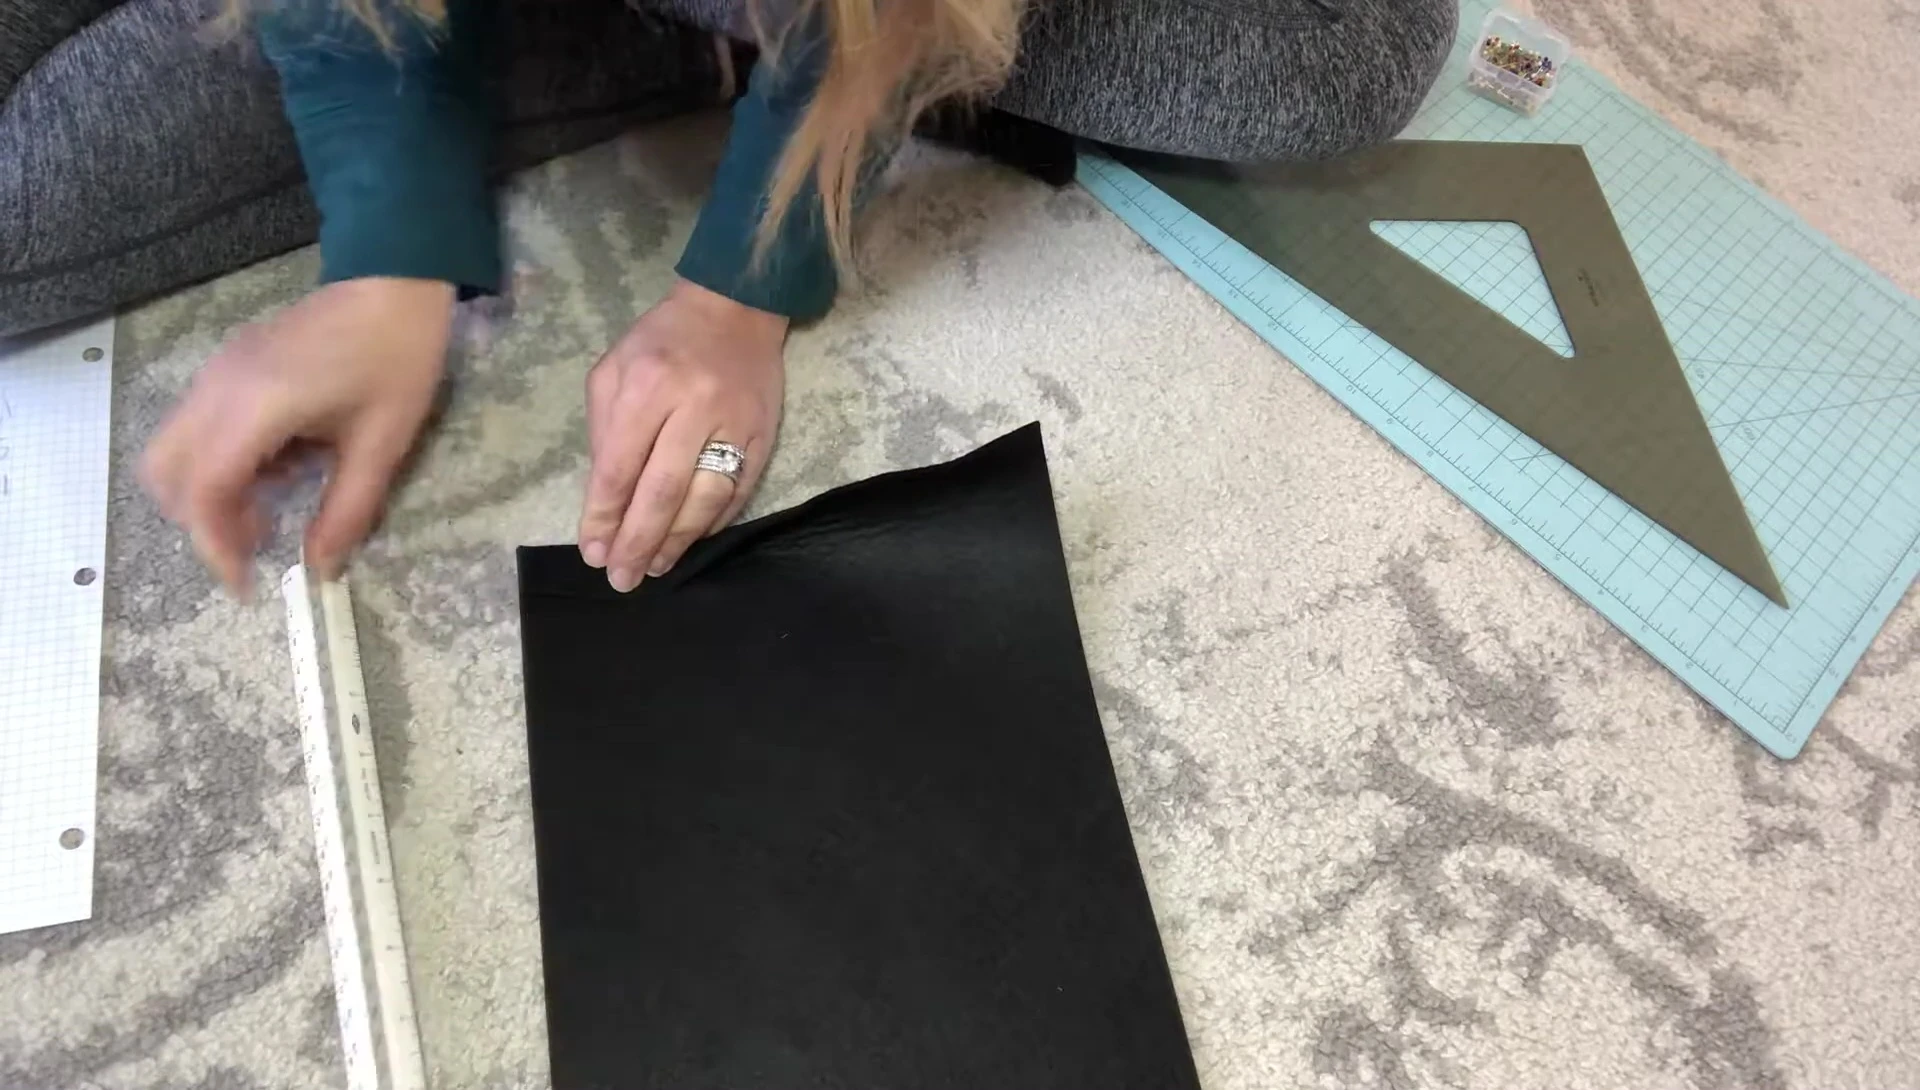
This project is incredibly budget-friendly; you likely already have most of the supplies on hand. The main component is felt, preferably a thicker variety for better structure. I recommend using pre-cut felt sheets for ease of assembly. You'll also need basic sewing supplies like needles, thread, and scissors. A ruler and a triangle template are useful for accurate measurements and straight lines.
For the hanging mechanism, a simple braided yarn works well, but you can adapt it to match your style using ribbon, twine, or even a sturdy string. Prepare your felt pieces by laying them out according to your design; I used a gradient of black to cream for a visually appealing effect.
Remember, this is a highly adaptable project. Feel free to use any felt colors you desire and adjust the size of your pockets to meet your needs. The beauty lies in its simplicity and flexibility.
Assembling the Organizer
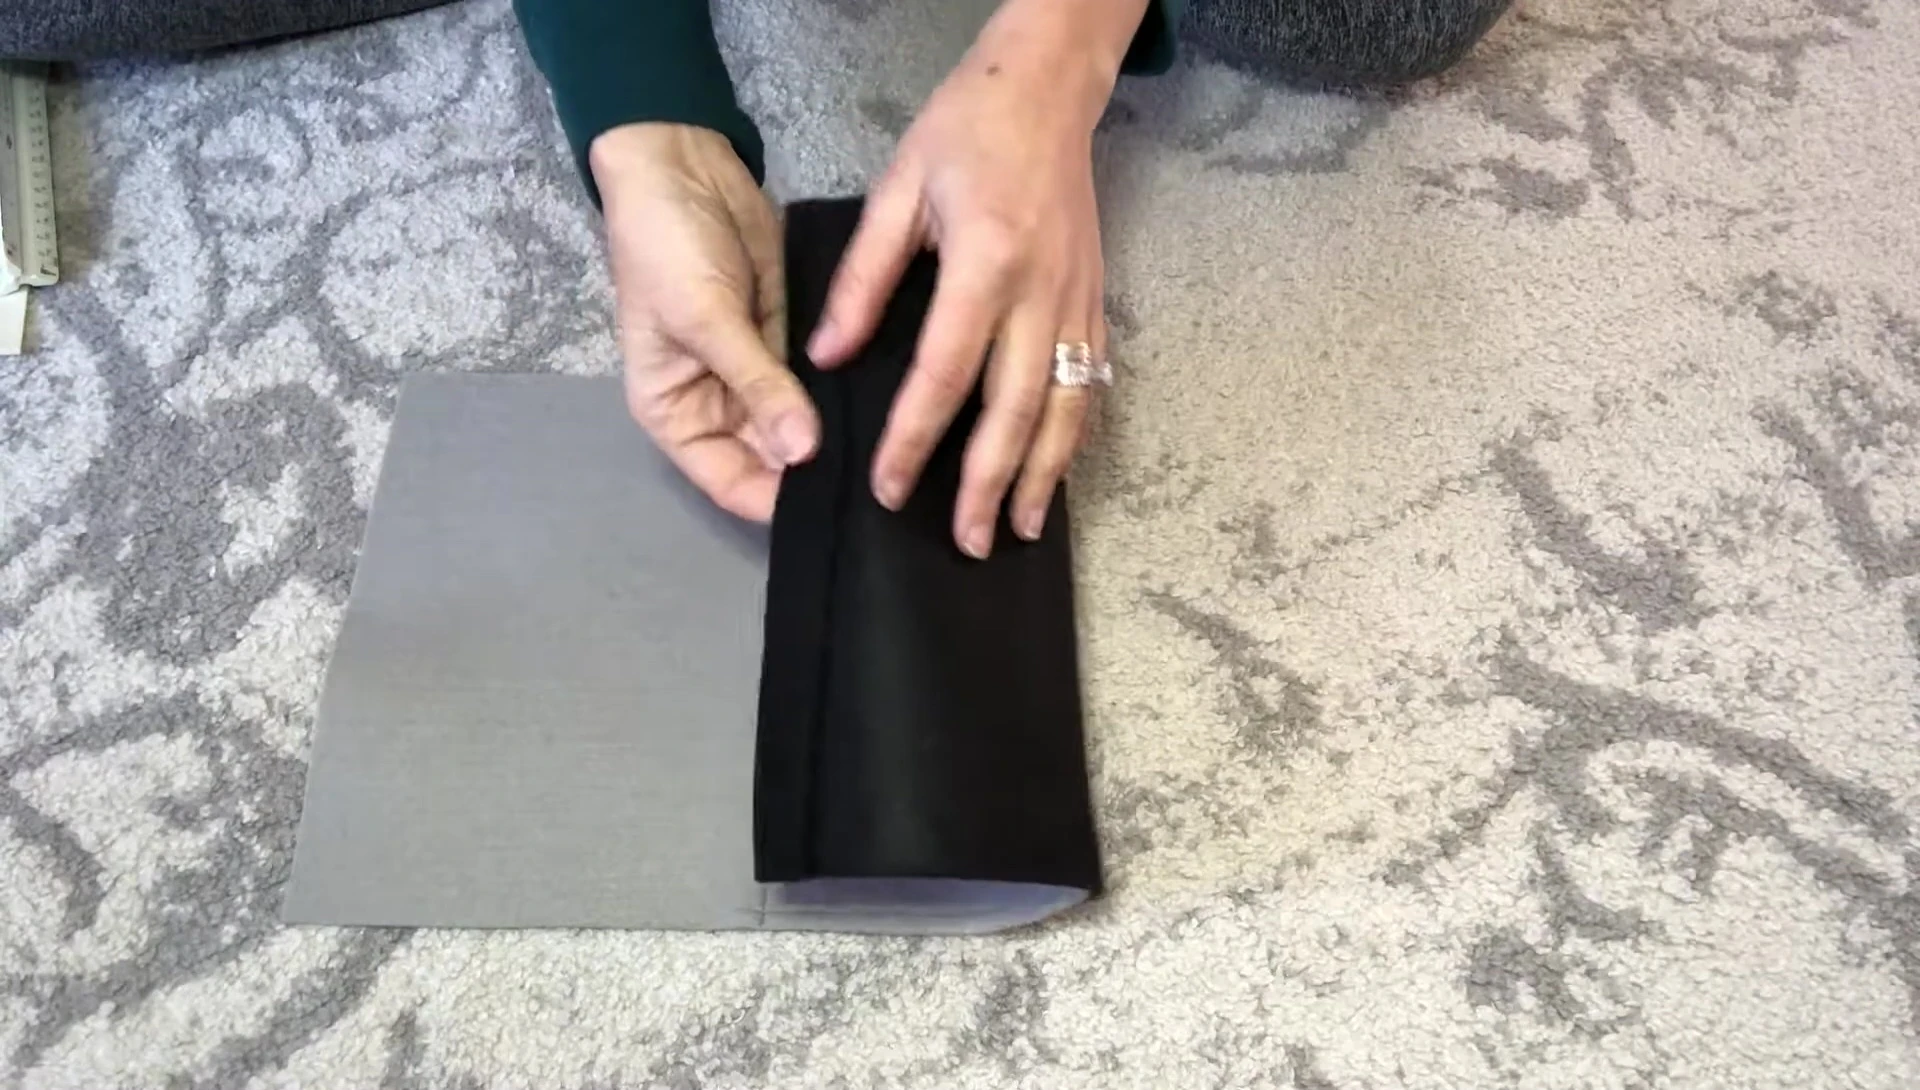
Begin by creating the top pocket; fold over the top inch of your first felt piece to form a channel for your hanging dowel. Sew this securely using a strong stitch to ensure durability. Next, measure and pin your subsequent felt pieces, ensuring consistent pocket sizes (I used 5 inches).
Carefully sew each felt piece to the previous one, creating neat seams down the sides and across the bottom. Take your time to ensure each pocket is aligned and securely attached. Remember to leave the top edge of each pocket open.

For the final pocket, you may need to cut the felt to fit. Use a triangle template for precise 90-degree cuts. Once all pockets are sewn, the mail organizer is nearly complete!
Finishing Touches and Customization
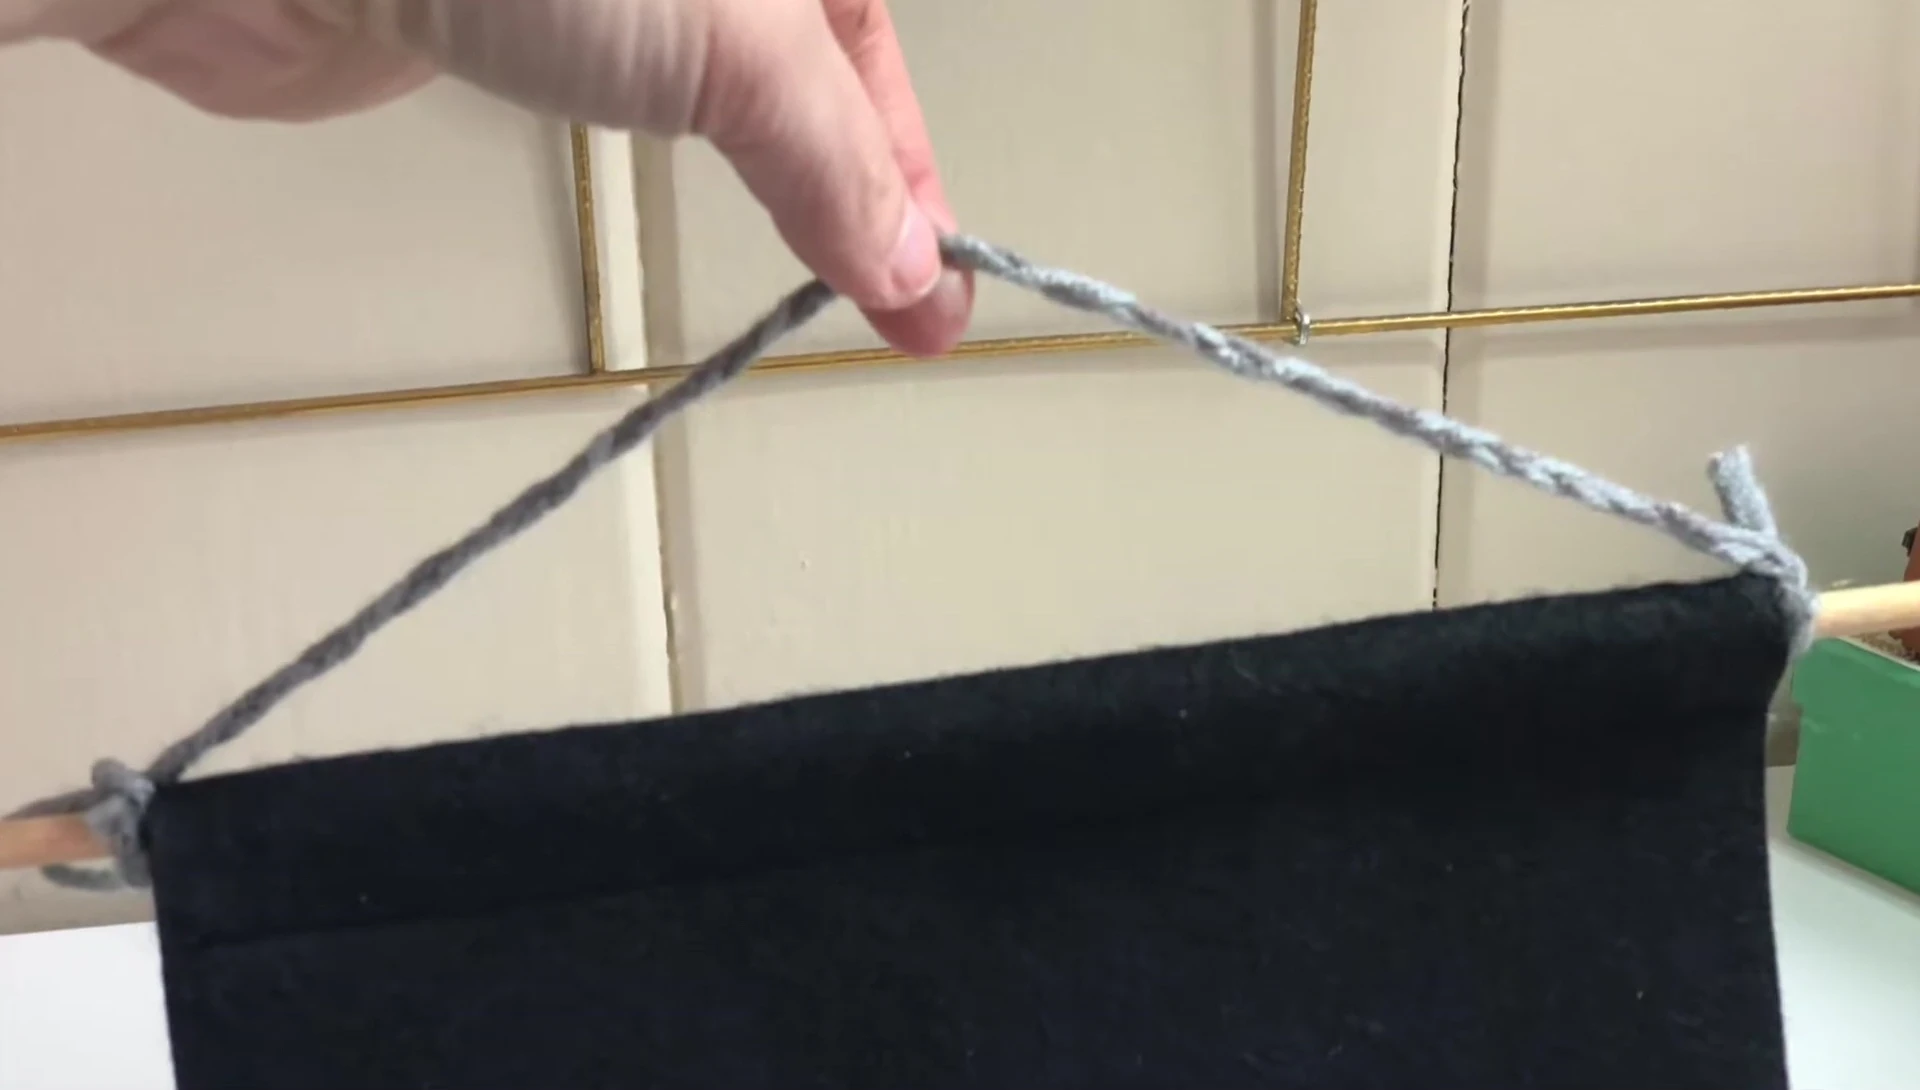
Create a hanger by braiding three pieces of yarn (or using your preferred hanging method). Thread the hanger through the top pocket you created earlier. You can add embellishments, such as pom-poms, to enhance the aesthetic appeal.
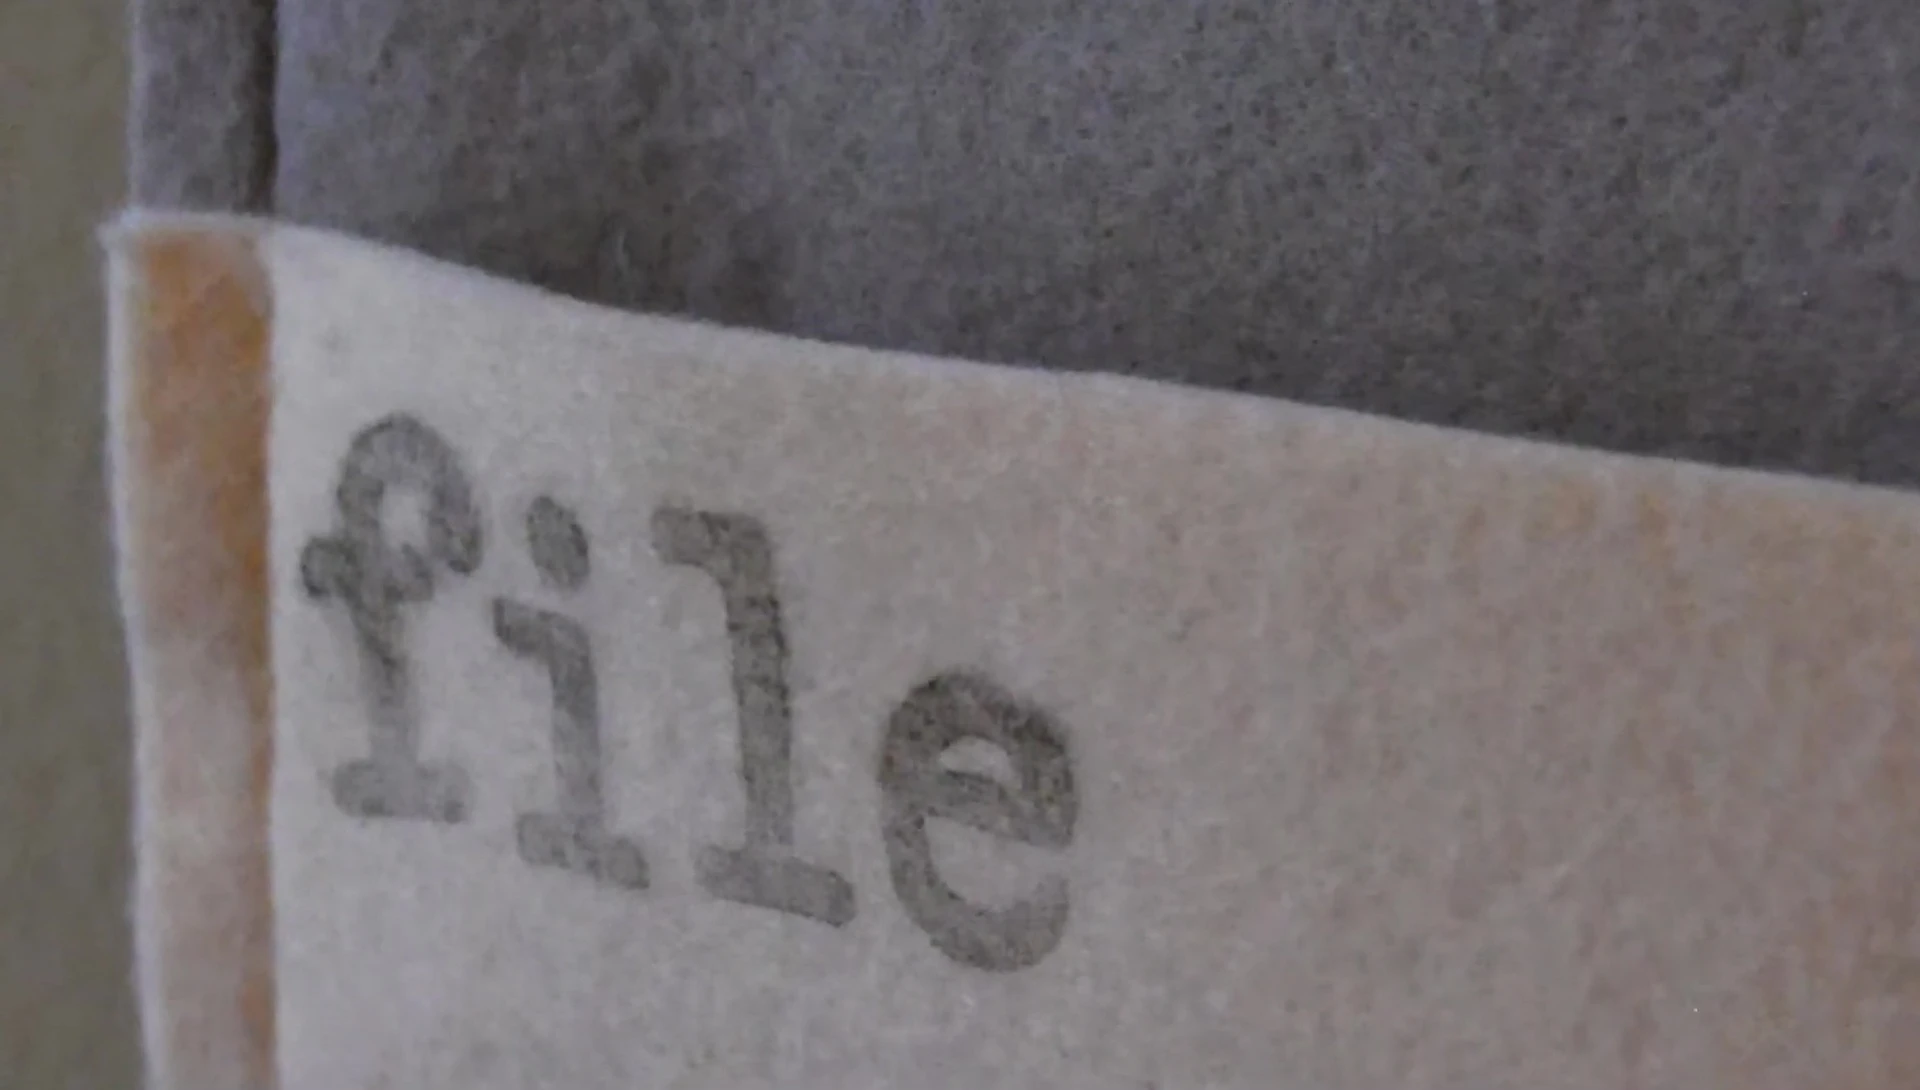
Label each pocket to categorize your mail efficiently. I used letter stamps to create labels that read "DO IT," "FILE IT," and "READ IT." You can adapt these labels to suit your own preferences and organization style.
Experiment with different labeling techniques or use clothespins and small pieces of paper for interchangeable labels. This is a completely customizable project; let your creativity shine!
Conclusion
This DIY felt mail organizer offers a stylish and functional solution for organizing mail, making it a breeze to sort through important documents and prevent paper clutter from building up. The project is simple to assemble, requiring only basic sewing skills and readily available materials.
The cost-effectiveness is a major advantage; you can make multiple organizers for various purposes without breaking the bank. The customizable nature allows for personalization, ensuring it complements your existing décor and organizational style.
Overall, this project is highly recommended for its ease, affordability, and attractive outcome. The ability to tailor the pockets and labels ensures that it fits your exact mail management needs.