Transform your cluttered space into an organized haven with this incredibly budget-friendly DIY craft organizer! Using only items from the Dollar Tree, this project is surprisingly easy to replicate and offers incredible versatility. Perfect for crafters, cooks, or anyone seeking a stylish and functional storage solution, this organizer is a game-changer. We’ll show you how to create a stunning, rustic-chic organizer using simple materials, including wooden pallets and mesh baskets, all while staying within a surprisingly low budget. Get ready to say goodbye to messy countertops and hello to a beautifully organized space!This step-by-step guide will walk you through the process of constructing a charming organizer perfect for storing everything from K-cups and spices to yarn and paint. The use of readily available Dollar Tree materials keeps the project cost-effective, while the customizable design allows you to tailor it to your specific needs. Whether you’re looking to declutter your kitchen, craft room, or even your pantry, this versatile organizer is the perfect solution. Prepare to be amazed by how easily you can achieve a high-end look without breaking the bank.
Read more: Top 10 Best Mail Sorters in 2019: A Comprehensive Review
Materials & Preparation
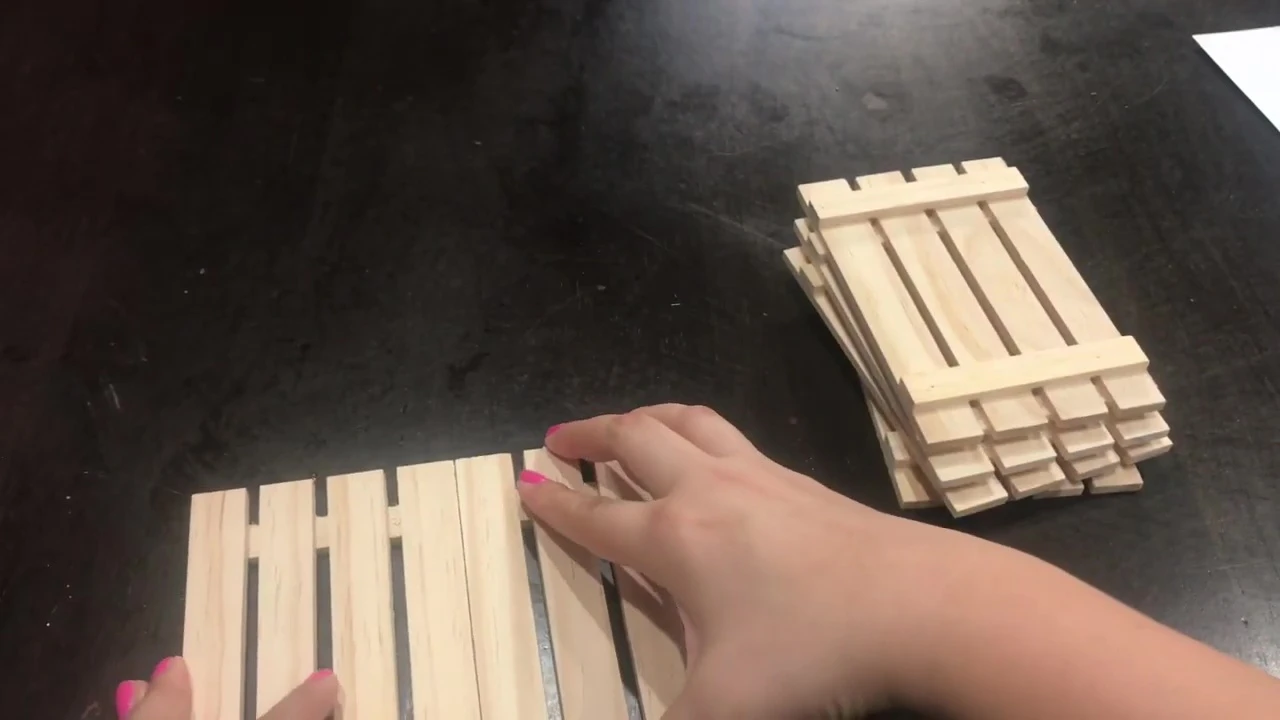
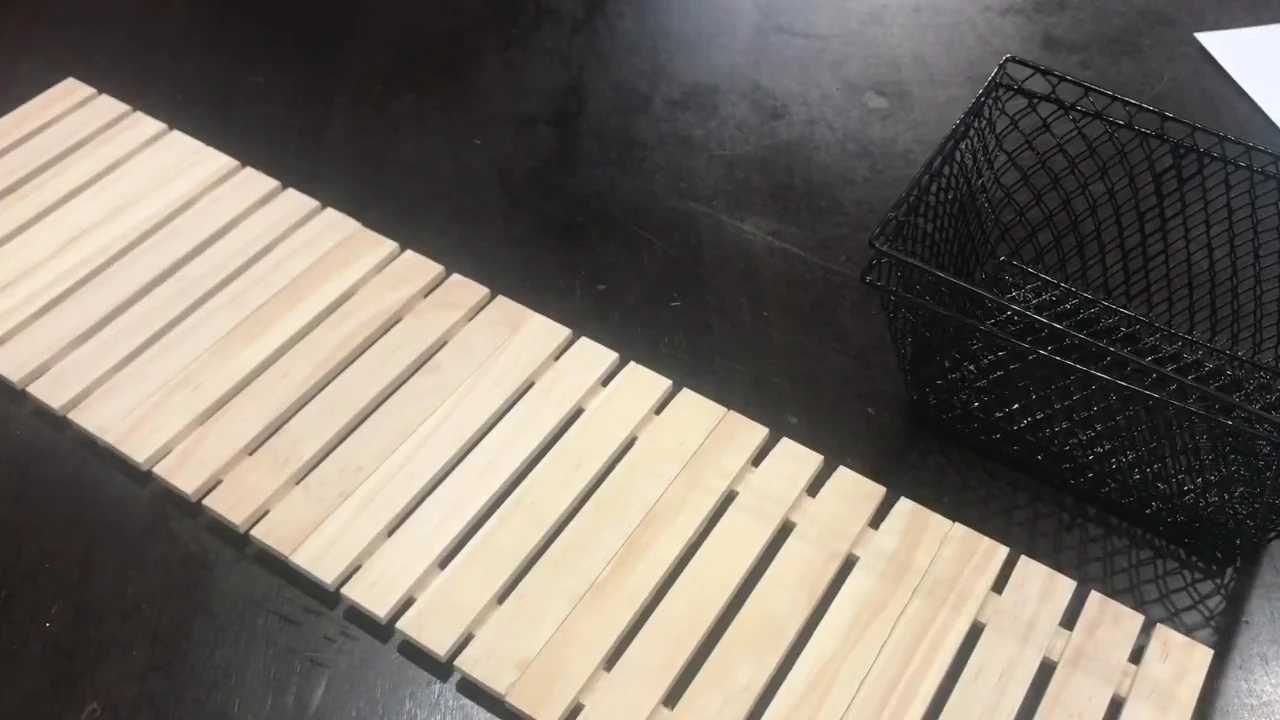
This project utilizes entirely Dollar Tree items, making it incredibly budget-friendly. The core components include six wooden pallets, providing a rustic base. You'll also need three rectangular mesh baskets (available in black or white) to serve as storage containers.
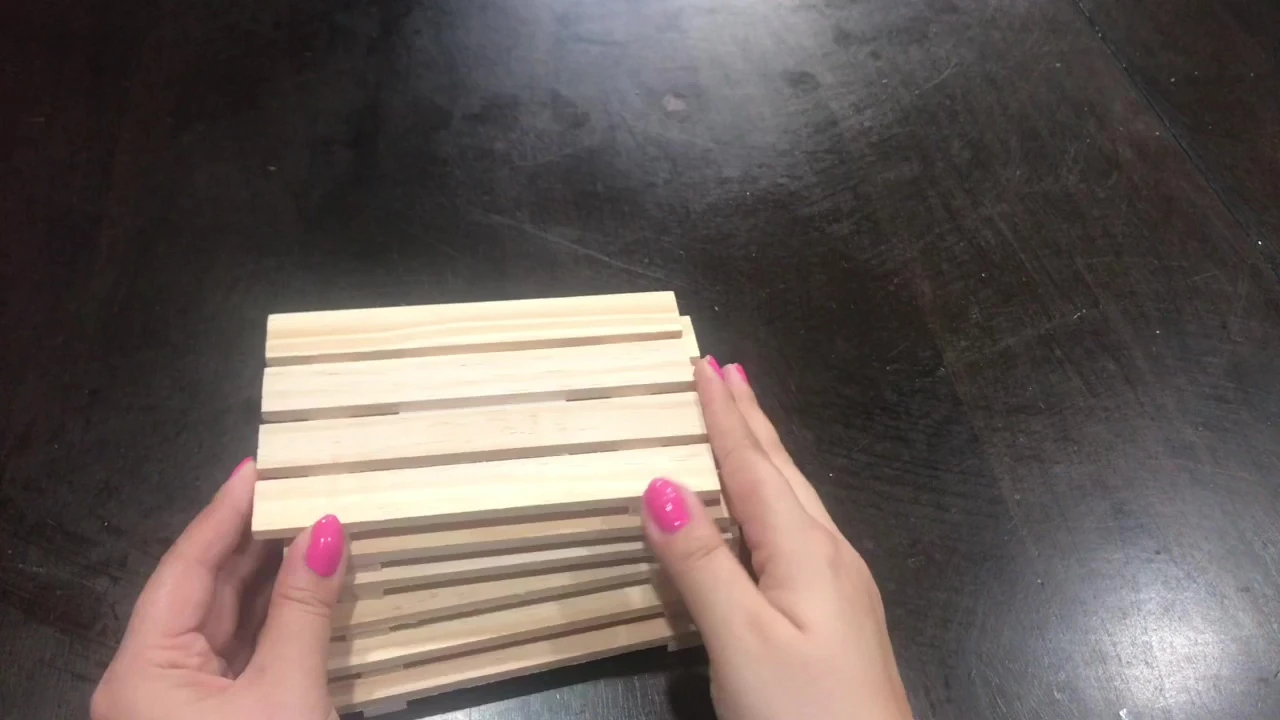
Before assembly, prep the wooden pallets by removing any stickers from the back. This ensures a clean, smooth surface for painting and adhering the baskets.

Painting & Assembling the Base
Begin by painting the wooden pallets with a snow-white paint. Allow ample drying time before proceeding to ensure a secure bond between the pallet pieces.
After the paint dries, glue the pallets together to create a sturdy base for the organizer. The video suggests wood glue or E6000 adhesive for a more permanent hold.
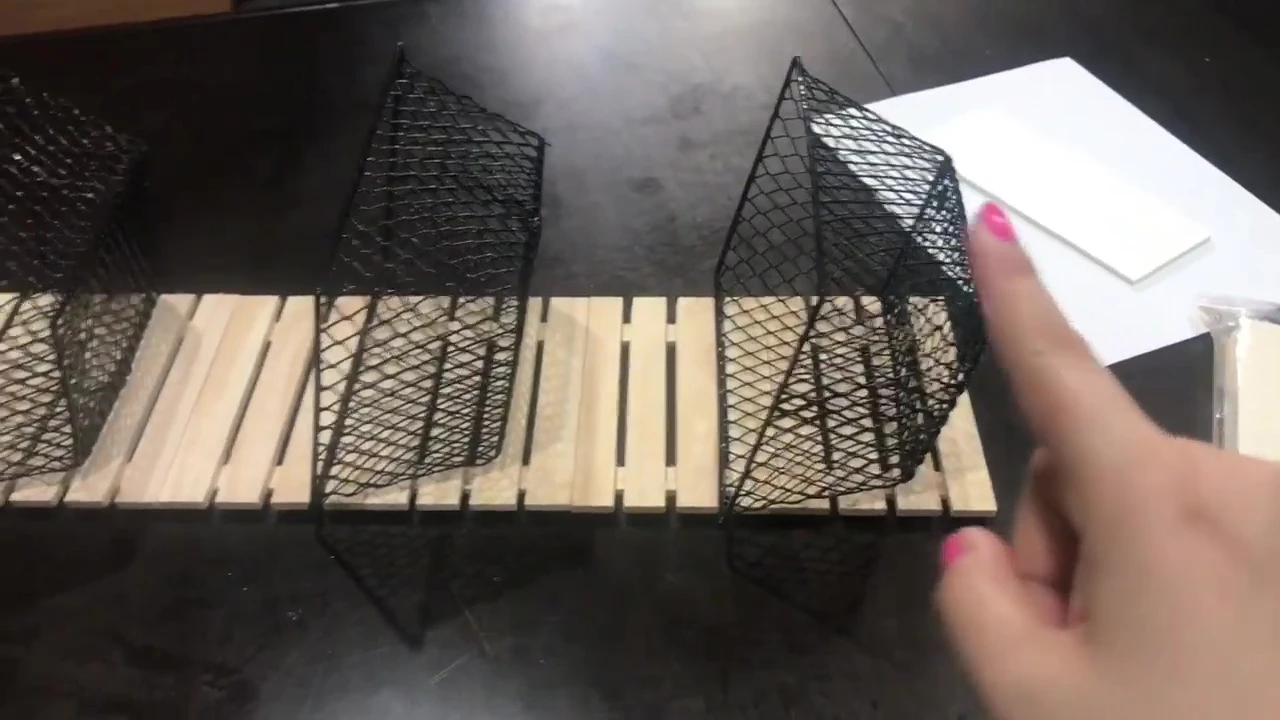
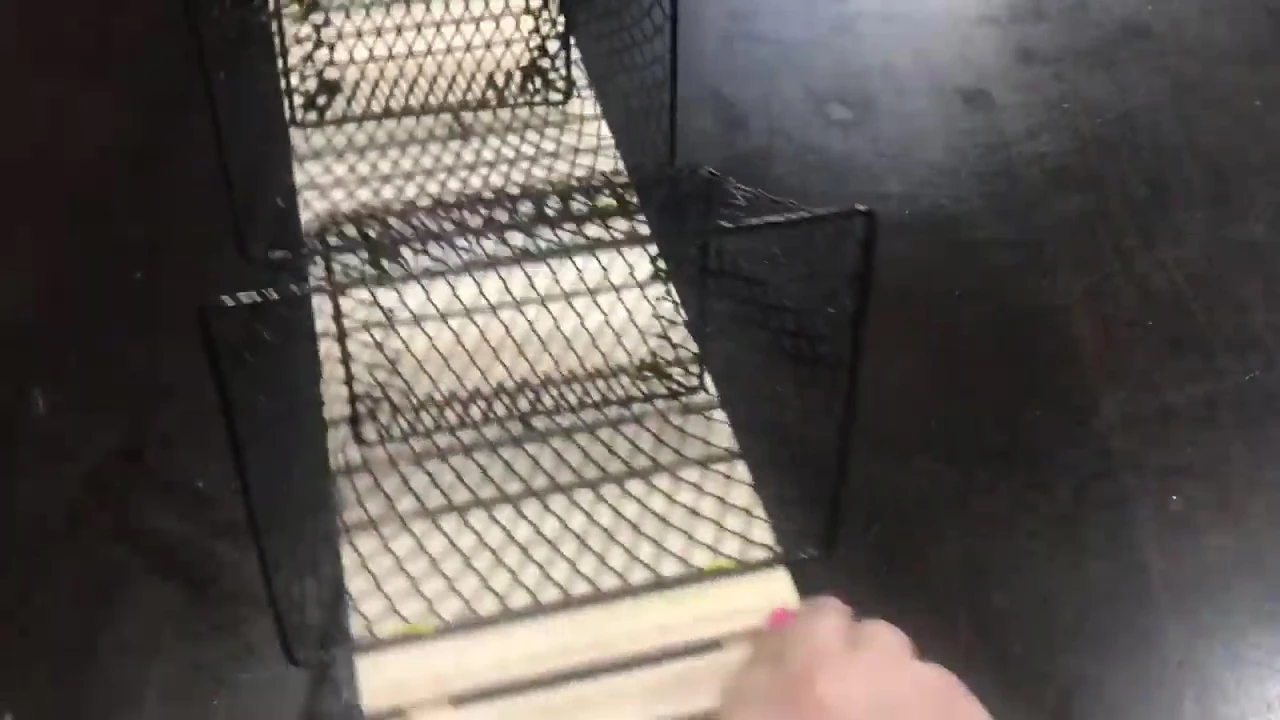
Attaching the Baskets
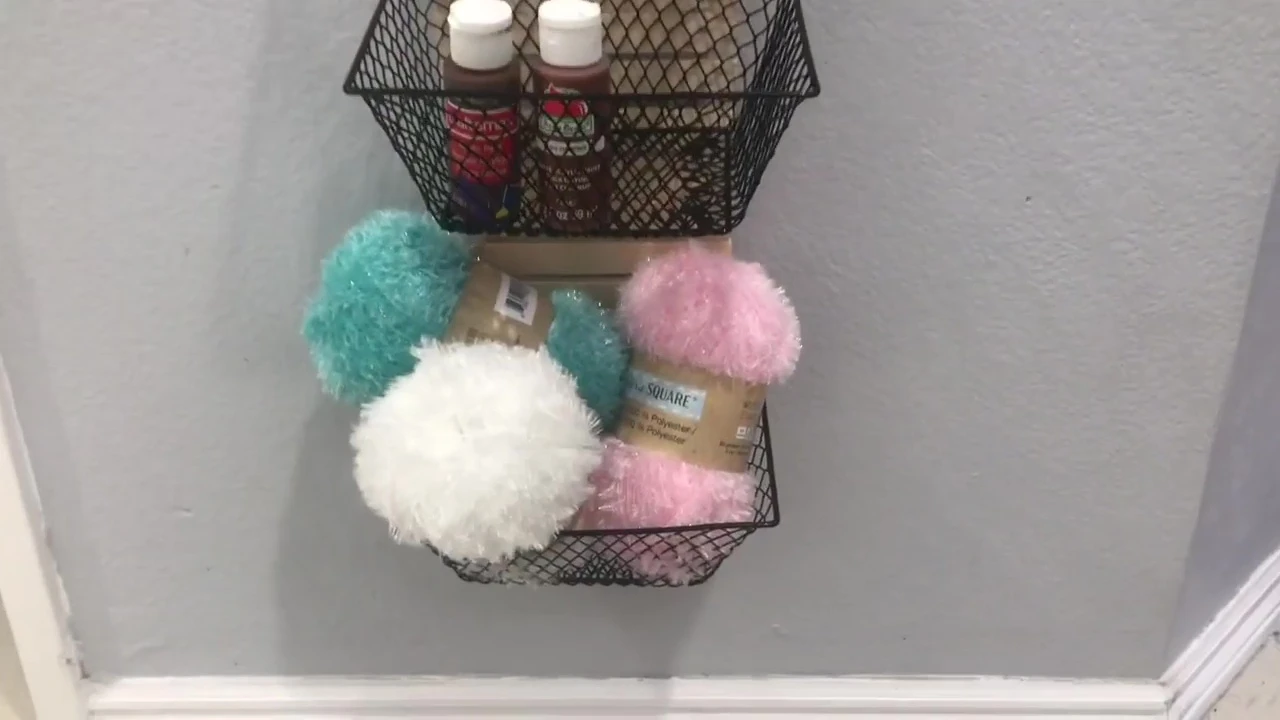
Once the base is assembled and dry, position the mesh baskets onto the pallet base. Ensure sufficient space between the baskets for easy access and to accommodate various items.
Use zip ties to secure the baskets to the pallets. The video suggests six zip ties per organizer, ensuring each basket is firmly attached and stable.
Adding Finishing Touches
To enhance the overall appearance, the creator adds a small piece of twine to the top of the organizer for hanging. This is optional, but it adds a nice touch and functionality.
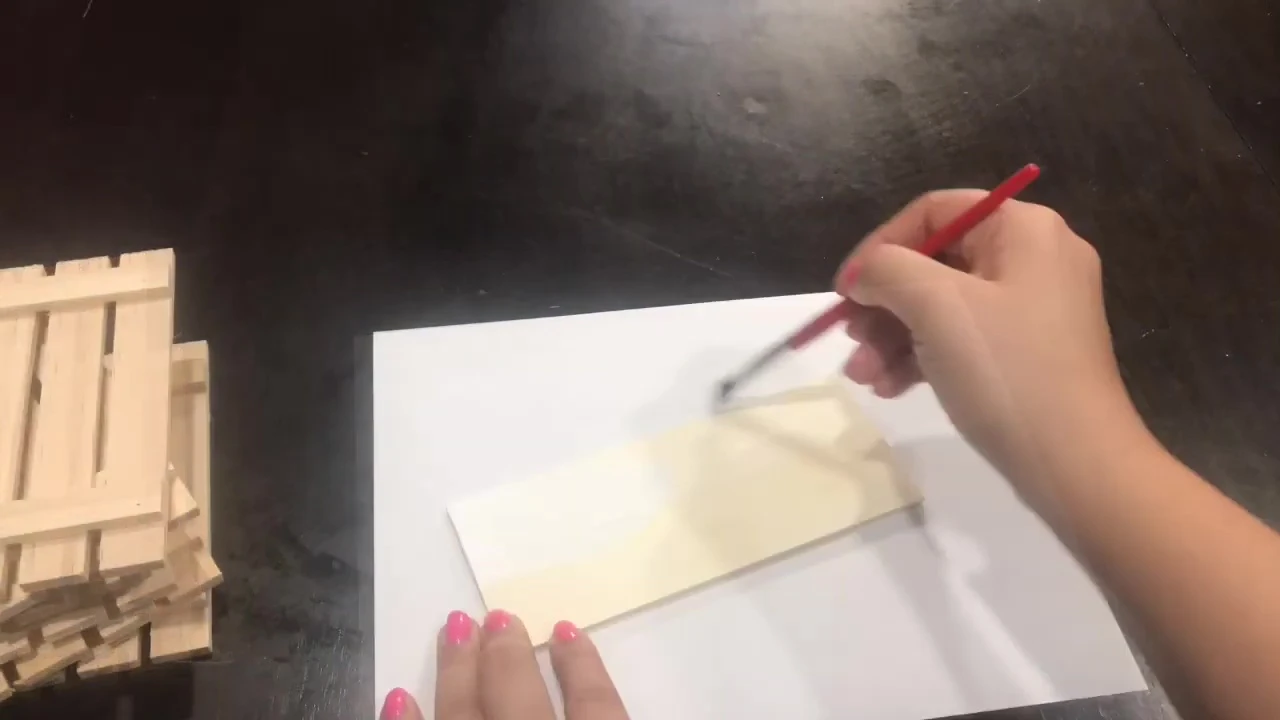
A small sign is added to the top for personalization. The video demonstrates using rub-on transfer stickers, adding a custom label for the organizer’s purpose. Alternatively, you can simply leave it blank or add your own personal touch.
Conclusion & Versatility
This Dollar Tree DIY organizer offers incredible versatility, suitable for a range of uses. From organizing coffee supplies and spices in the kitchen to storing craft supplies like yarn, paint, and glitter in a craft room, its adaptability is a key strength.
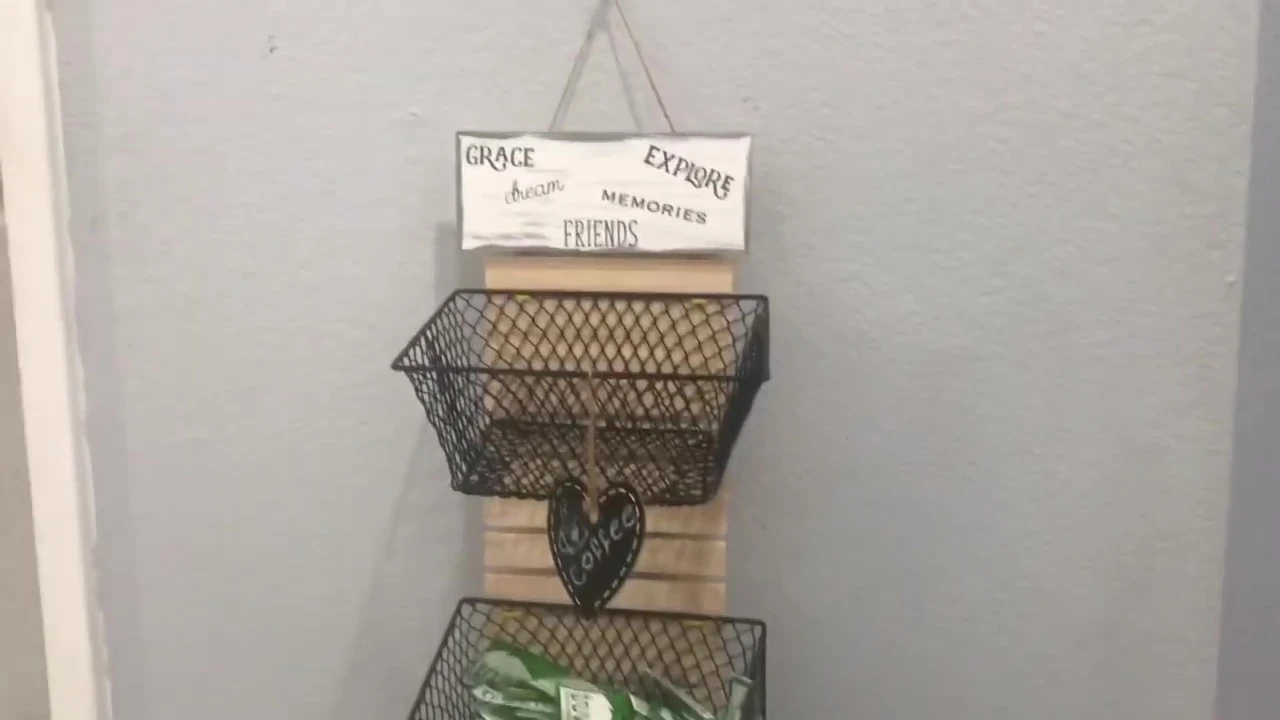
The project's affordability, combined with its customizable design and functionality, makes it a highly recommended project for anyone seeking an inexpensive yet stylish storage solution. The use of rub-on transfer stickers elevates the final look, offering a clean and polished aesthetic.