Transform your entryway from cluttered to chic with this simple DIY wall-mounted mail and key holder! This project is perfect for beginners, requiring minimal tools and readily available materials. We'll guide you through creating a stylish and functional organizer using a pre-cut wood round and a scrap piece of wood, eliminating the need for complex cutting and shaping. The design allows for customization, letting you personalize the color and hardware to match your existing décor. Whether you're looking for a practical solution for your home or a unique, thoughtful gift, this project delivers both style and functionality.In just a few easy steps, you can build a beautiful and practical organizer that will keep your keys and mail neatly stored and easily accessible. This step-by-step guide includes clear instructions and images, making the process straightforward and enjoyable. Using pocket holes for a clean finish and readily available materials like paint, hooks, and a drawer pull, you'll create a stunning piece that adds personality and organization to any entryway. Get ready to ditch the clutter and embrace a more organized, stylish home!
Pros And Cons
- Easy to make
- Makes a great gift
- Modern and sleek look
- Unique design
- Keeps entryway organized
Read more: Top 10 Best Mail Sorters in 2019: A Comprehensive Review
Project Overview: Easy and Fun
This project is a simple yet stylish wall-mounted mail and key holder, perfect for organizing your entryway and making a thoughtful gift. The design focuses on ease of construction, using readily available materials and minimal tools.
We'll utilize pre-cut wood rounds to save time and effort, and the instructions are straightforward enough for beginners. The key rack and mail organizer can be customized to your liking, allowing for personalization and creativity.
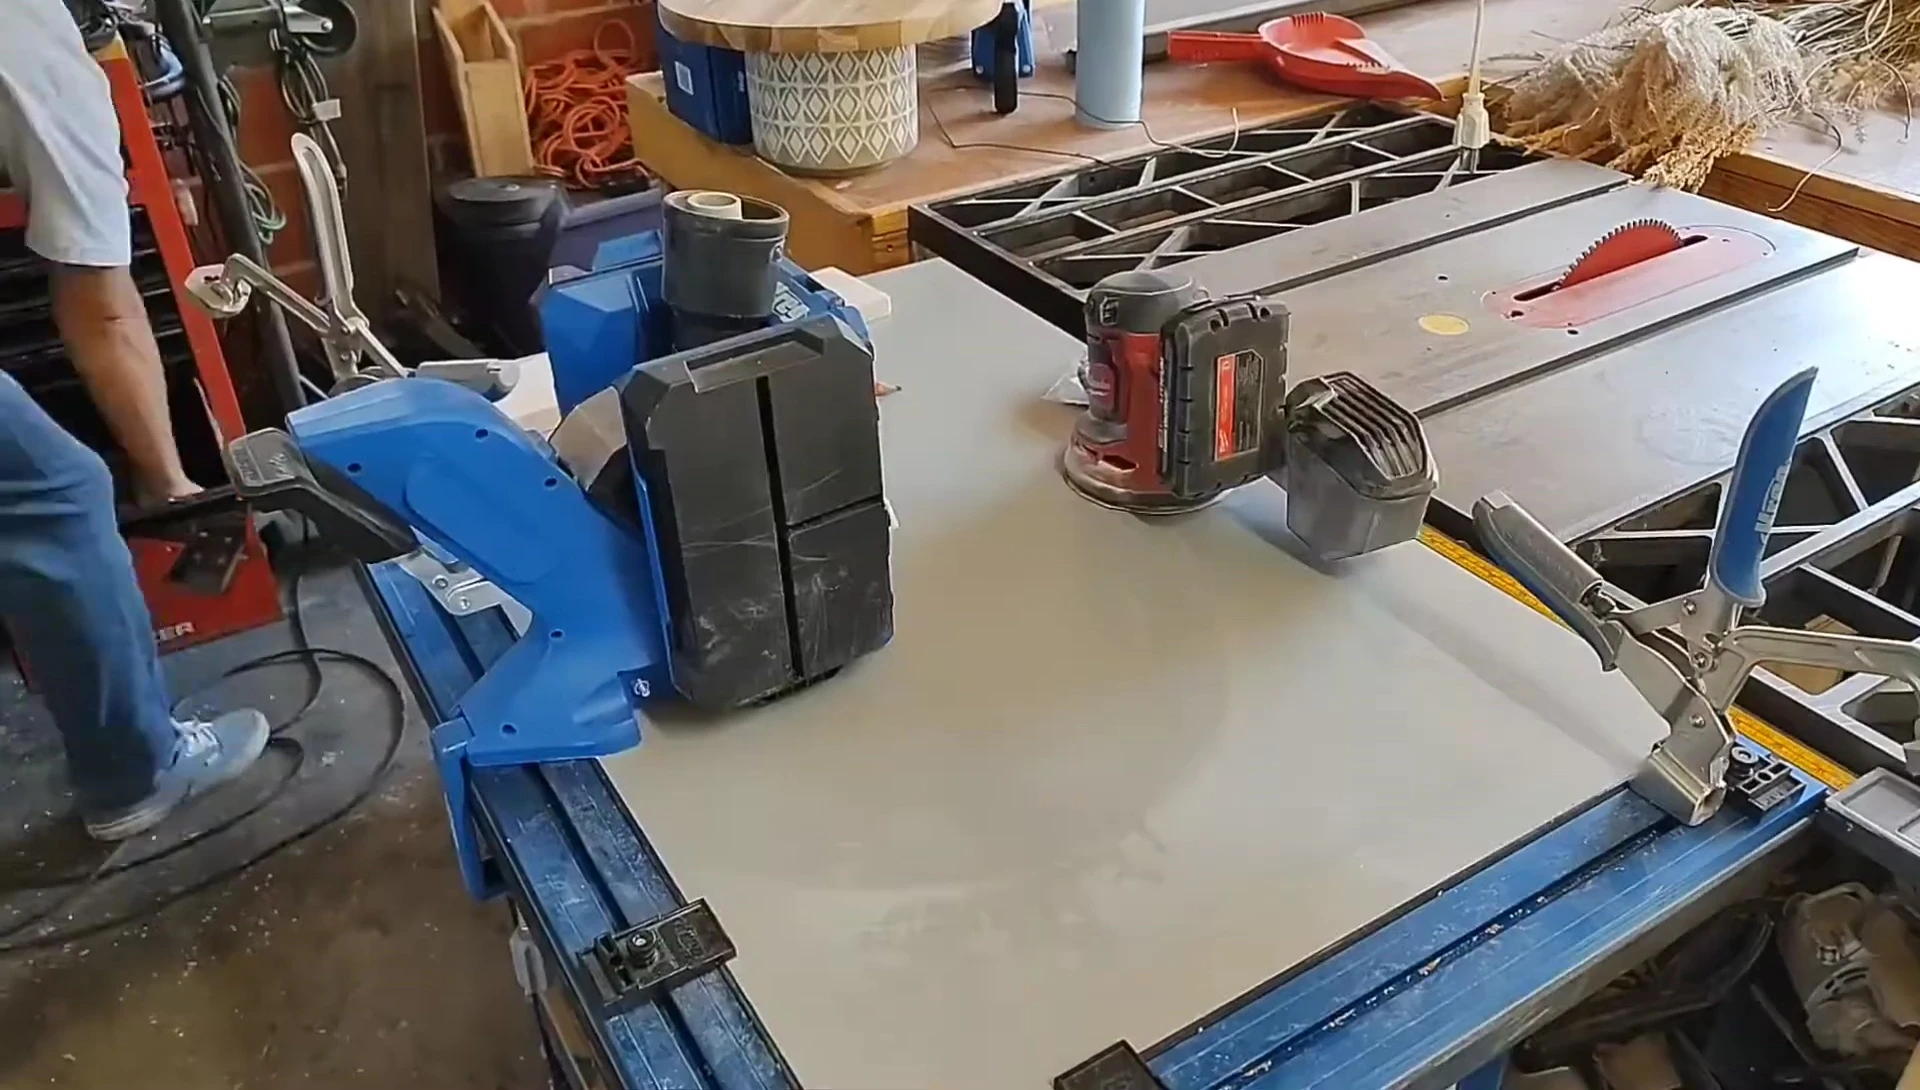
Materials and Preparation
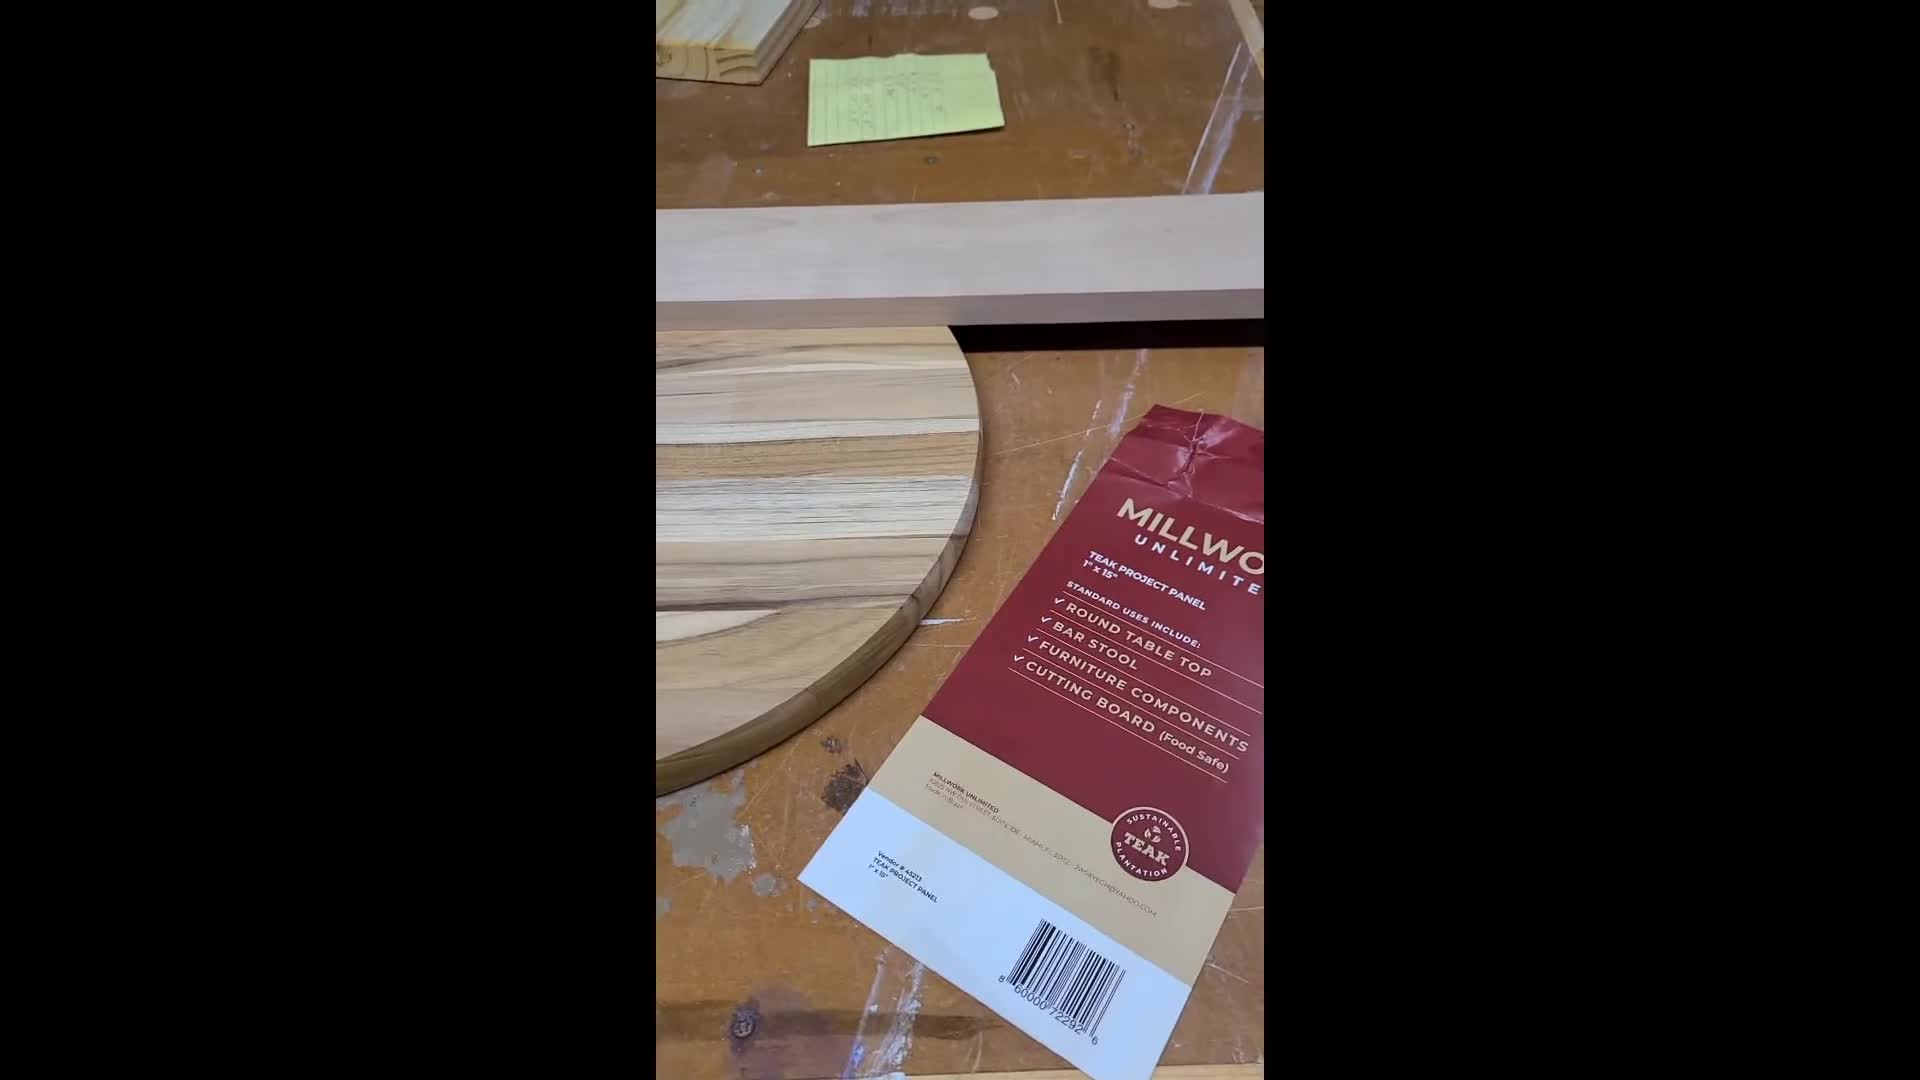
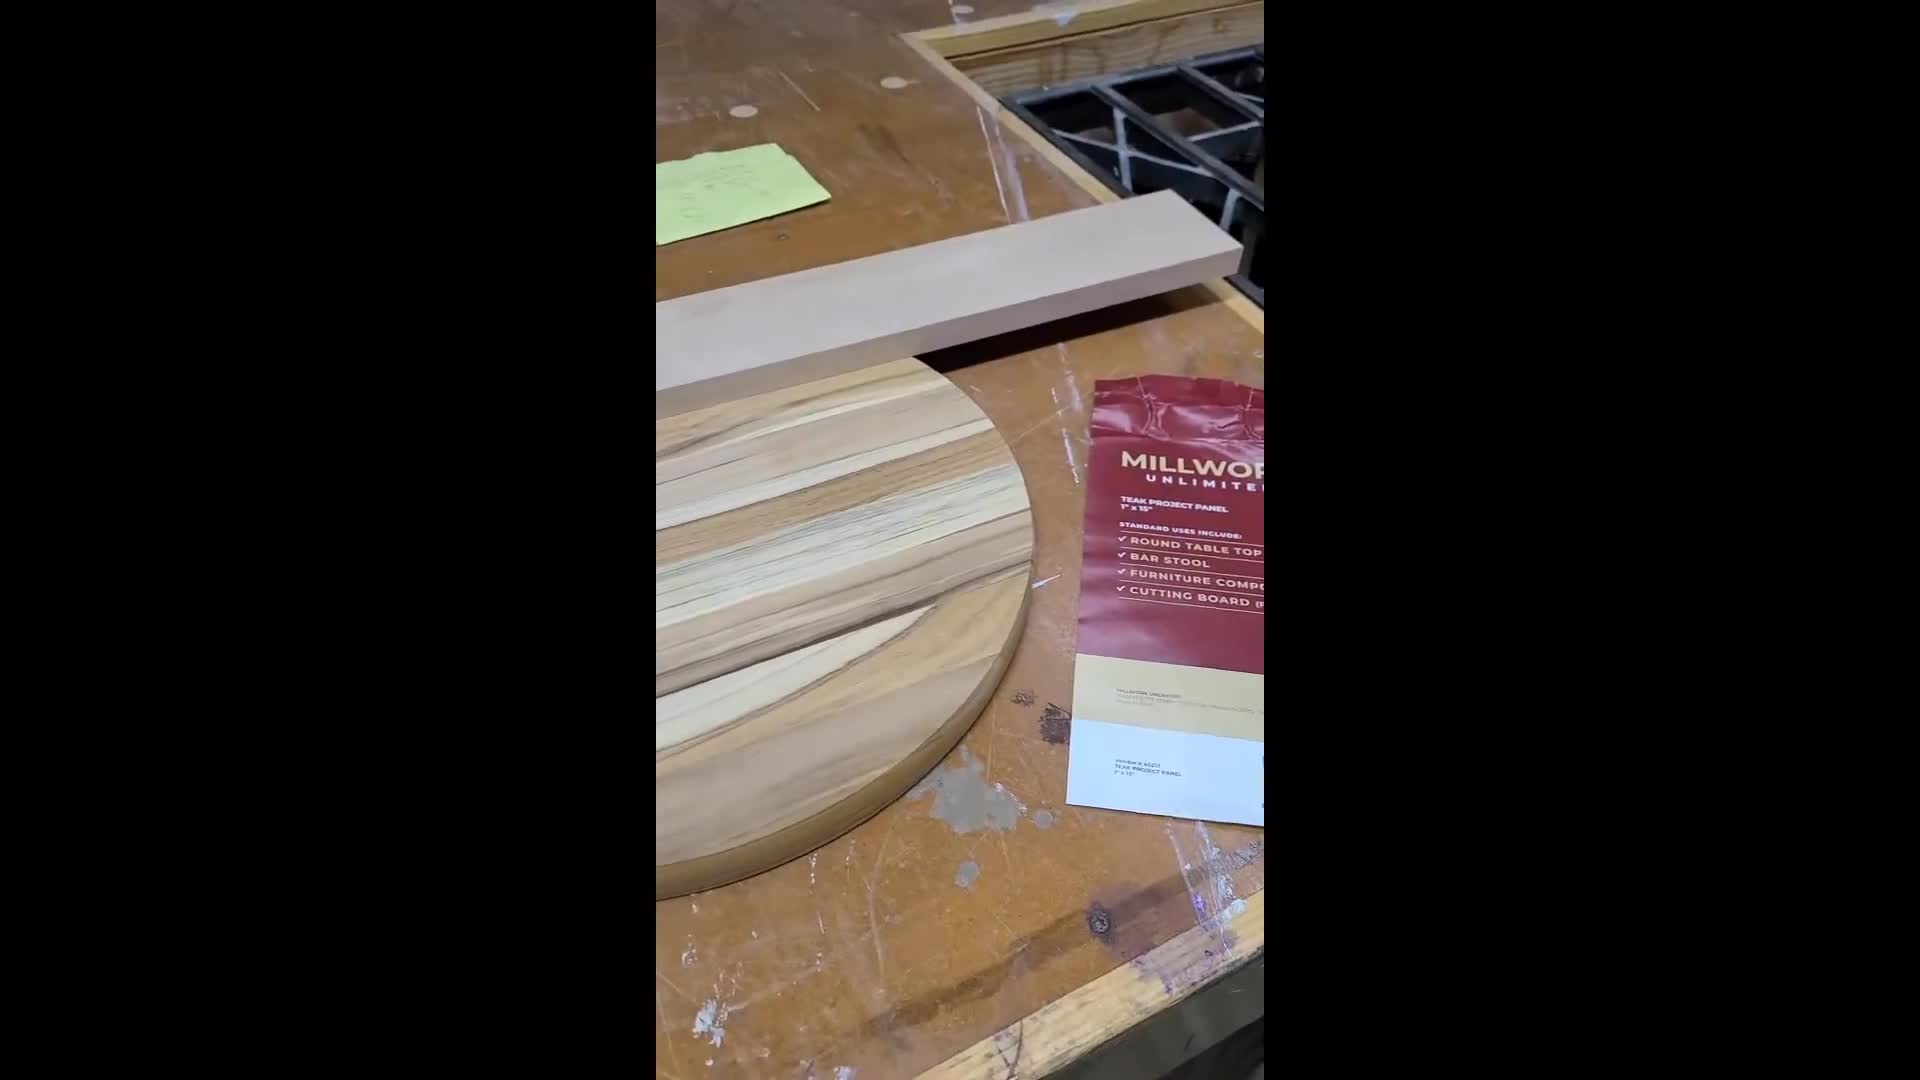
For this project, we'll use a pre-made teak wood round (around 15 inches in diameter), readily available at home improvement stores. This eliminates the need for cutting and sanding the round.

A 1x4 piece of scrap wood (birch, pine, or poplar will work) will serve as the shelf. This piece will be attached to the wood round and tapered to match its curved edges.
Additional materials include pocket hole screws, pocket hole plugs, wood glue, sandpaper, paint, primer, teak oil, hooks, and a drawer pull. These can all be easily sourced.
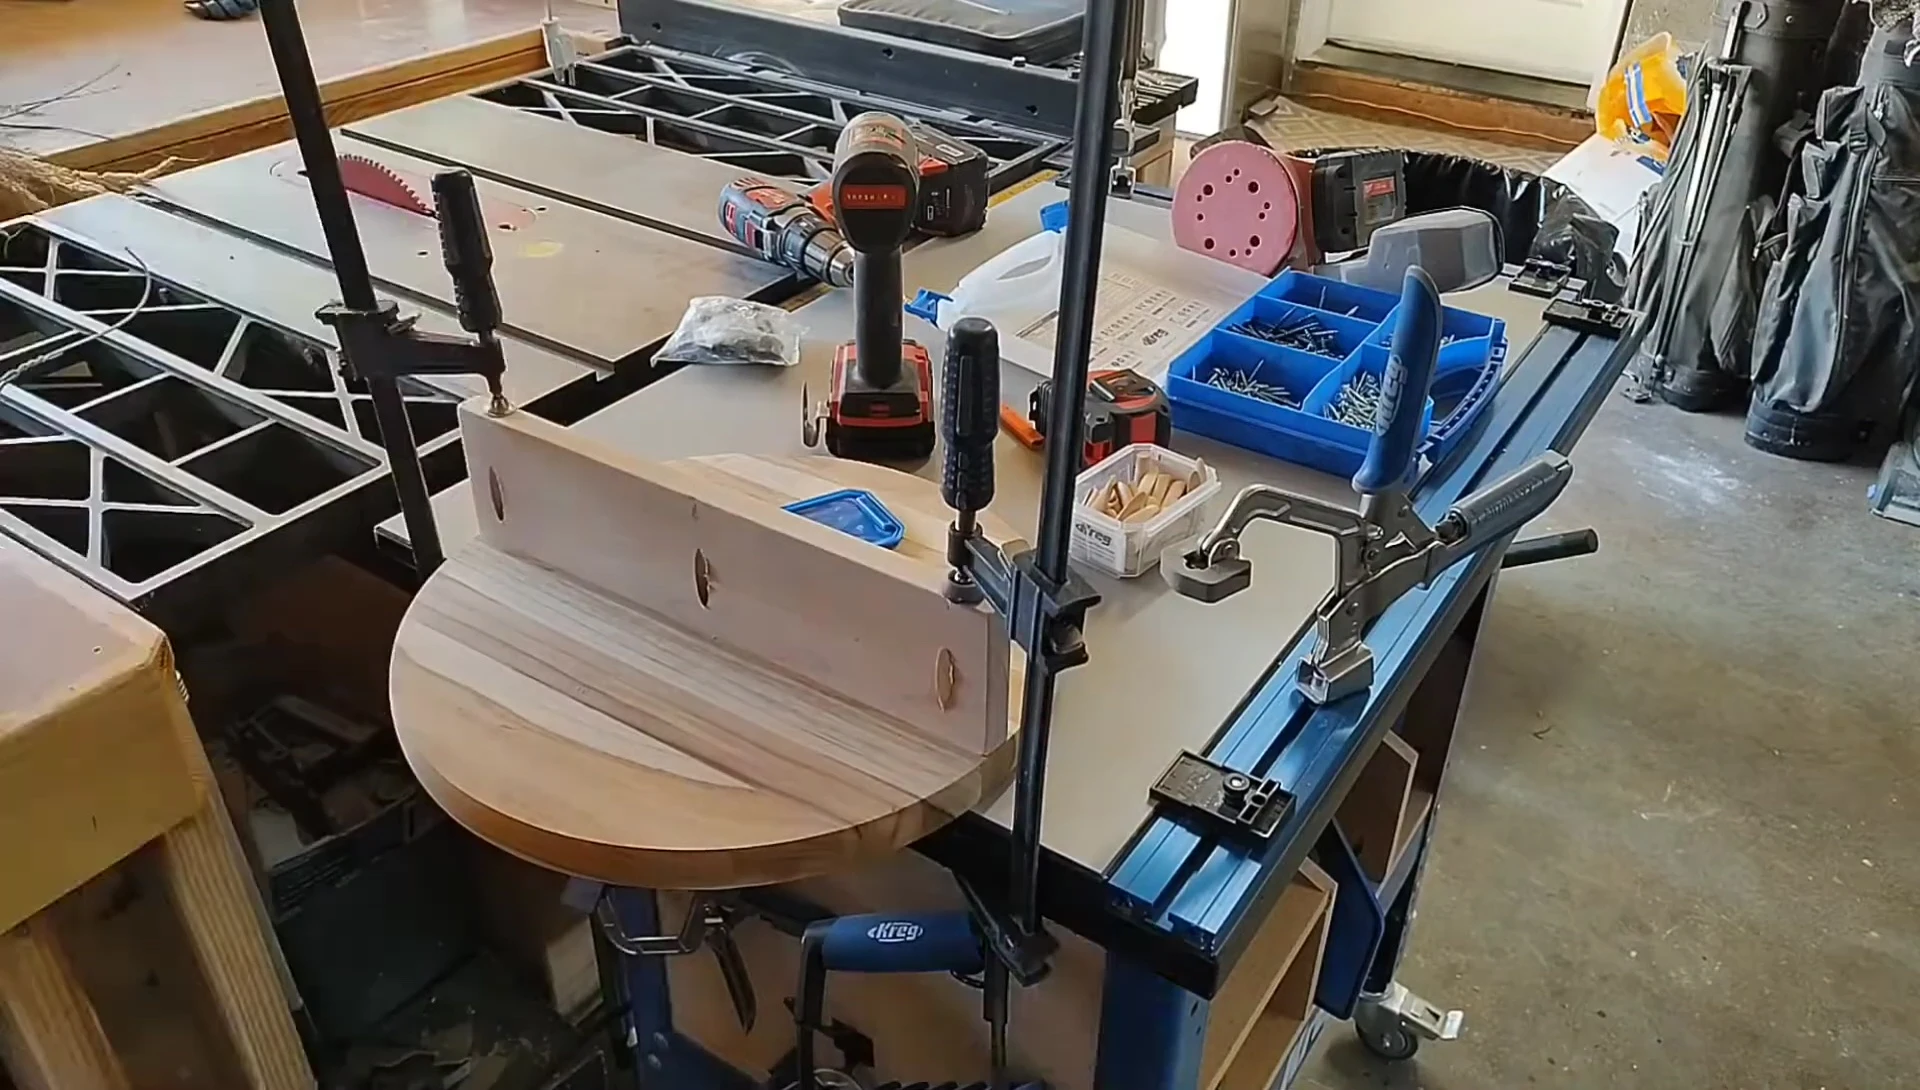
Construction: Attaching the Shelf
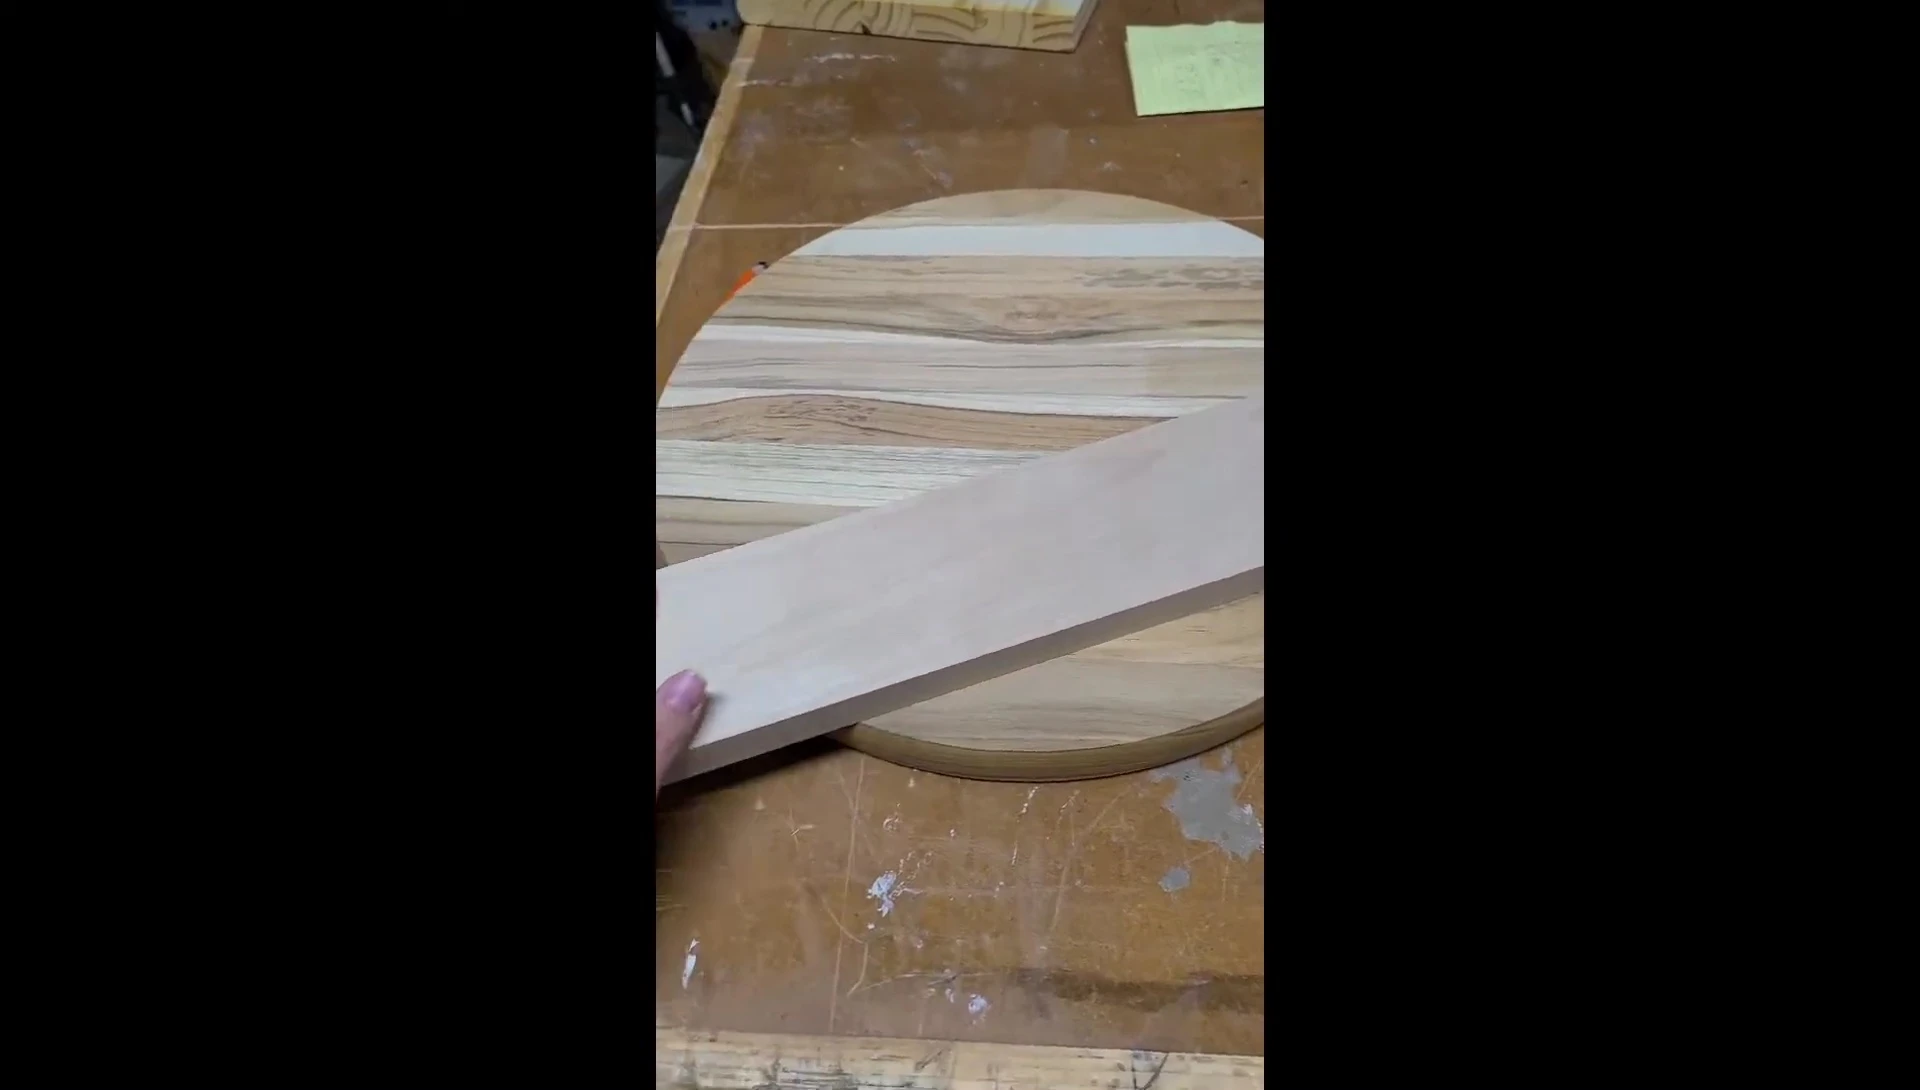
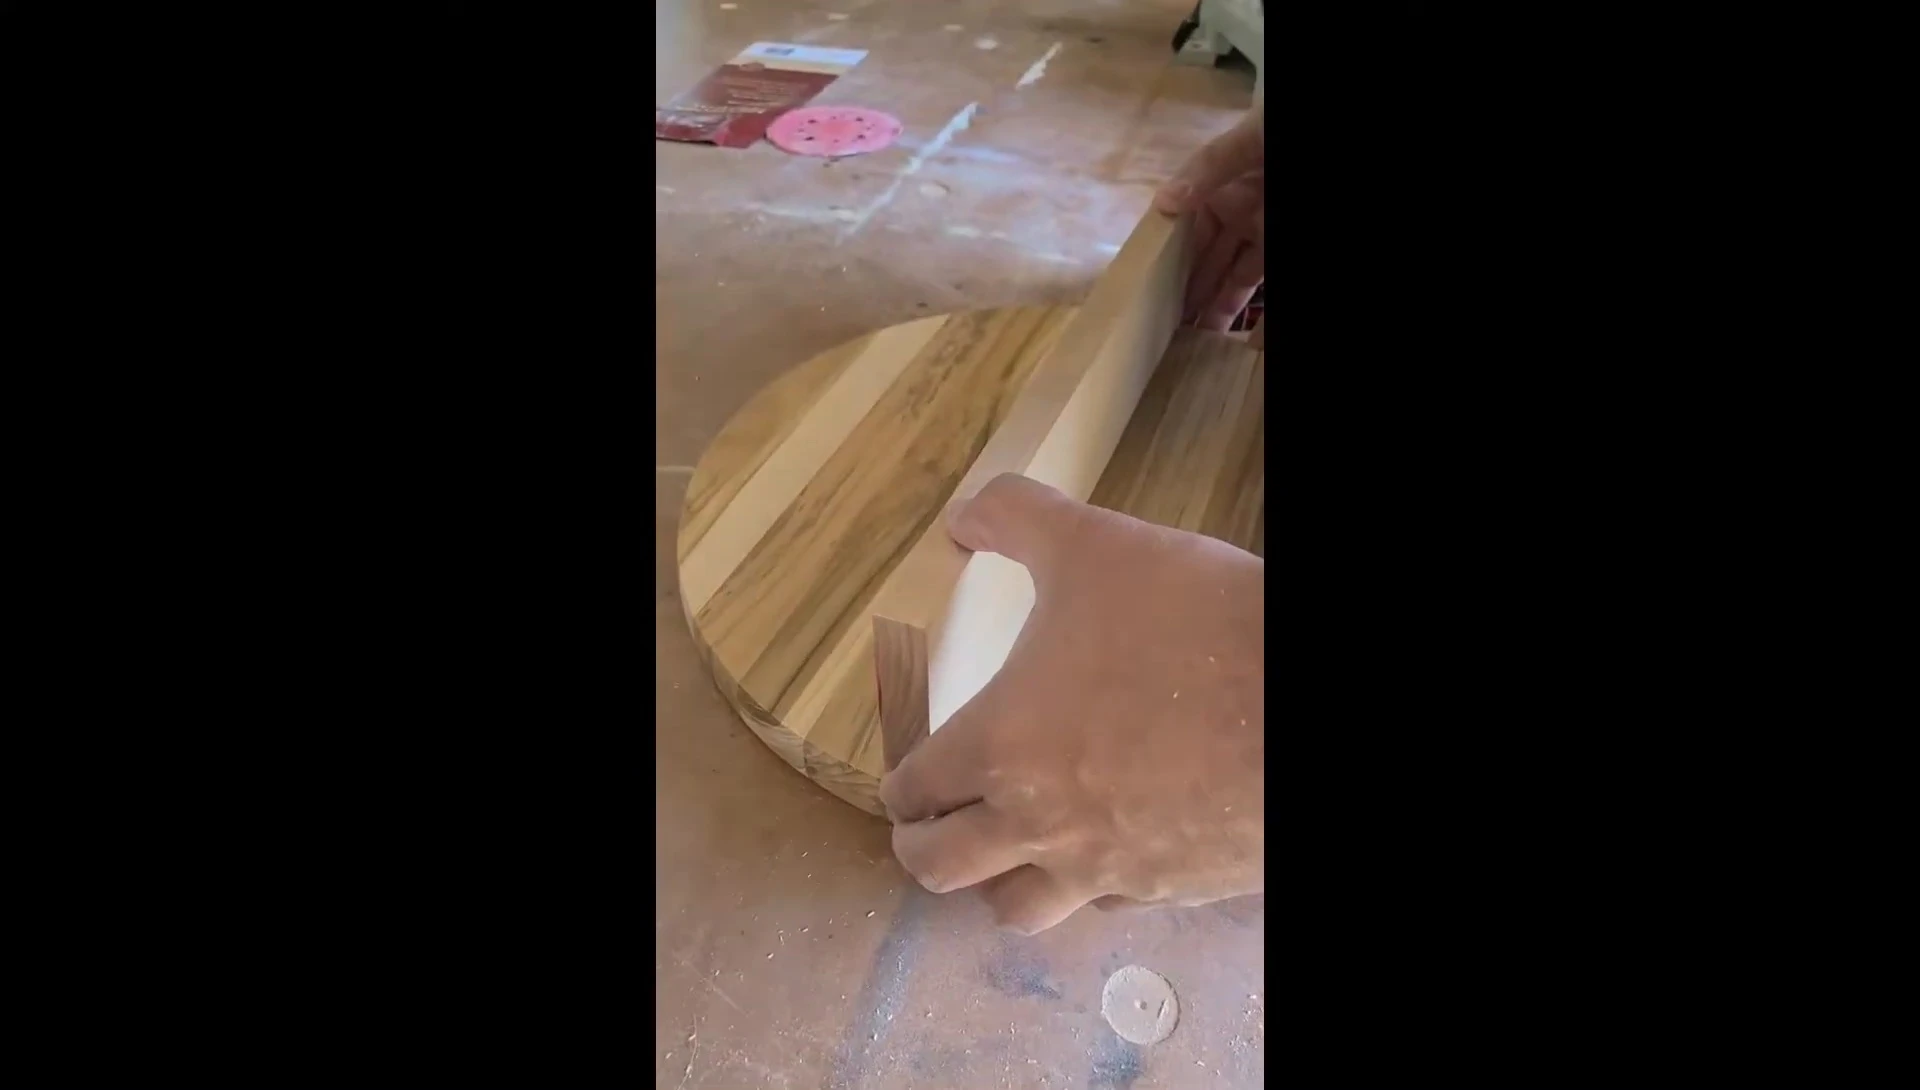
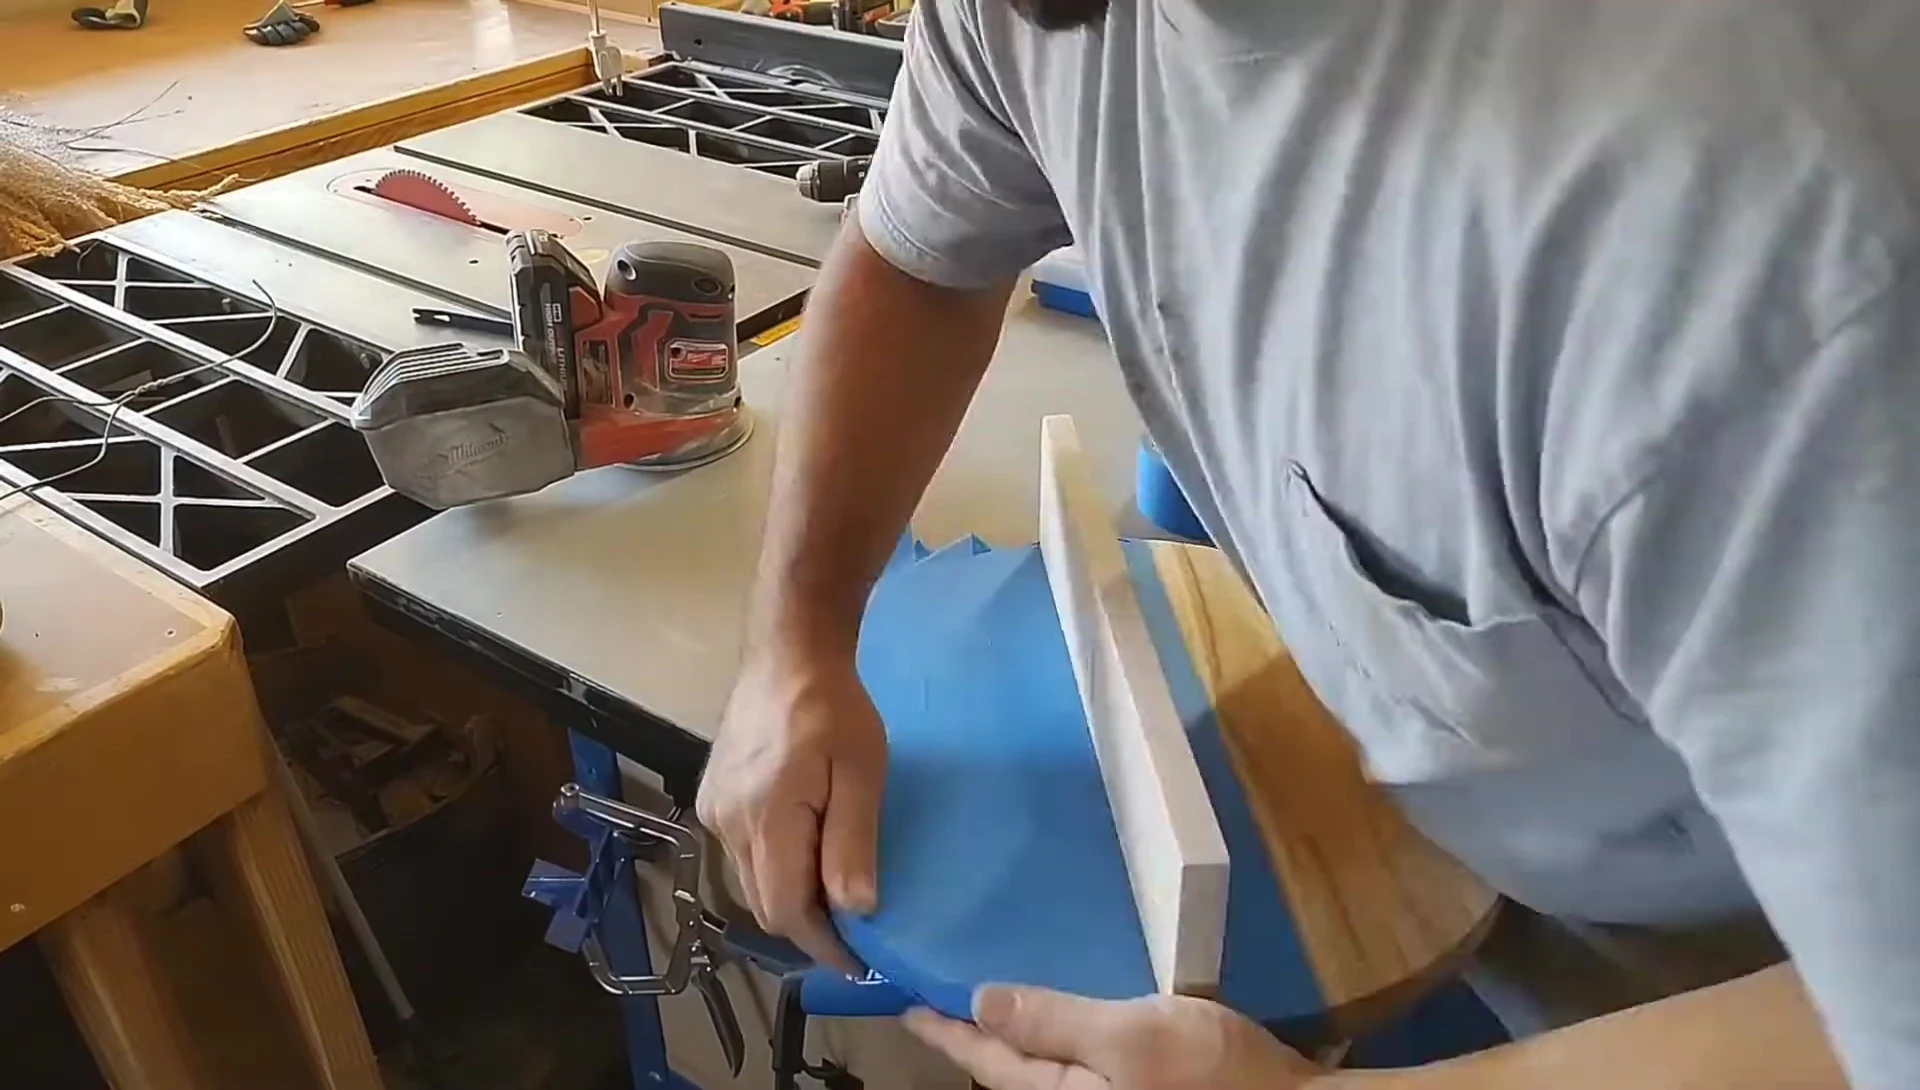
Begin by cutting the scrap wood to size to fit the width of the wood round. Then, taper the edges of the shelf to seamlessly blend with the curve of the round, using an orbital sander and 80-grit sandpaper.
Drill pocket holes in the bottom of the shelf using a Kreg jig. This allows for clean attachment to the round without visible screws.
Attach the shelf to the wood round using pocket hole screws, ensuring it's centered. Fill the pocket holes with wood plugs, glue, and sand smooth once dry.
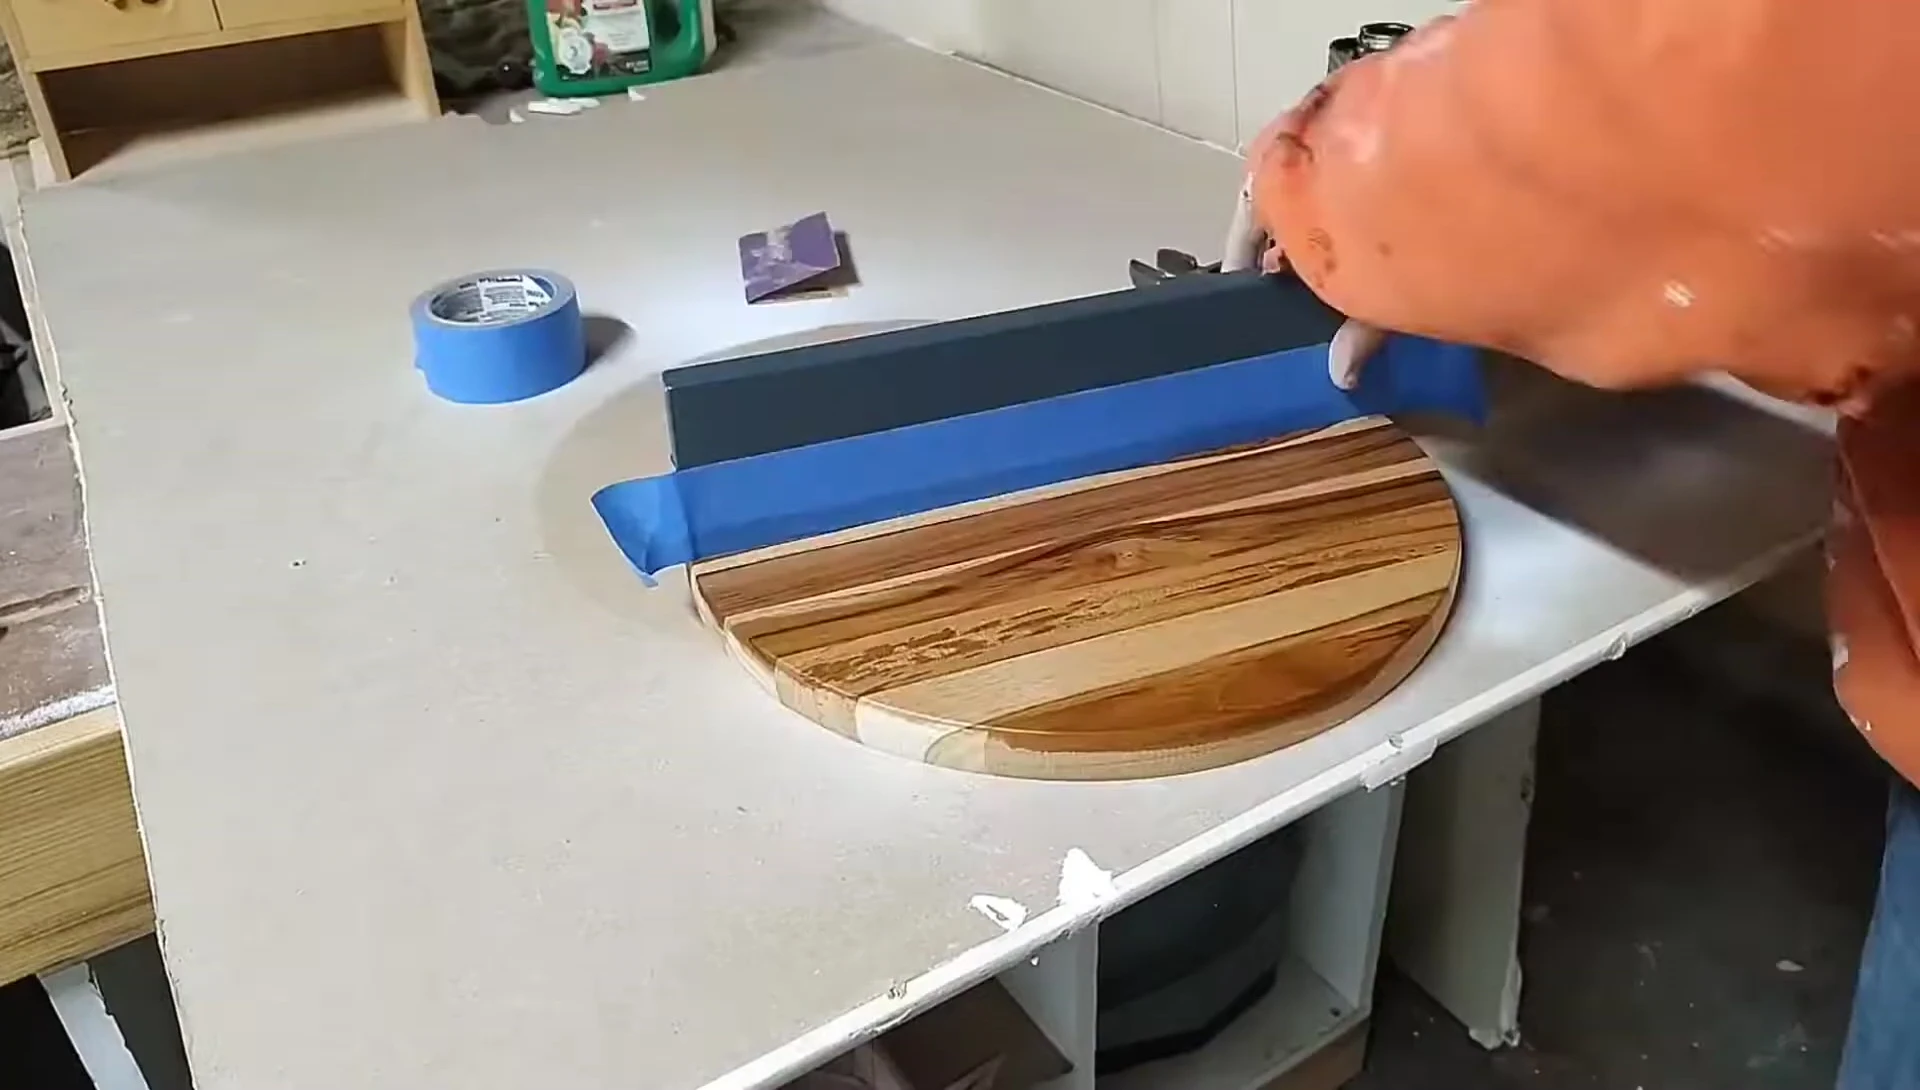
Finishing and Hardware
Protect the shelf with painter's tape and apply two coats of spray primer, followed by several coats of paint to the shelf. Let the paint dry completely before proceeding.
Remove the tape and apply teak oil (with optional stain) to the wood round. Let the oil dry thoroughly.
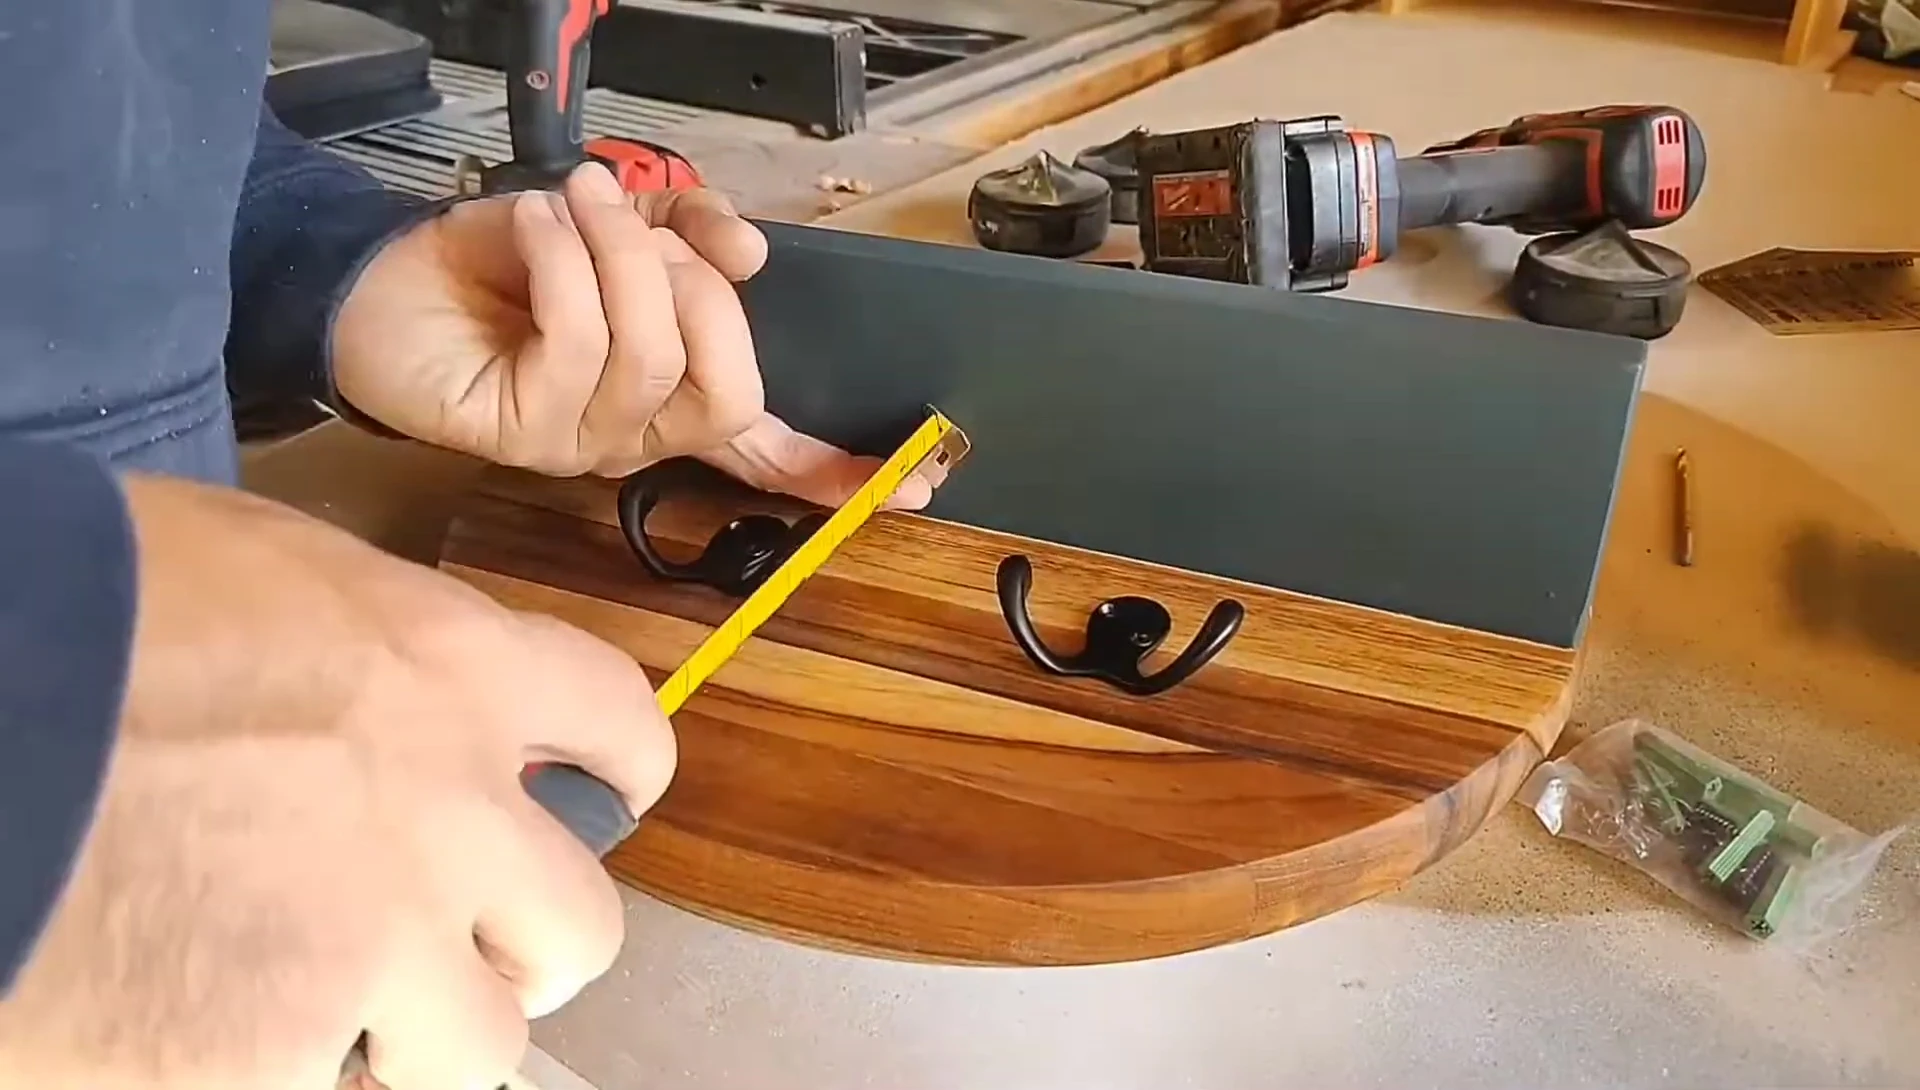
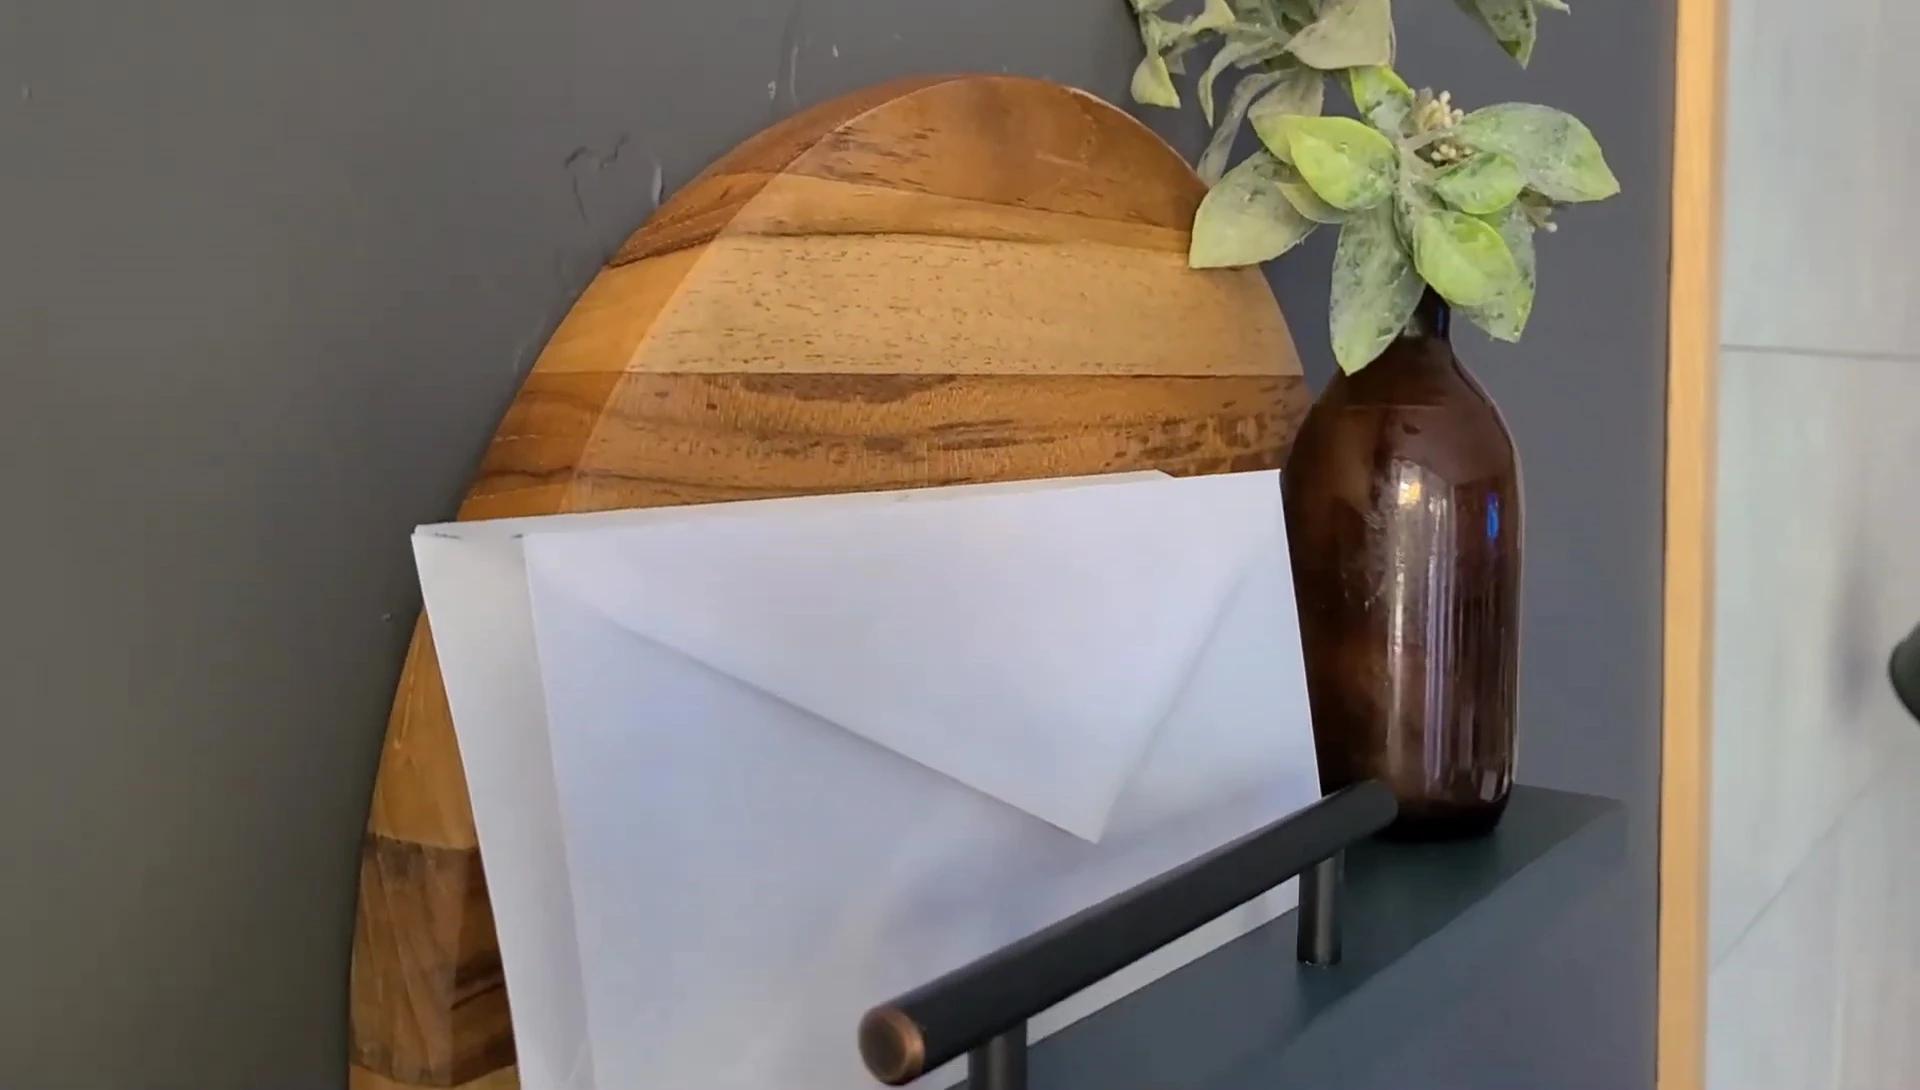
Once dry, add hooks underneath the shelf for keys and a drawer pull to the shelf for mail or other small items. The hardware adds functionality and a decorative touch.
Installation and Conclusion
The finished key and mail holder is now ready for installation. It can be easily mounted using command strips for a damage-free option or a picture hanging kit for added security.
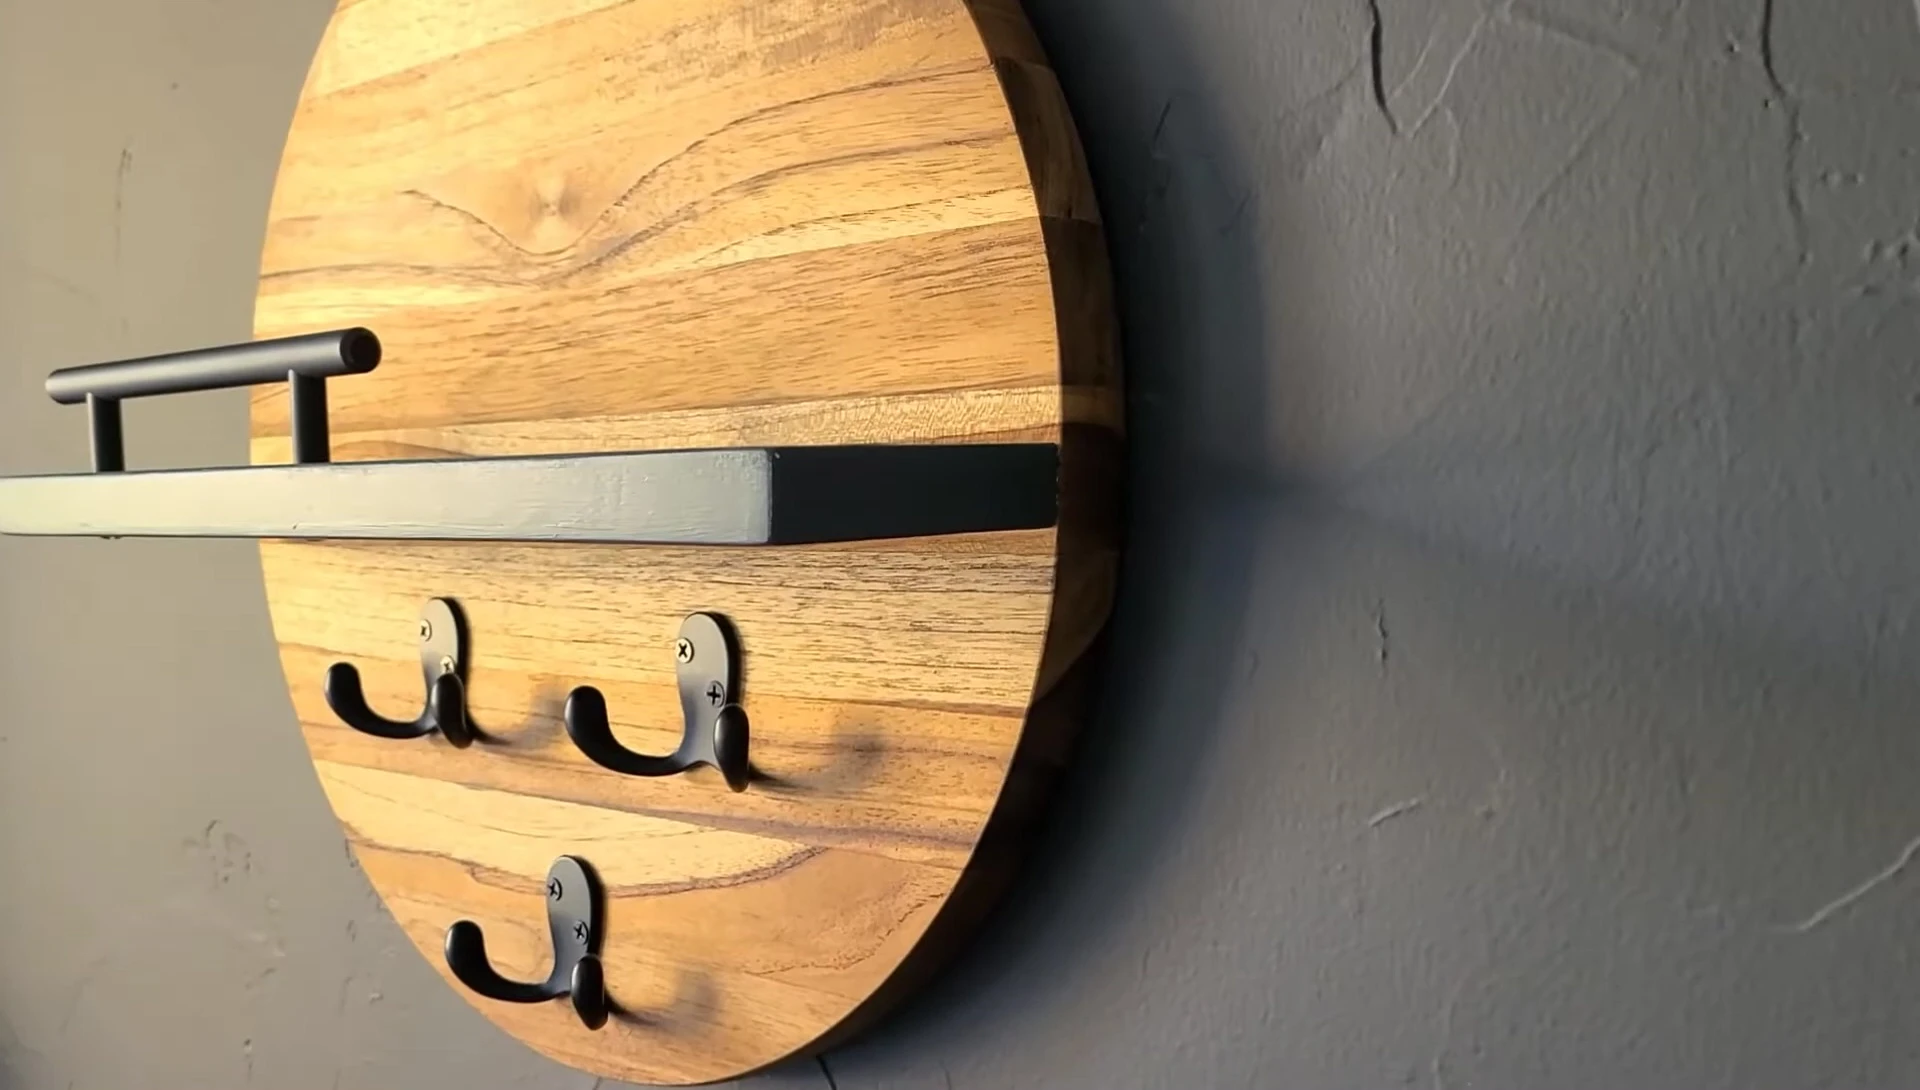
The project offers a sleek and modern design with practical storage solutions. Its unique features make it a great conversation starter and a personalized gift.
Overall, this DIY project is highly recommended for its ease, affordability, and stylish outcome. The detailed instructions and readily available materials make it accessible for a wide range of skill levels. The final product is both functional and visually appealing.