This step-by-step guide will show you how to build your own personalized wooden mail organizer. Tired of unattractive, flimsy mail holders? This project offers a stylish and practical solution, crafted from wood to create a durable and aesthetically pleasing addition to your home. We'll walk you through the entire process, from initial design and precise measurements to the final sanding and finishing touches. Get ready to transform a simple organizational need into a handcrafted statement piece.This DIY project is achievable for anyone with basic woodworking skills and a desire to create something unique. We'll cover everything from carefully planning your dimensions and optimizing wood usage to the crucial steps of precise cutting, assembly, and finishing. Learn how to achieve a professional-looking result with attention to detail and the right techniques. By the end, you’ll have a functional, attractive mail organizer, and the satisfaction of knowing you built it yourself.
Pros And Cons
- Customizable to desired size and specifications
- Can hold a large volume of mail
Read more: Top 10 Best Mail Sorters in 2019: A Comprehensive Review
Project Planning and Design
This project involves crafting a personalized wooden mail holder to replace existing ones. The initial design specifications include dimensions of 250mm (bottom), 350mm (side), 145mm (shorter side), and 95mm thickness. Careful measurements and calculations are essential to ensure accurate construction and a well-fitting finished product.
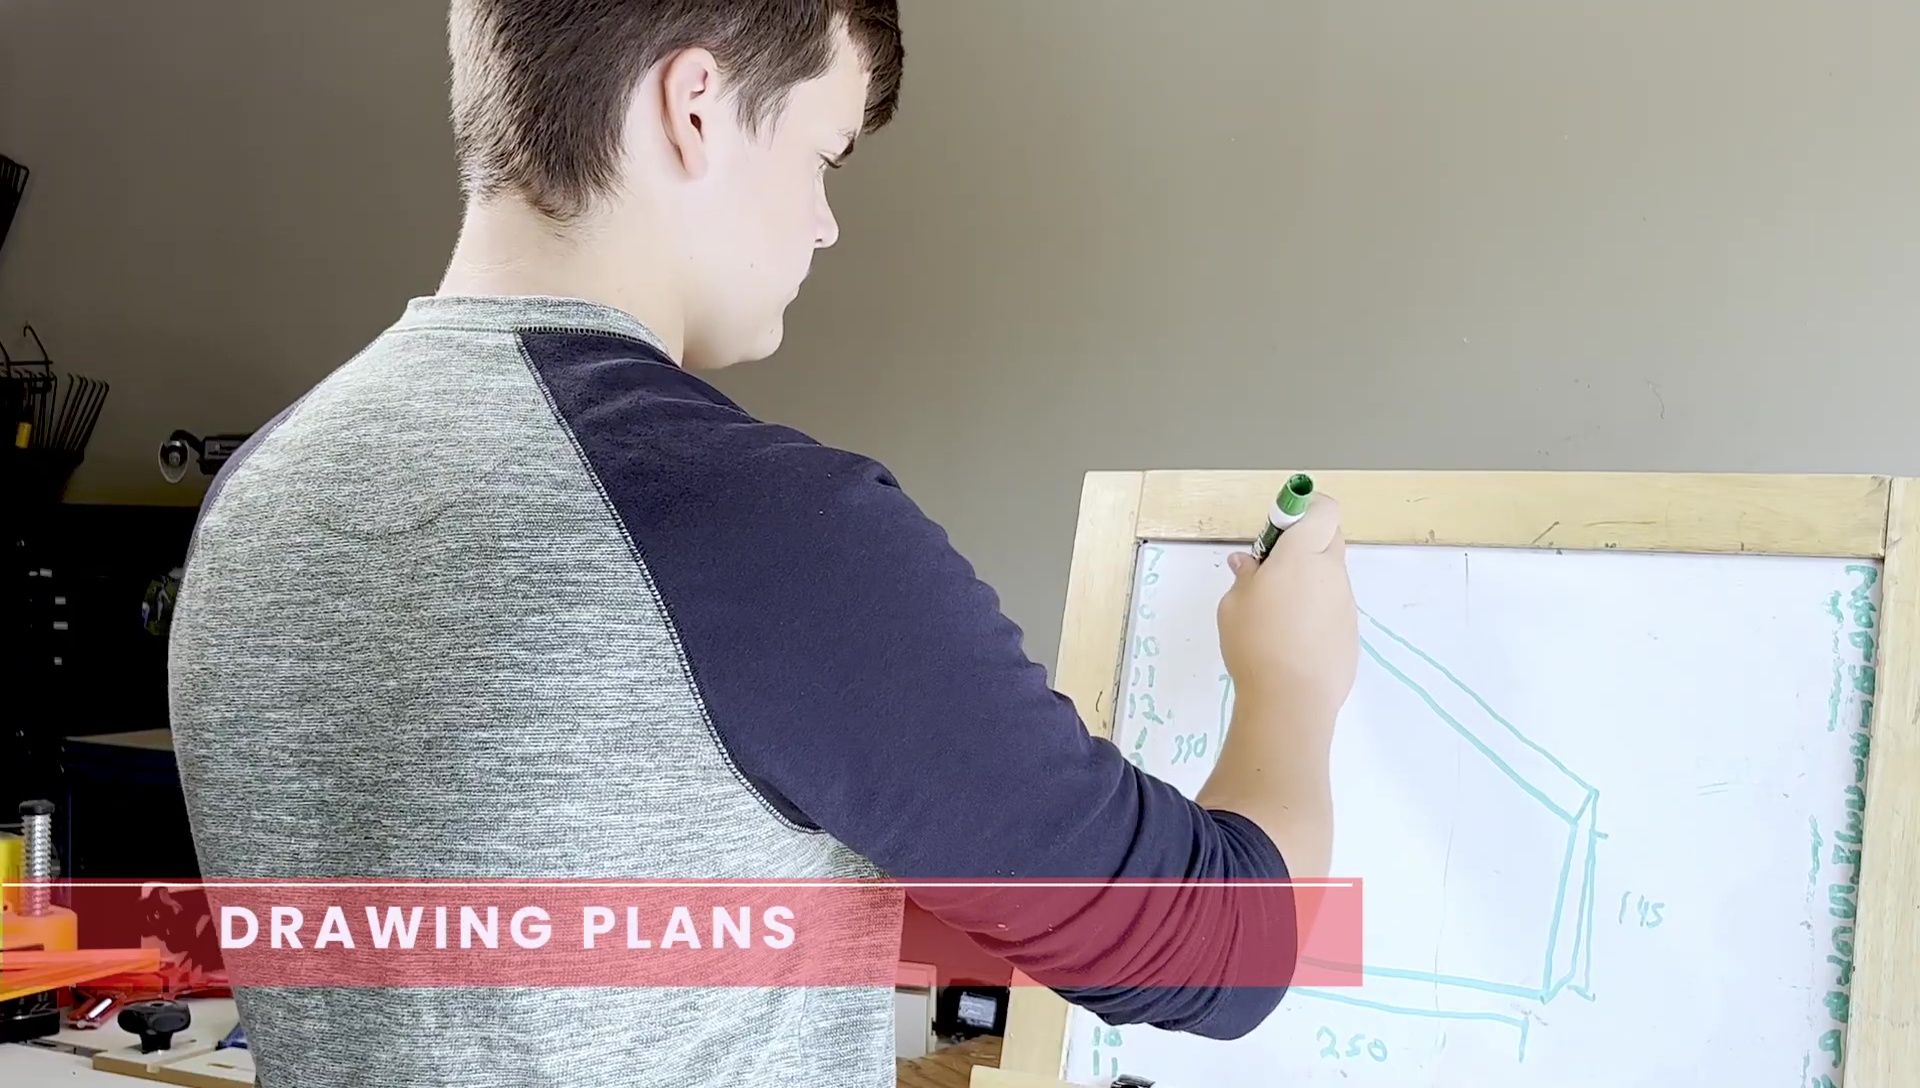
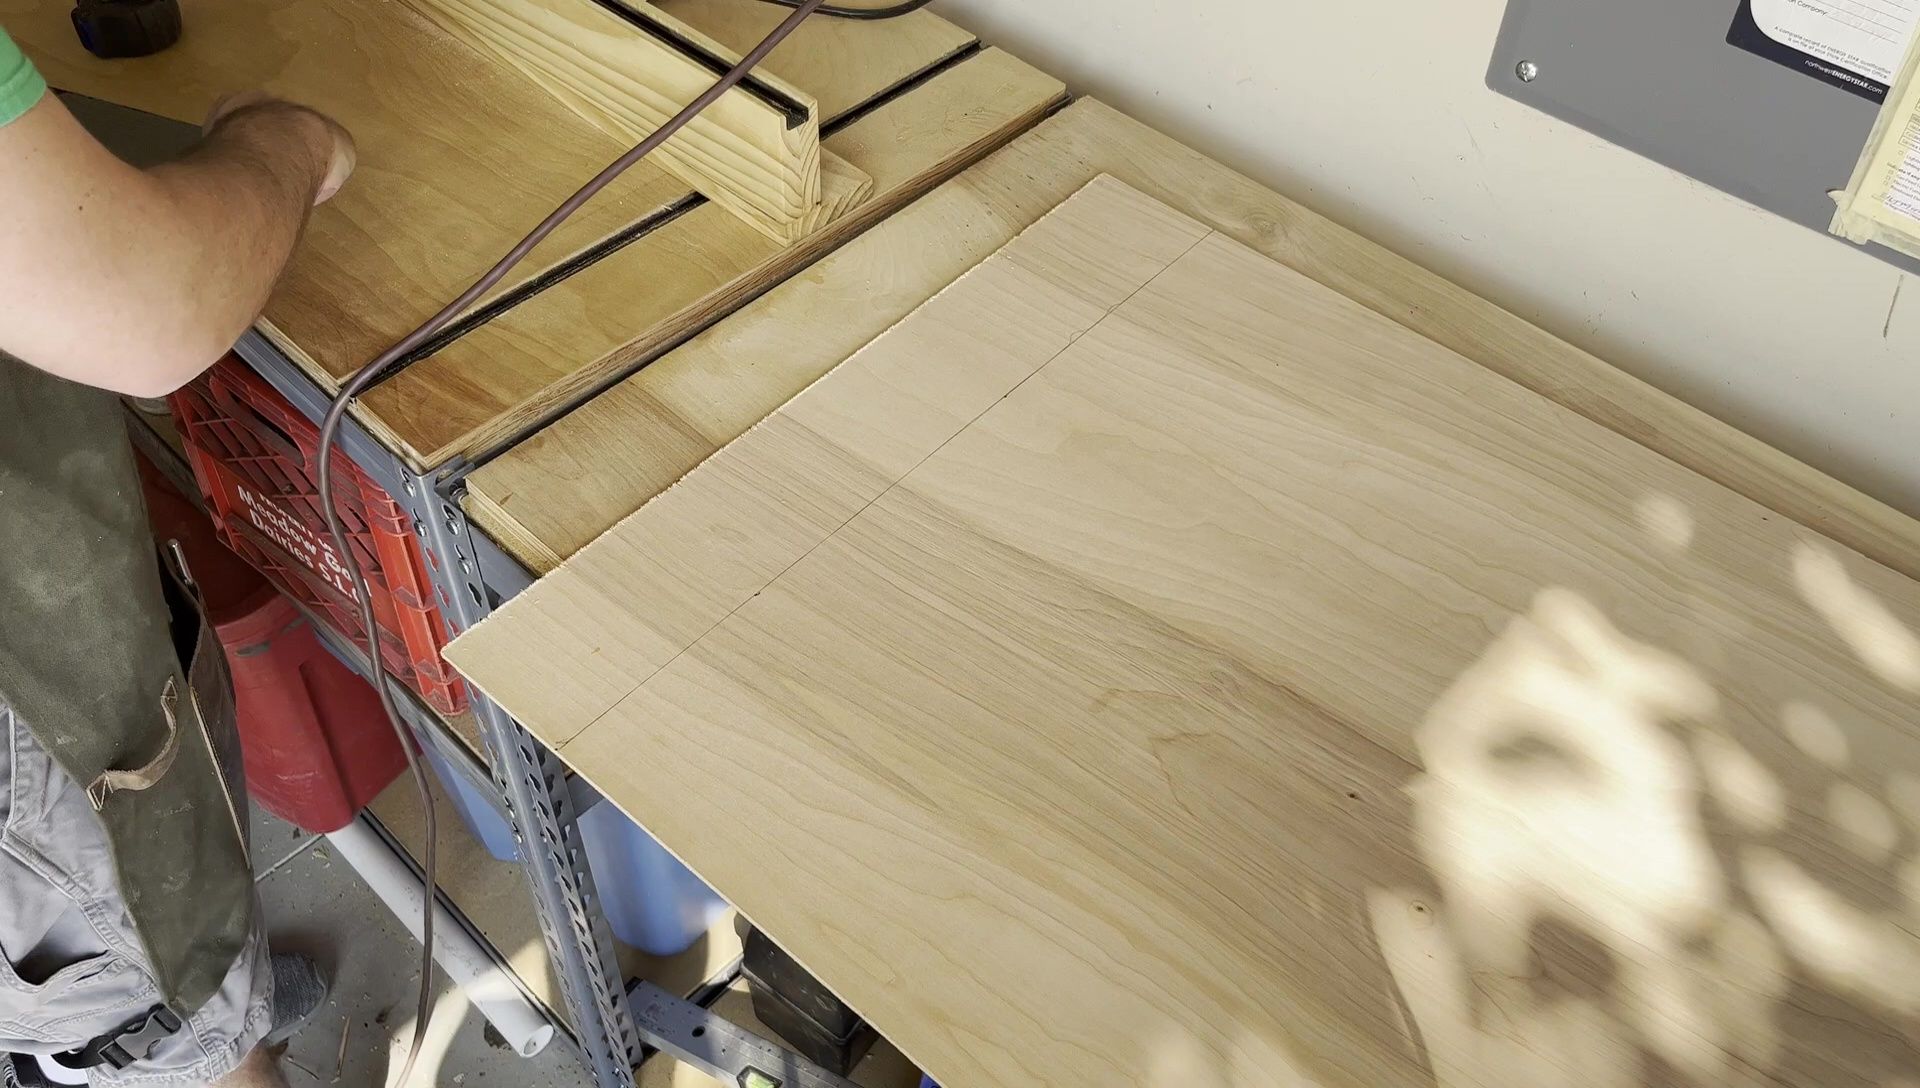
The team meticulously plans the dimensions and material layout, considering both functionality and wood conservation. They adjust initial measurements to optimize the wood usage while retaining a visually appealing design, demonstrating efficiency and careful resource management.
Precision in planning is vital for a successful DIY project like this. The team's discussion highlights the importance of double-checking measurements and adapting the plan as needed to maintain optimal results. This stage underscores the iterative nature of design.
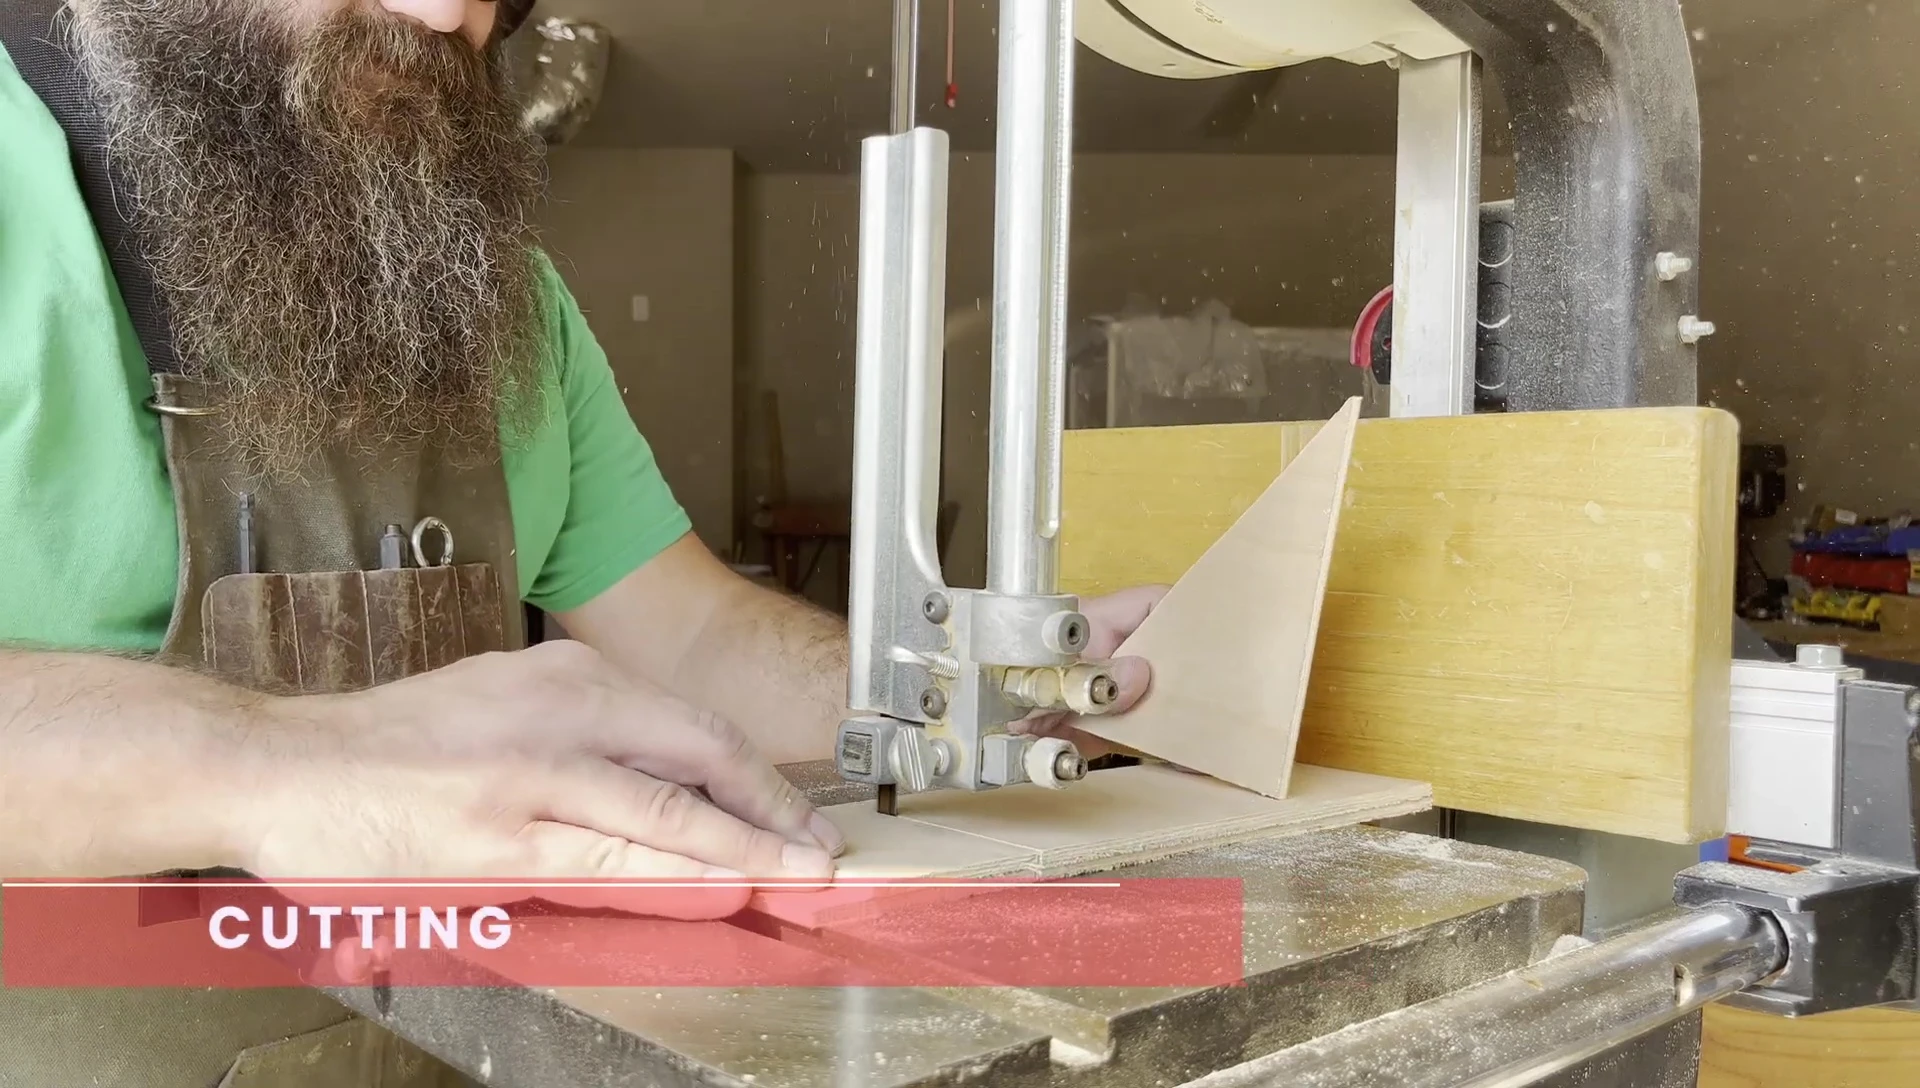
Cutting and Assembling the Mail Holder
The construction process begins with carefully cutting the wood pieces according to the finalized dimensions. This step requires precision and accuracy to ensure a smooth assembly and a well-proportioned final product. Safety precautions, such as wearing safety glasses, are emphasized throughout the process.
The builders then assemble the wooden components, focusing on precise alignment and fitting. They address initial discrepancies in measurements, demonstrating flexibility and problem-solving skills in the construction phase. Trial fits are done to ensure a proper final design.
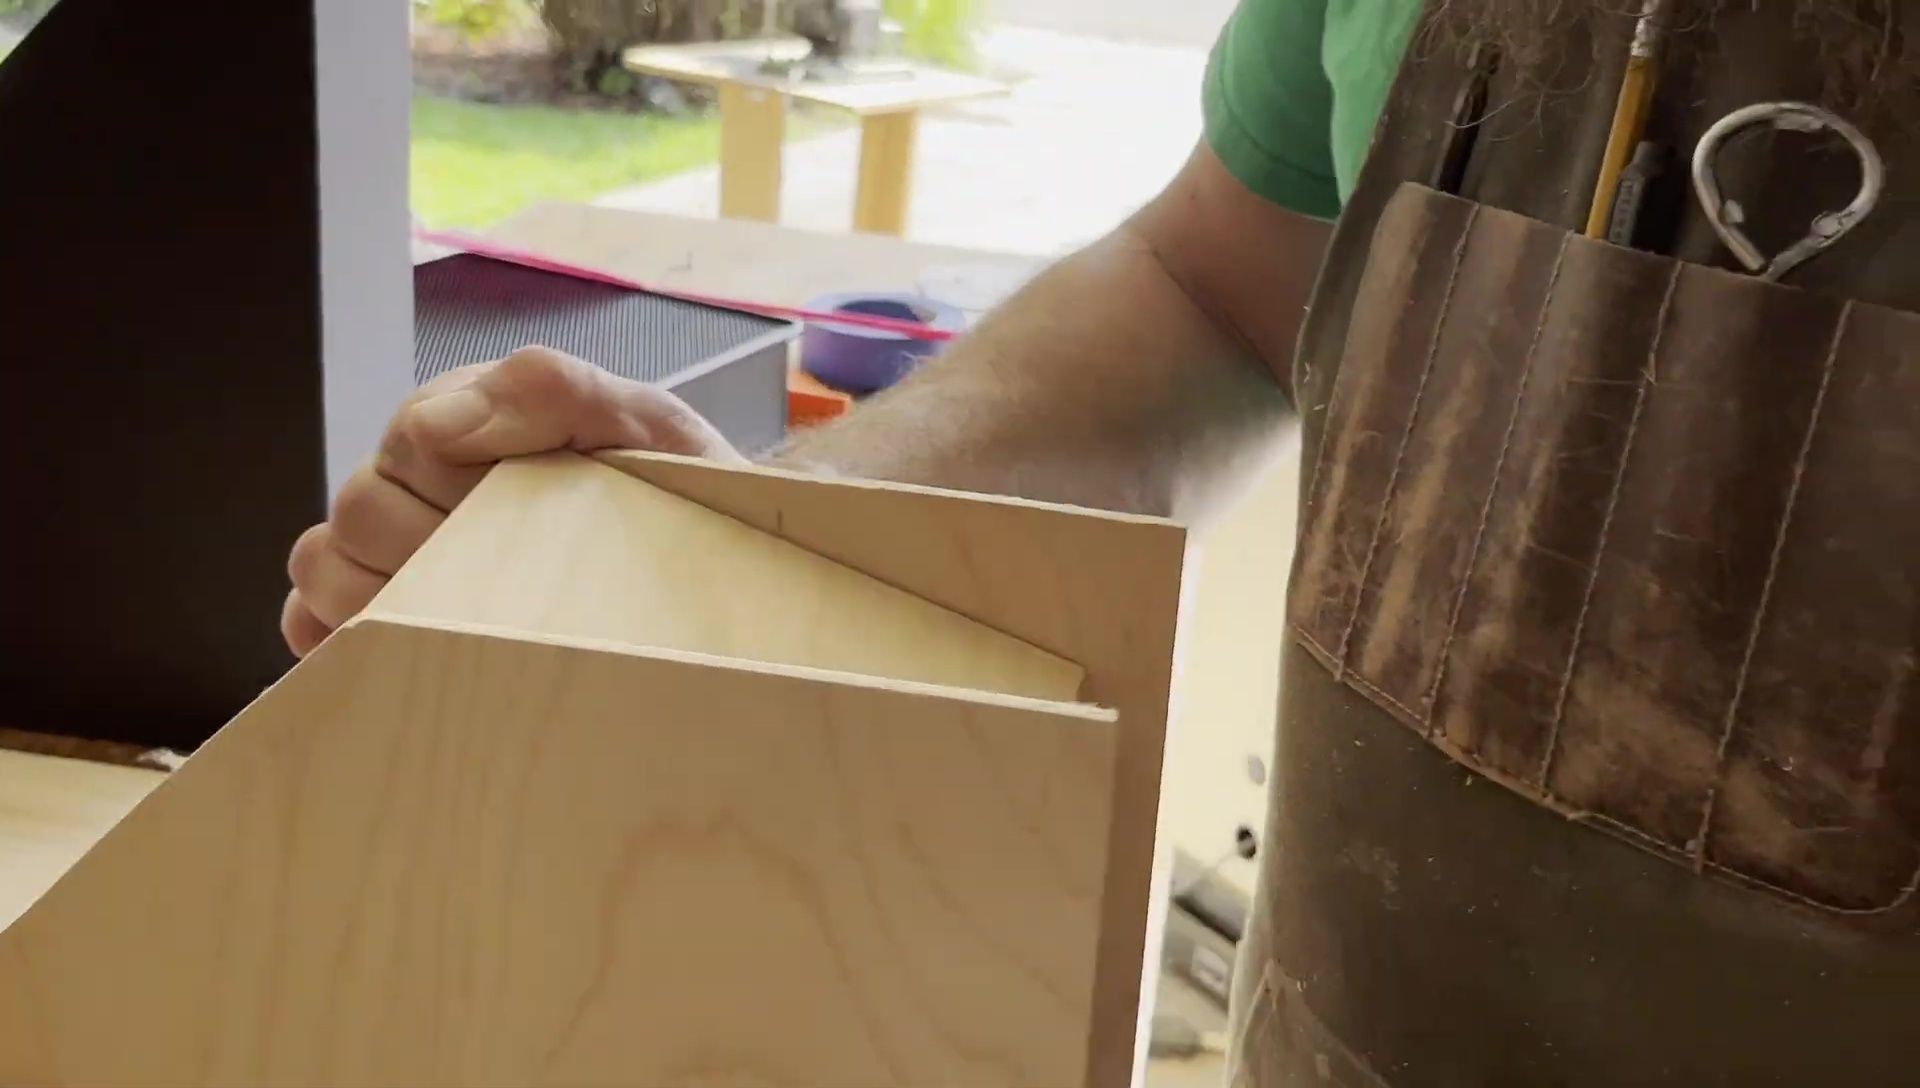
This section showcases the hands-on construction aspects of the project, highlighting the importance of precise cuts and accurate assembly for a functional and aesthetically pleasing outcome. The iterative nature of the process is again apparent.
Finishing Touches and Refinement
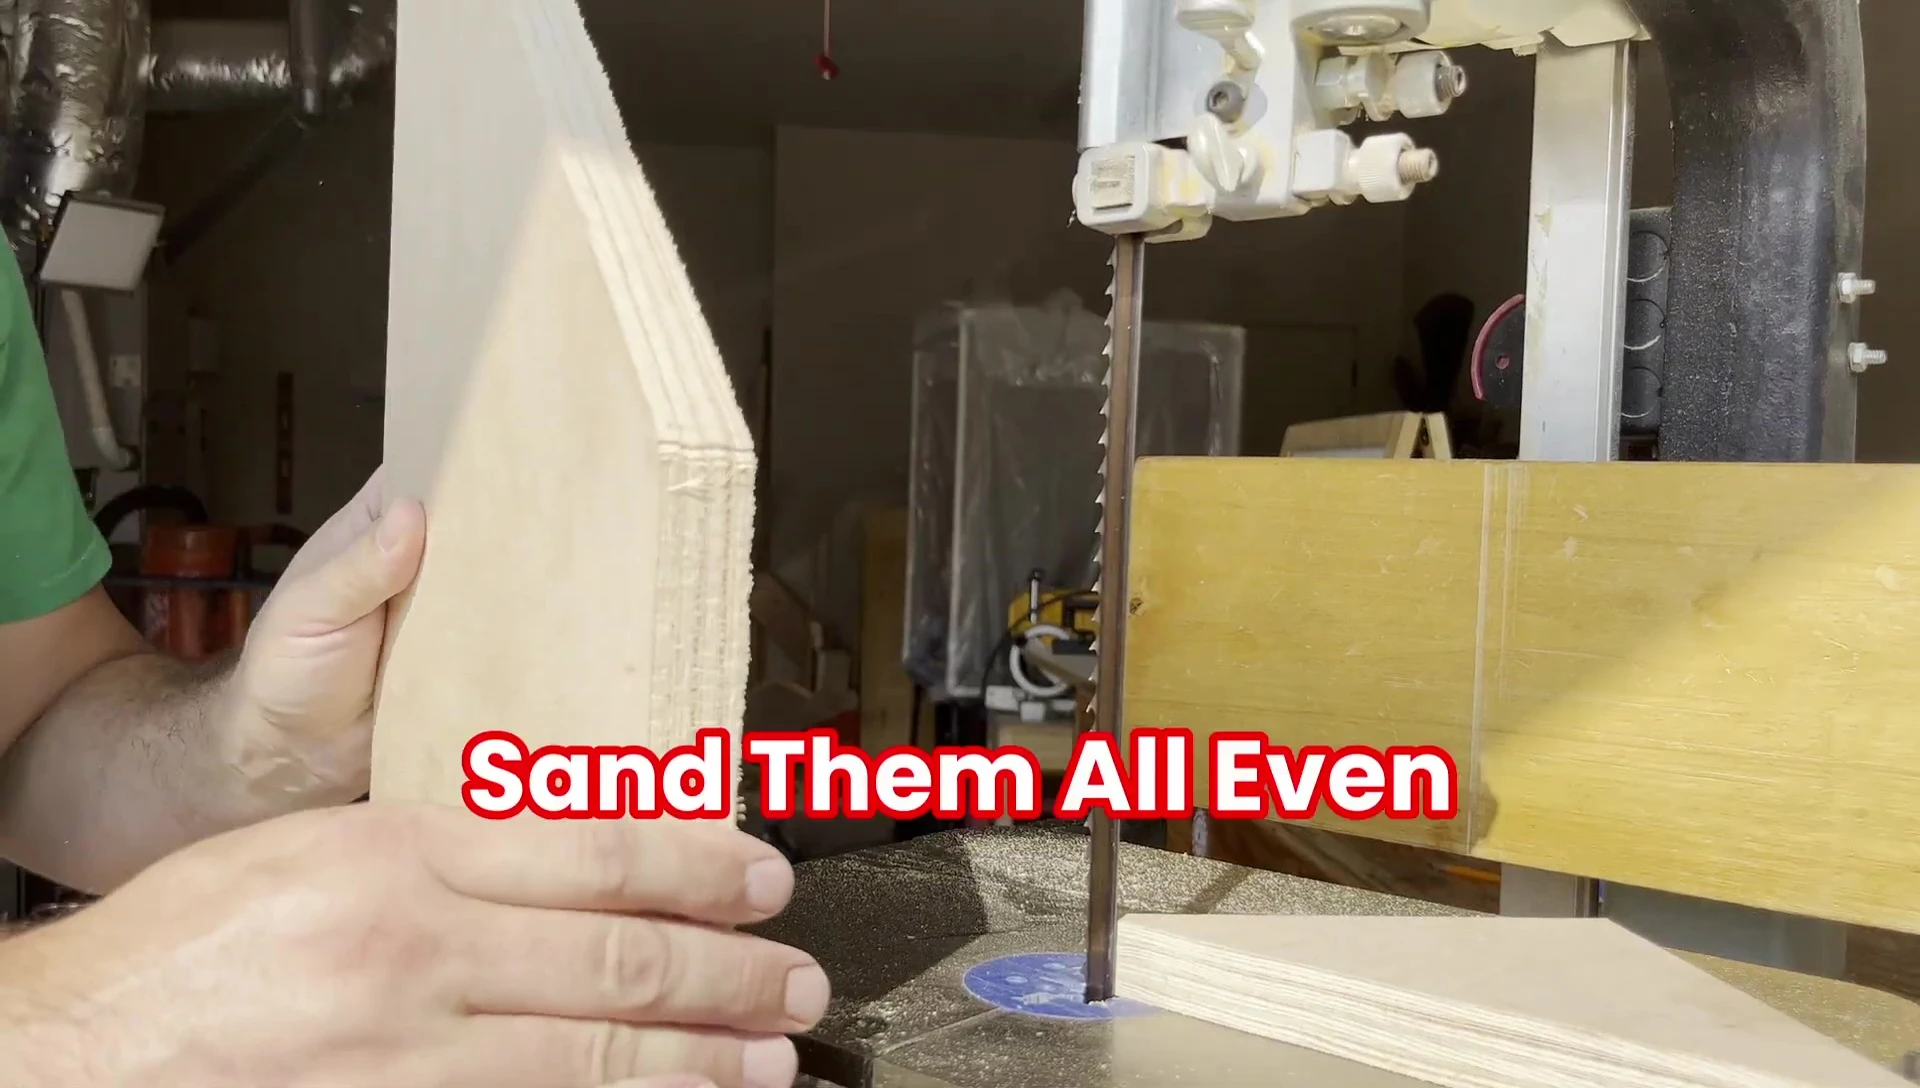
Sanding down rough edges and shaping the sides provides a smooth finish. This stage involves careful attention to detail, ensuring a polished and professional-looking final product. The builders discuss and fine-tune their approach during this phase, showcasing their flexibility and collaborative approach.
Applying mineral spirits and spray lacquer provides a protective coating. This step enhances the durability and longevity of the mail holder, making it more resilient to daily wear and tear. The enthusiastic reaction to applying the mineral spirits lightens the mood and showcases the creators’ passion for their craft.
The finishing touches elevate the project from a functional item to a stylish addition to the home. The careful application of finishing materials demonstrates attention to detail and a commitment to quality workmanship.
Conclusion
The completed mail holder is deemed a success, exceeding expectations. Its functionality and aesthetics are highlighted, emphasizing its suitability for holding a significant amount of mail. The creators express their satisfaction with the project's outcome and encourage viewers to try similar DIY endeavors.
The project demonstrates that with careful planning, precise execution, and a bit of patience, anyone can create a functional and attractive piece for their home. The video successfully inspires viewers to undertake similar DIY projects and provides a clear, step-by-step guide for those who want to try.