Welcome! This guide provides a quick and easy setup for your new 426 Thermal Label Printer, specifically designed for use with the Beeper application. Whether you're a seasoned label printing pro or a complete beginner, we'll walk you through the process of connecting your printer to both Windows and macOS operating systems, ensuring you're printing crisp, clear labels in minutes. Setting up your 426 Thermal Label Printer is surprisingly straightforward, and we've designed this guide to be as intuitive and efficient as possible.
This simple, step-by-step process will guide you through connecting your printer to your computer, installing necessary drivers (if required), and configuring Beeper to recognize and utilize your new hardware. Let's get started and unleash the power of efficient label printing with your 426 Thermal Label Printer and Beeper!
Preparation and Safety Guidelines
- Beeper by 426 Thermal Label Printer
- Power Supply
- USB Cable
- Label Roll
- Mac/Windows Computer (with USB-A or USB-C port and appropriate adapter if needed)
- 426 Thermal Label Printer
- Always ensure the printer is turned OFF before connecting or disconnecting the USB cable or power adapter to prevent damage to the printer or your computer.
- Never touch the print head directly; it can get very hot during operation. Allow the printer to cool down completely before handling.
- Use only the recommended thermal labels and power adapter specified by 426 for optimal performance and to avoid printer damage.
Step-by-Step Instructions
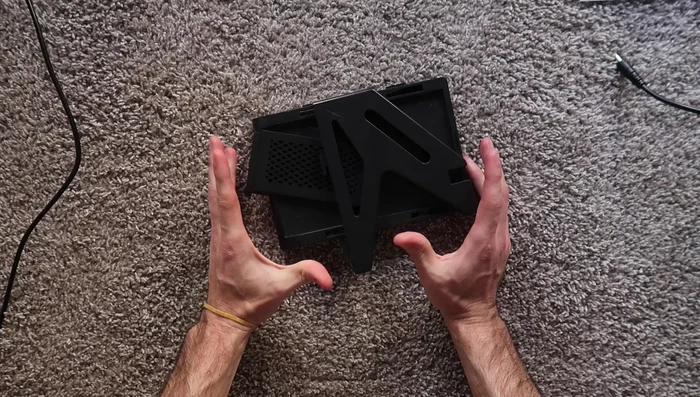
Assemble Label Holder
- Assemble the label holder.

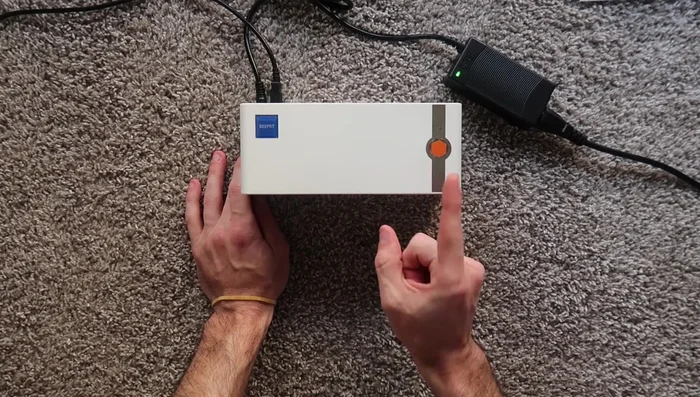
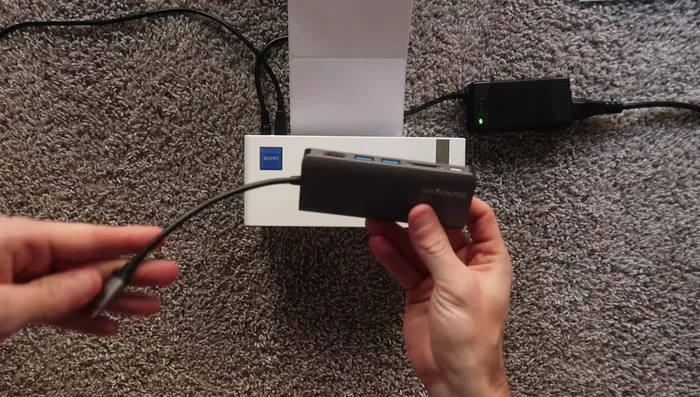
Assemble Label Holder Connect Printer and Power
- Connect the printer's power supply and USB cable.
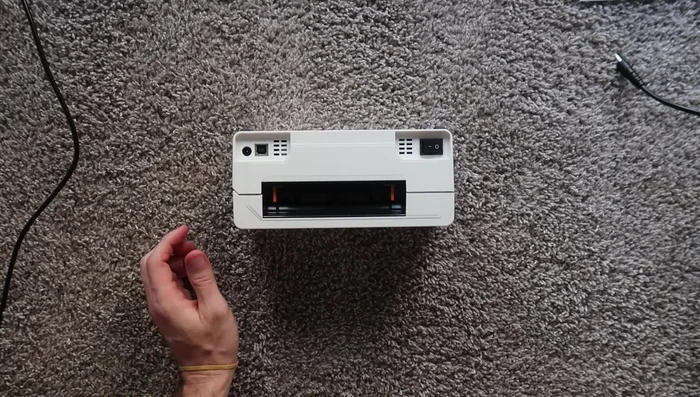
Connect Printer and Power Turn On Printer & Load Labels
- Turn on the printer and load the labels.
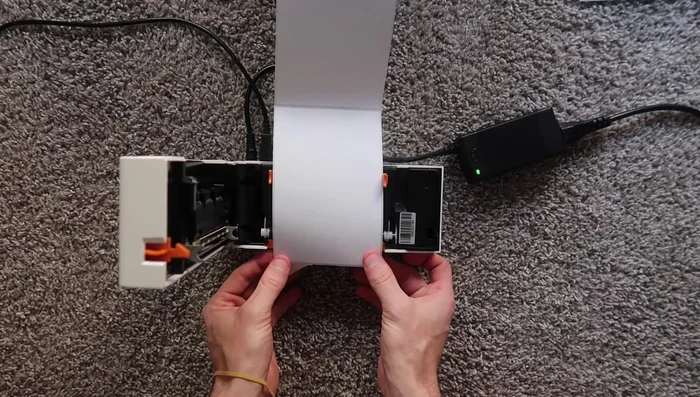
Turn On Printer & Load Labels Adjust Label Guides and Calibrate
- Adjust label guides and calibrate the printer if necessary (hold the front button until it beeps).
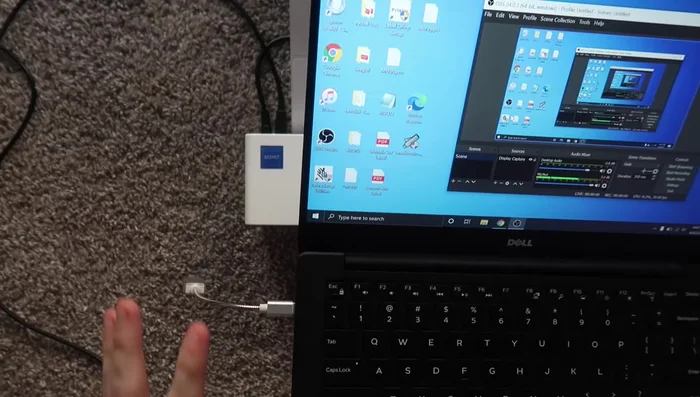
Adjust Label Guides and Calibrate Install Printer Driver (Mac)
- Connect the printer via USB (using a converter if necessary). Download and install the driver from help.beeper.com if needed. Add the printer in System Preferences > Printers & Scanners.
Install Printer Driver (Mac) Install Printer Driver (Windows)
- Connect the printer via USB. Download and install the driver from help.beeper.com if needed. Add the printer in Settings > Printers & Scanners.
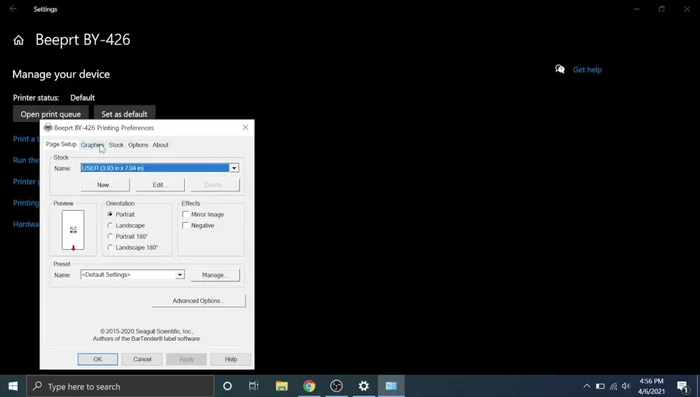
Install Printer Driver (Windows) Configure Printer Settings
- Configure printer settings (paper size, etc.) in your operating system's printer settings.
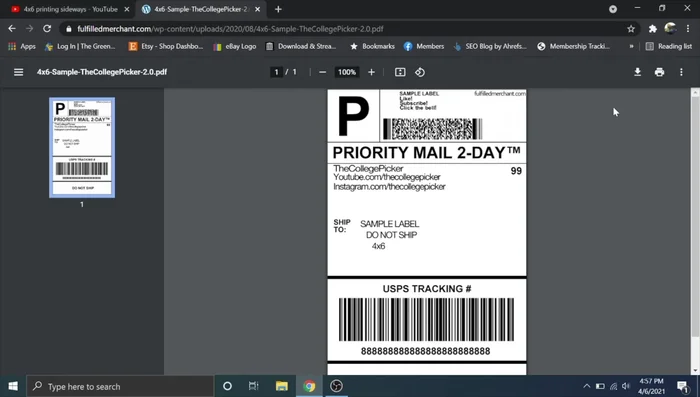
Configure Printer Settings Print Test Label
- Print a test label to verify installation and settings.
Print Test Label
Read more: Ultimate Guide: Cleaning Your Brady Printer I 5100 for Optimal Performance
Tips
- Always refer to help.beeper.com for the most up-to-date drivers and instructions.
- Ensure correct label orientation to avoid printing issues.
- Calibrating the printer solves many feeding and printing problems.
- If the printer isn't recognized, try restarting the printer and/or your computer.
- Watch the supplemental video (linked in the description) to configure settings for online marketplaces (eBay, Amazon, etc.) to avoid printing problems.