Tired of blurry, peeling labels that ruin the organization of your pantry, craft supplies, or even your precious photo albums? We all know the frustration of meticulously labeling only to have the ink smear at the slightest touch of moisture or fade with time. Spending a fortune on expensive, pre-made labels is simply unnecessary when you can create your own durable, smudge-proof, and waterproof versions for absolutely free! Imagine perfectly legible labels that withstand spills, humidity, and even the occasional accidental submersion.
This simple DIY method uses common household items to create labels that are both visually appealing and incredibly resilient. Forget about expensive label makers and frustrating smudges – you'll be amazed at the difference these homemade labels make in your organizational efforts. Ready to learn how? Let's dive into the step-by-step process to create your own free, long-lasting labels!
Preparation and Safety Guidelines
- Packing tape
- Printer (inkjet or laser)
- Sharpie
- Water
- Bowl
- Tongue depressor or credit card
- Word processor (e.g., Microsoft Word)
- Optional: Design software (e.g., Canva, PicMonkey)
- Optional: Default.com for fonts
- Always test your chosen sealant in an inconspicuous area first to ensure it doesn't damage the surface or label material. Different sealants react differently to various surfaces.
- Ensure adequate ventilation when working with sealants, especially those containing solvents. Use in a well-ventilated area or wear a respirator if necessary.
- Some sealants can be flammable. Keep away from open flames and heat sources while applying and drying.
Step-by-Step Instructions
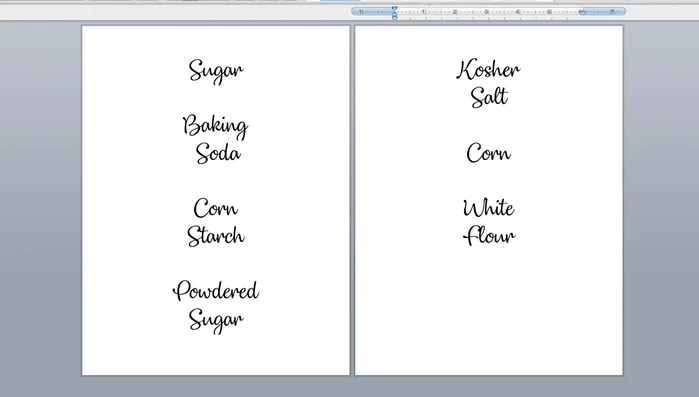
Create and Print Labels
- Create your labels in a word processor, using your preferred font (free options available on sites like default.com). Print labels with the best ink quality.

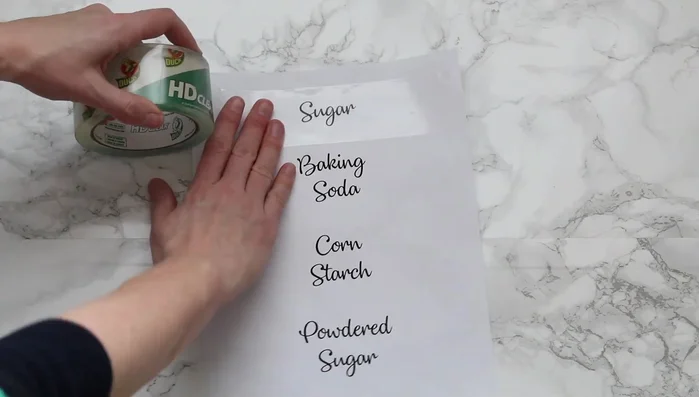
Create and Print Labels Apply and Smooth Tape
- Lay packing tape over the printed labels and smooth it out using a tongue depressor or credit card.
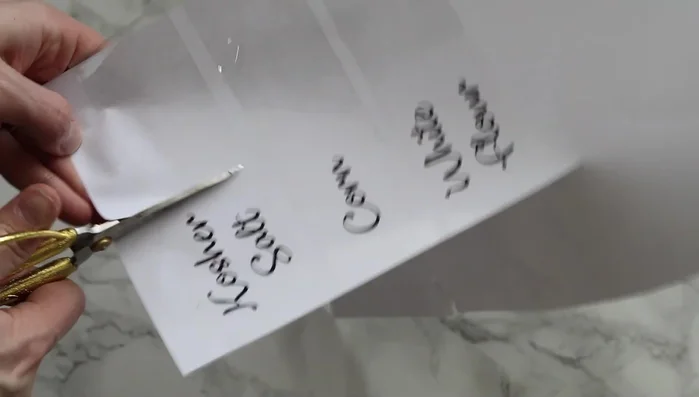
Apply and Smooth Tape Cut Labels
- Cut the labels to size.
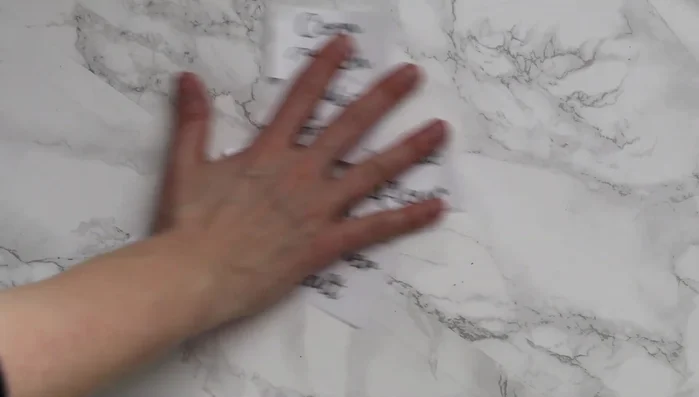
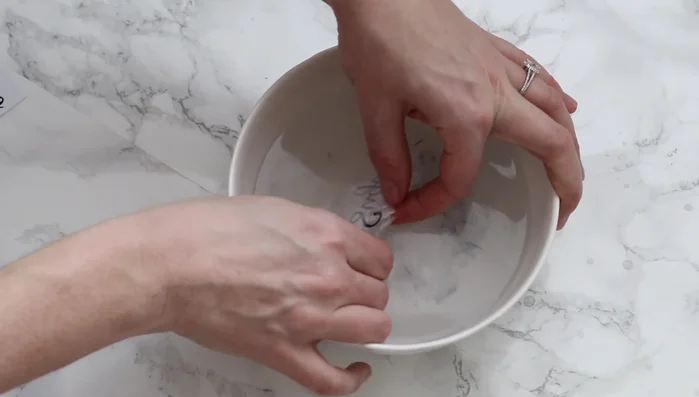
Cut Labels Water Activation
- Submerge labels in lukewarm water for about 1.5 minutes.
Water Activation Remove Paper Backing & Touch Up (if needed)
- Gently peel off the paper backing from the label under lukewarm water. For inkjet printers, some ink may come off, requiring touch-up with a Sharpie after drying completely.
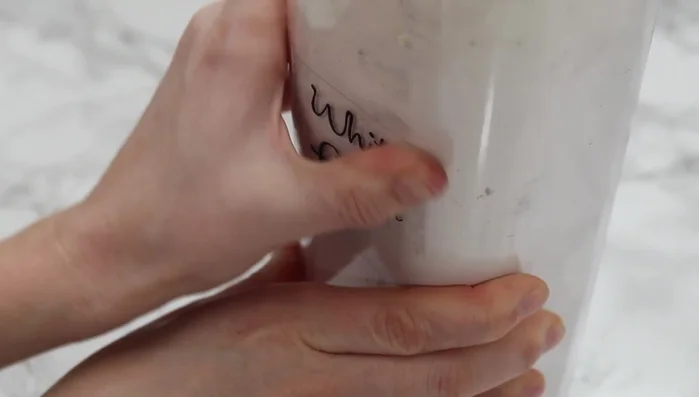
Remove Paper Backing & Touch Up (if needed) Apply to Containers
- Apply the labels to your containers. The labels are smudge-proof, waterproof, and even kid-proof.
Apply to Containers
Read more: Conquer Your Inbox: The Action-Based Email Management System in Outlook
Tips
- Using a laser printer yields the best results, avoiding ink smearing.
- If you use an inkjet printer, touch up any smudged ink with a Sharpie after the label is completely dry.
- You can write directly on the sticky side of the tape after the paper backing is removed and it’s dried.
- Repurpose old containers like pretzel containers or candle jars for organizing.
- Use design software like PicMonkey or Canva for creating custom label designs.