Crafting heartfelt handmade cards is a rewarding experience, but the finishing touch – a secure and elegant seal – can sometimes feel like a hurdle. Store-bought adhesives can be expensive and often lack the personalized touch you strive for in your creations. Why not take control and create your own envelope glue, perfectly tailored to your needs and budget? This allows you to achieve that professional, crisp finish without compromising on quality or spending a fortune. You can experiment with different recipes to find your perfect consistency, ensuring your precious cards arrive safely and beautifully presented.
This simple DIY approach opens up a world of creative possibilities, letting you tailor your glue's strength and even subtly influence its color. Forget frustratingly sticky fingers and messy applications; our step-by-step guide will show you how to make several easy and effective homemade envelope glue options, so let's dive into the process and discover the perfect seal for your handmade cards.
Preparation and Safety Guidelines
- Sugar
- Unflavored Gelatin
- White Vinegar
- Vanilla Extract
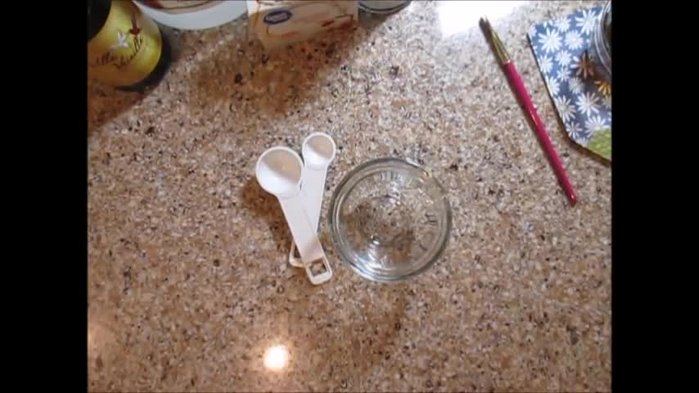
- Microwave
- Spoon
- Guillotine Paper Cutter
- 8x8 Paper
- Scoring Tool
- Fast Fuse Adhesive
- Paintbrush
- Always test your DIY glue on a scrap piece of paper before applying it to your finished cards to ensure it doesn't bleed through or damage the paper.
- Use caution when handling any hot glue gun or other heat-producing tools. Allow adhesives to cool completely before handling to prevent burns.
- Store DIY glue properly according to its ingredients. Some homemade adhesives may require refrigeration or airtight containers to prevent spoilage or hardening.
Step-by-Step Instructions
Prepare Ingredients
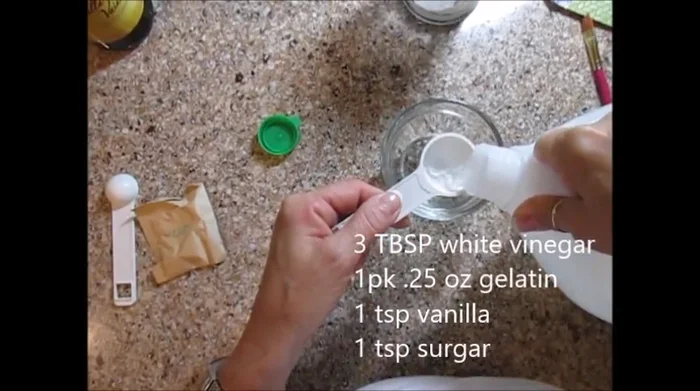
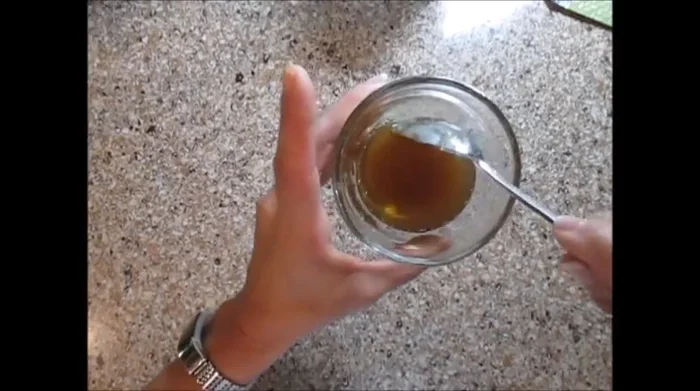
- 3 tablespoons of white vinegar, 1 teaspoon of sugar, 0.25 ounces of unflavored gelatin, and 1 teaspoon of vanilla extract.

Prepare Ingredients Make the Glue
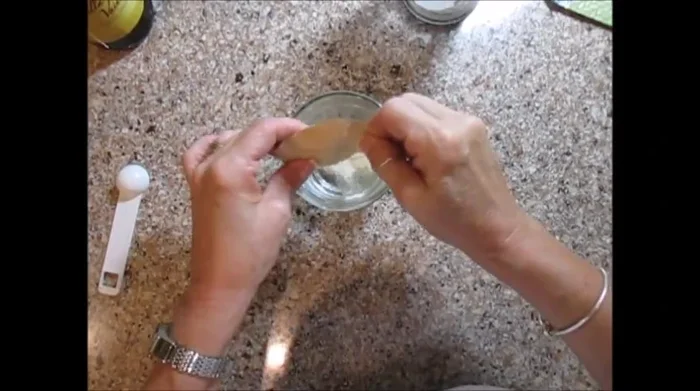
- Microwave the vinegar, gelatin, and sugar for 30-45 seconds until dissolved.
- Stir in the vanilla extract.
Make the Glue Make the Envelope
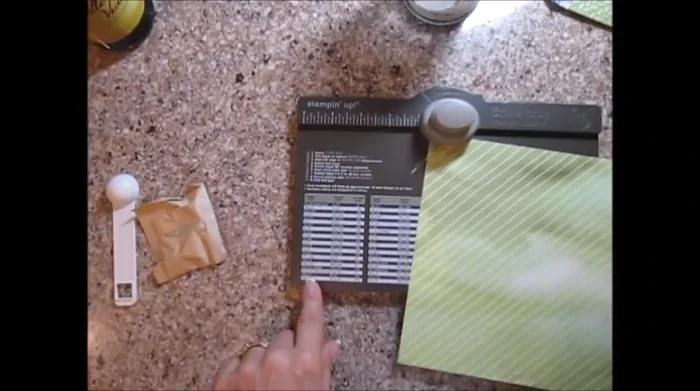
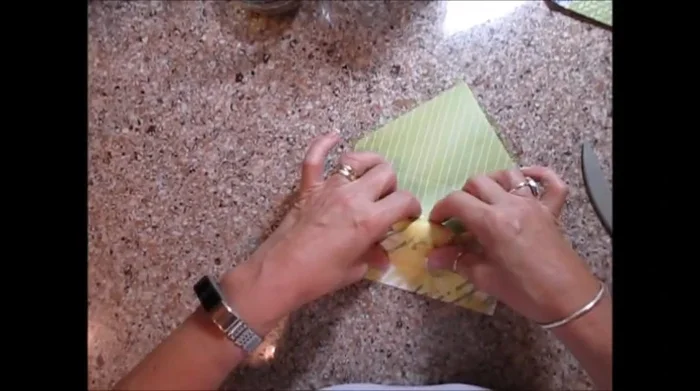
- Cut an 8x8 piece of paper. Score at 3 1/8 inches on all sides. Fold along scored lines to form the envelope.
Make the Envelope Apply Glue
- Apply glue to the envelope flaps using a paintbrush. Apply a thin, even layer to avoid bubbling.
Apply Glue Seal and Dry
- Fold and press the flaps to seal. Allow to dry for a few hours.
Seal and Dry
Read more: Optimizing A-Series Envelope Loading and Adjustment for Efficient Sealing
Tips
- Use a light layer of glue to prevent bubbling. If it bubbles slightly, heat it in the microwave for 5-10 seconds.
- Store the leftover glue in the refrigerator in a sealed container. It should last for about two weeks.
- The glue tastes mostly like vanilla, and is safe to use for sealing.