The delicate nature of pottery demands meticulous care, especially when it comes to shipping. A chipped or broken piece can represent not only a financial loss but also the heartbreak of losing a handcrafted treasure. Whether you're a seasoned potter selling your creations online or a studio carefully sending pieces to a gallery, ensuring safe delivery is paramount. The wrong packaging can lead to costly replacements and dissatisfied customers, while the right approach safeguards your work and your reputation. Losing a sale due to breakage is a preventable loss, and the investment in proper packaging is minimal compared to the potential damage.
This comprehensive guide will walk you through every step of the packaging process, from selecting the right materials to implementing effective cushioning techniques. We'll cover everything you need to know to minimize breakage and ensure your pottery arrives at its destination in perfect condition, ready to be admired and enjoyed. Prepare to learn the ultimate strategies for protecting your precious creations during shipping and confidently send your work anywhere in the world.
Preparation and Safety Guidelines
- Boxes
- Bubble wrap
- Foam padding
- Biodegradable packing chips
- Tape (strong packing tape)
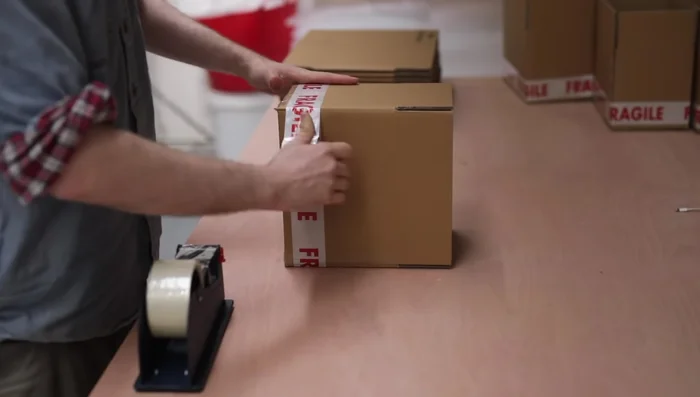
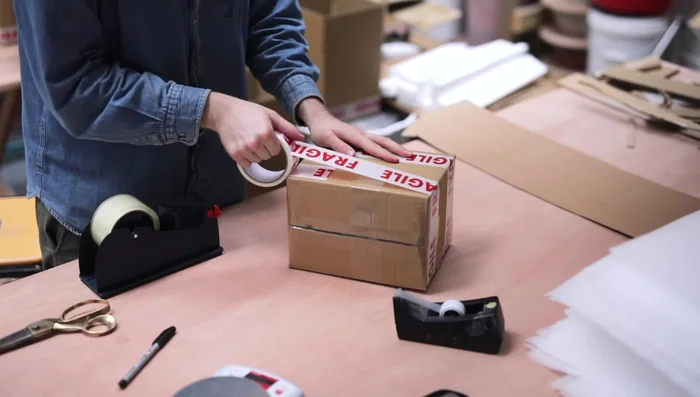
- Fragile tape
- Business cards
- Weighing scales
- Measuring tape
- Scissors
- Guillotine (for labels)
- A4 sticker labels
- Customs documentation
- Tape gun
- Recycled cardboard
- Always use enough cushioning material (bubble wrap, packing peanuts, foam) to completely surround the pottery item, leaving no space for movement during transit.
- Select a sturdy box that is significantly larger than the pottery piece. A box that's too small increases the risk of damage.
- Clearly label the package as "Fragile" and "Handle with Care" on all sides to alert handlers to the delicate nature of the contents.
Step-by-Step Instructions
Preparation
- Prepare packaging materials
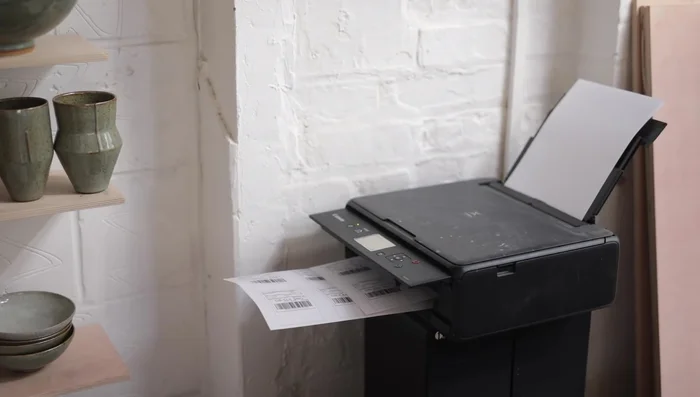
- Weigh and measure each box, recording information on the outside. Complete online order details and print labels.

Preparation Wrapping Individual Items
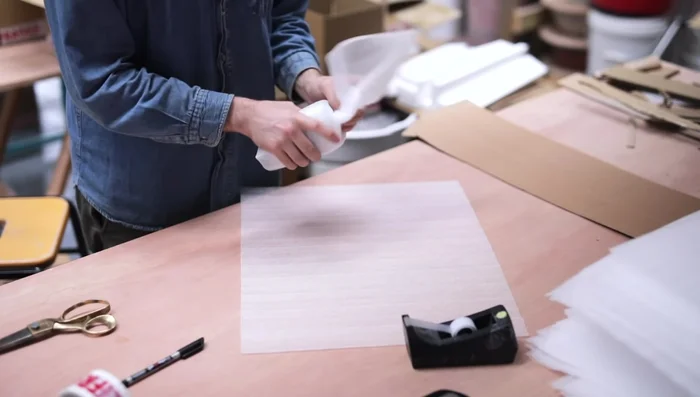
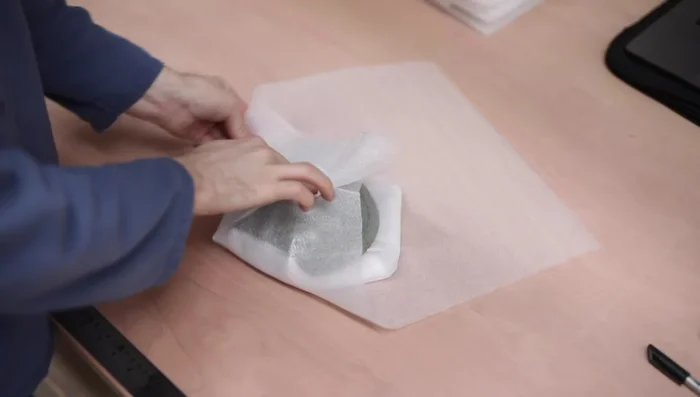
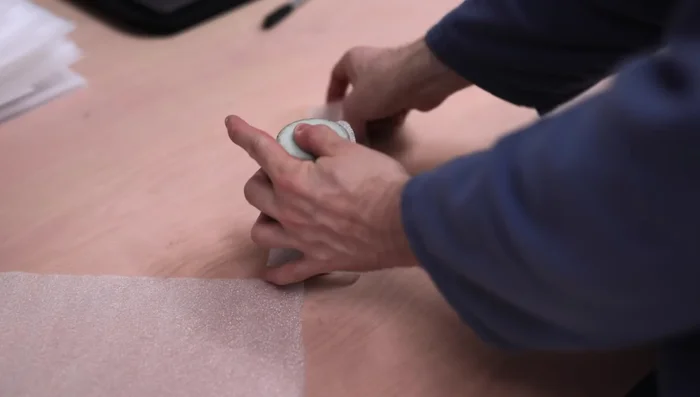
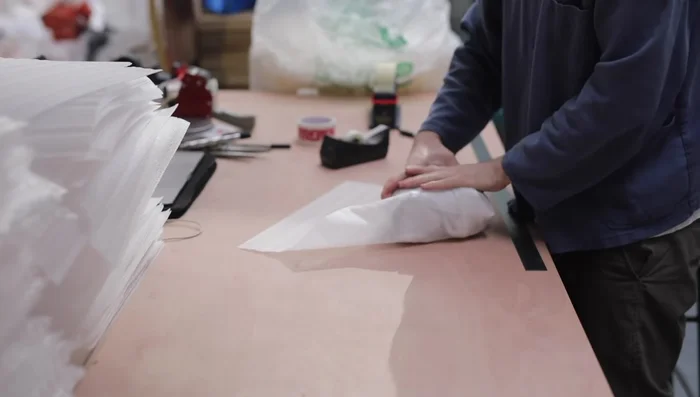
- Layer foam around the pot, focusing on delicate areas (rim). Add another foam layer if needed, then wrap with bubble wrap. Ensure no pot is felt through the wrapping.
- Wrap with additional foam layers, ensuring double protection of the handle.
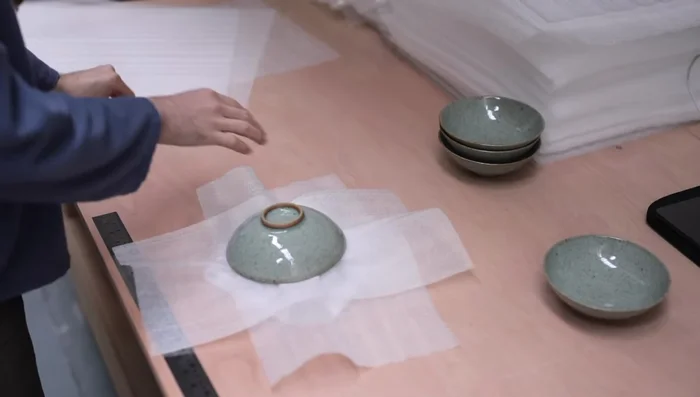
- Use thick folded foam under and around the bowl, focusing on rim and foot ring protection. Wrap in bubble wrap.
- For small jars, pack with lid in place and added foam. For larger pieces, pack lid and body separately, filling voids with packing materials.
Wrapping Individual Items Packing into Boxes
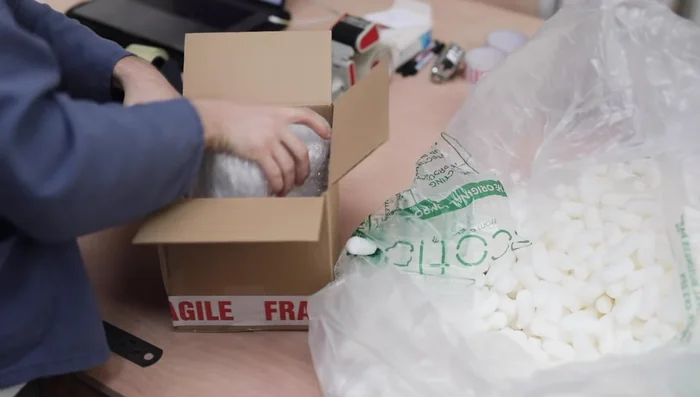
- Place biodegradable chips at the bottom. Add business card. Position wrapped pot centrally, surrounded by more chips. Press down firmly to eliminate rattling.
- Line boxes with extra cardboard for added strength, especially for long distances.
- Stack bowls with foam between each, ensuring no rattling. Wrap the stack and pack centrally in a box.
Packing into Boxes Securing and Labeling
- Tape securely around the box, reinforcing edges and corners, especially for long-distance shipments.
- Add labels and customs documentation
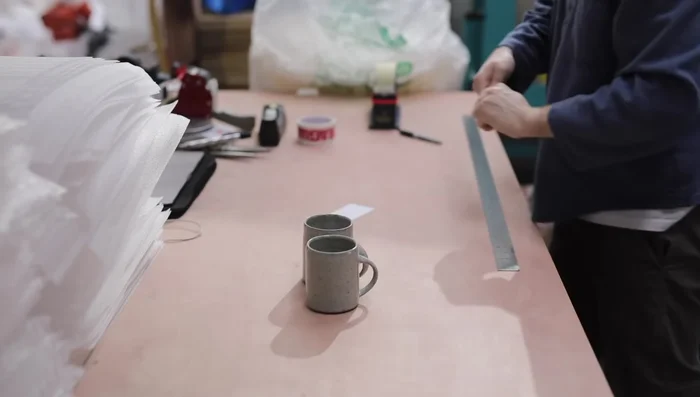
- Pack mugs handle-to-handle to save space and potentially use a smaller box.
- Weigh and measure each box, recording information on the outside. Complete online order details and print labels.
Securing and Labeling

Read more: Upcycling Padded Envelopes: A Trash-to-Treasure Craft Project
Tips
- Eliminate rattling: This is crucial for preventing breakage during transit. Pack tightly to prevent any movement.
- Even wrapping: Ensure even distribution of packing materials to avoid thin spots that could expose delicate parts of the pottery.
- Full boxes: Tightly packed boxes are much stronger and less prone to crushing.
- Keep spares: Something will eventually break despite careful packing. Keep extra pieces on hand to replace damaged items.
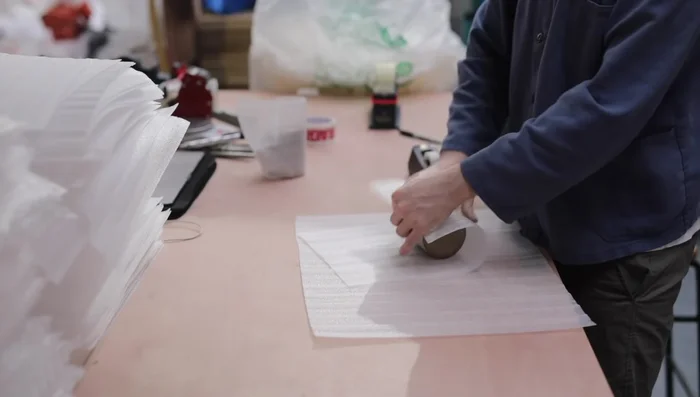
- Corner-to-corner wrapping: This technique uses less tape and concentrates wrapping material where needed.