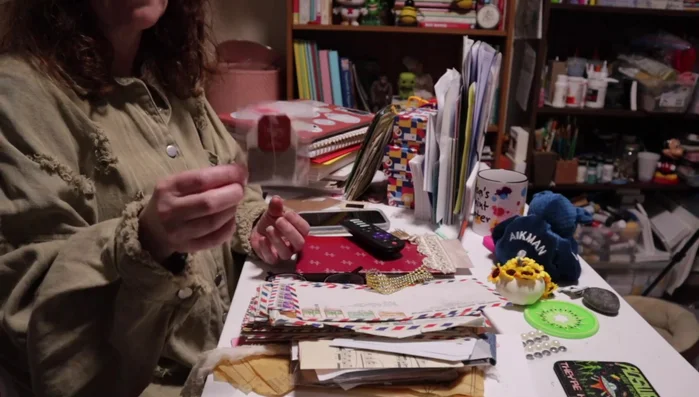
Do you have a drawer overflowing with old, cancelled postage stamps? Before you consign them to the recycling bin, consider their untapped potential! These tiny squares of vibrant color and intricate design hold a surprising amount of creative possibilities, far beyond their original purpose. From the nostalgic charm of a vintage airmail stamp to the bold graphics of a modern commemorative issue, each stamp carries a unique story and aesthetic, waiting to be reborn in a new and exciting way. Whether you're a seasoned crafter or a complete beginner, repurposing old stamps offers a rewarding and surprisingly simple way to upcycle and express your creativity.
This article explores the fascinating world of transforming old postage stamps into beautiful and meaningful keepsakes. We’ll delve into creative journaling techniques, incorporating stamps to add visual interest and historical context to your memories, and also showcase a variety of fun and accessible craft projects. Ready to transform those discarded stamps into stunning works of art? Let's dive into the step-by-step instructions and unleash your inner artist.
Safety Guidelines
- Avoid using stamps that are excessively damaged or faded, as they may not adhere well or their image may be compromised.
- Handle stamps gently to prevent tearing or smudging the ink. Use tweezers if necessary.
- If you plan to wet stamps for any craft, test a spare stamp first to ensure the ink doesn't bleed.
Methods: Tea Bag Tab Embellishment
Tools Needed
- Old postage stamps
- Empty tea bags
Step-by-Step Instructions
Prepare the Tea Bag
- Use an empty tea bag or a tea bag with tea.

Prepare the Tea Bag Attach the Embellishment
- Attach the postage stamp to the little tab of the tea bag.
Attach the Embellishment
Tips
- This works well for creating unique journals or gift tags.
Methods: Flower Centerpiece
Tools Needed
- Old postage stamps
- Scissors
Step-by-Step Instructions
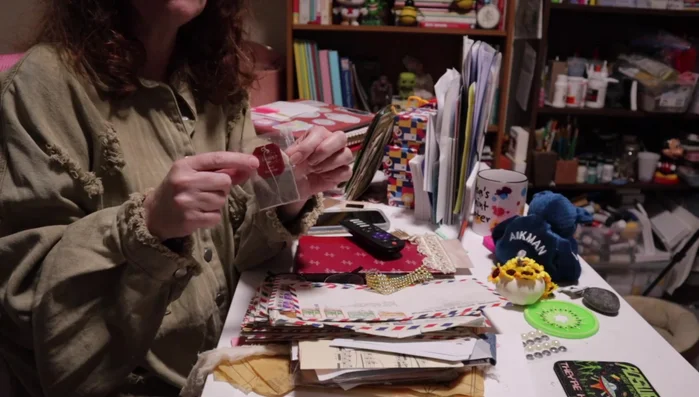
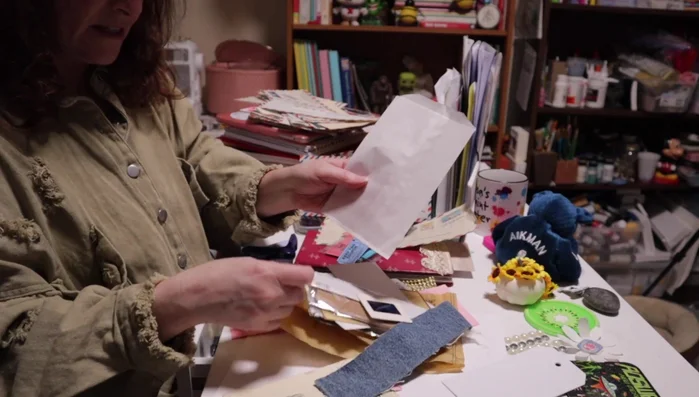
Prepare the Postage Stamp
- Peel off the postage stamp from the envelope.
- Round the corners of the stamp.
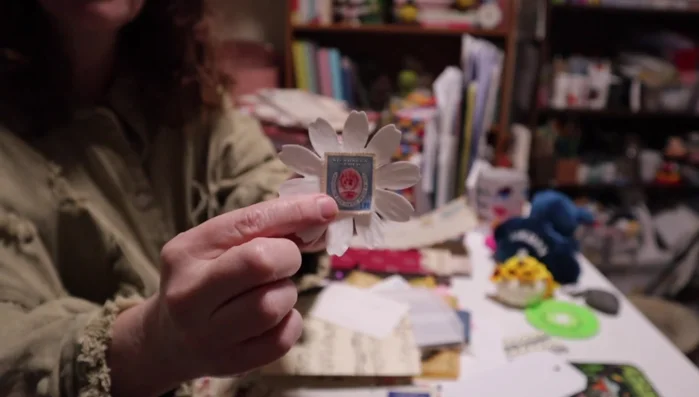
Prepare the Postage Stamp Create the Flower Centerpiece
- Use the stamp as the center of a handmade flower.
Create the Flower Centerpiece

Tips
- This adds an unexpected and visually appealing element to your journal or crafts.
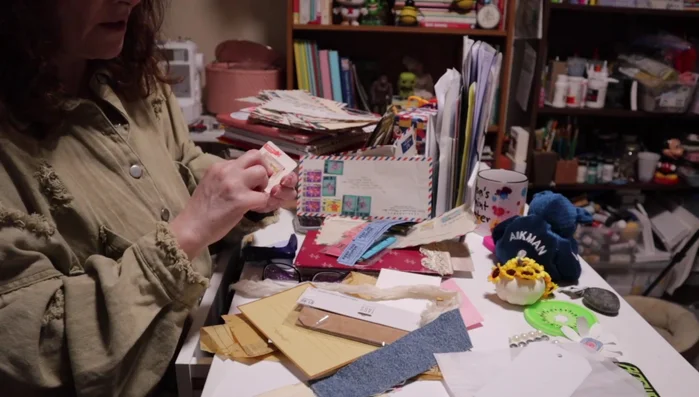
Methods: Unique Ticket or Belly Band
Tools Needed
- Old postage stamps
- Scissors
- Journal or other project
Step-by-Step Instructions
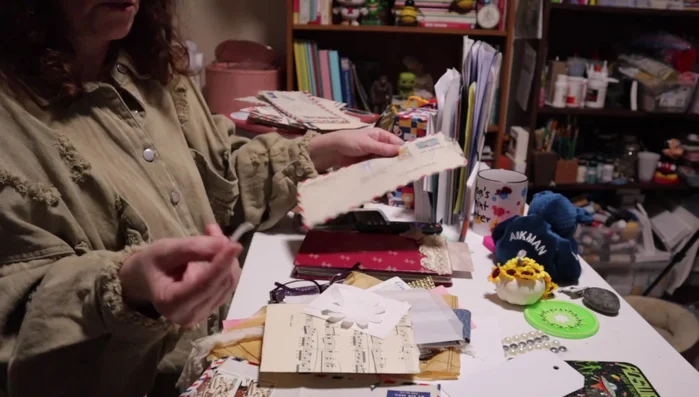
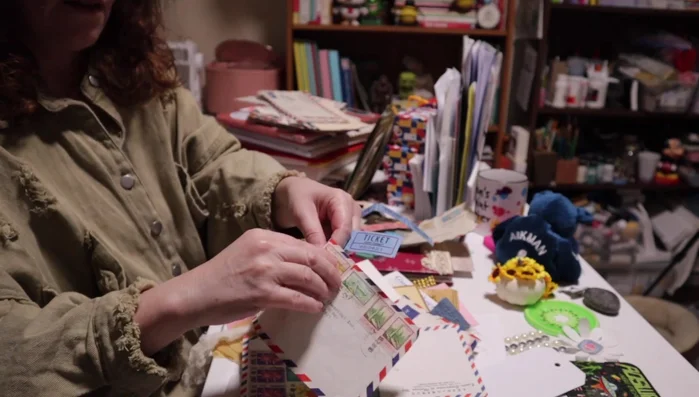
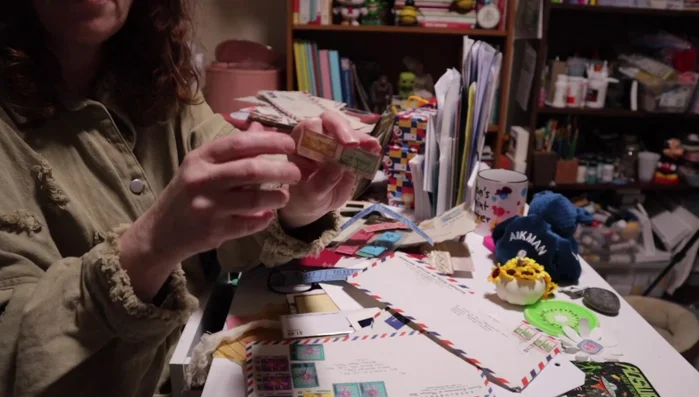
Prepare the Stamps
- Separate the stamps from the envelopes.
- Cut the stamps to desired shapes, maintaining horizontal orientation.
Prepare the Stamps Arrange the Stamps
- Arrange the stamps in a line.
Arrange the Stamps Apply the Stamp Decoration
- Use the string of stamps as a decorative element—a 'ticket' or belly band—on your journal pages or other projects.
Apply the Stamp Decoration

Tips
- Vintage stamps work best, but new stamps can also be used.
- Layer the stamps for added visual interest.
Methods: Layered Paper & Fabric Decorations
Tools Needed
- Old postage stamps
- Paper
- Fabric
- Adhesive
Step-by-Step Instructions
Creating Layered Elements
- Layer stamps with other materials like paper and fabric.
Creating Layered Elements Decorating with Layered Elements
- Use the layered elements to decorate bags, tags, cards, and more.
Decorating with Layered Elements
Tips
- Experiment with different combinations of materials and stamps for unique results.
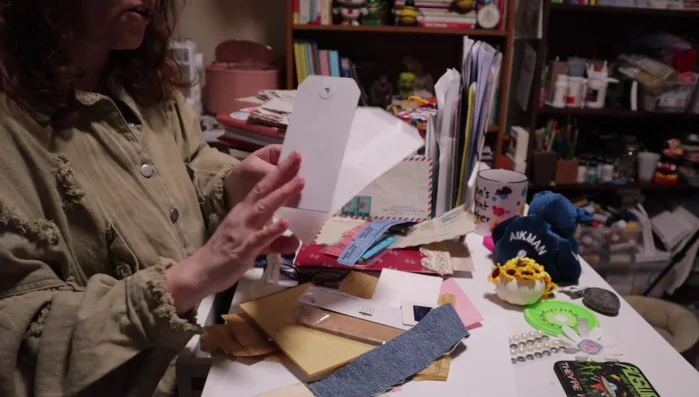
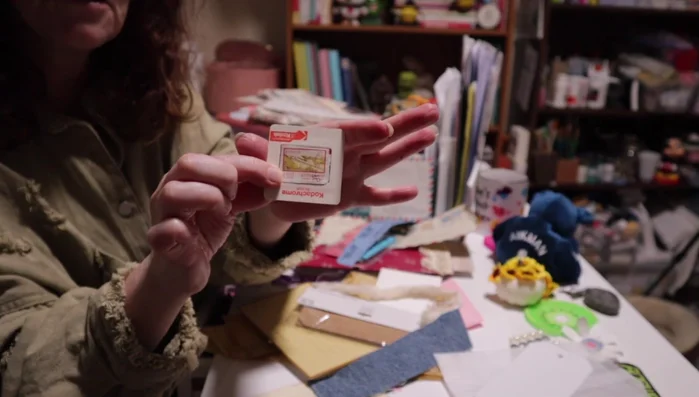
Methods: Slide Embellishments
Tools Needed
- Old postage stamps
- Slides
- Adhesive
Step-by-Step Instructions
Preparing Slides for Embellishment
- Attach stamps to slides.
Preparing Slides for Embellishment Incorporating Embellished Slides into Projects
- Use the decorated slides as tabs, pockets, or decorative elements on journal pages or covers.
Incorporating Embellished Slides into Projects
Tips
- Arrange multiple slides with stamps to create a larger artwork.
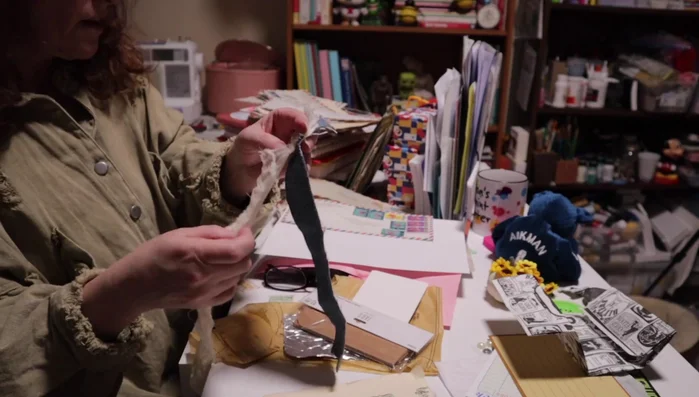
Methods: Snippet Roll Creation
Tools Needed
- Old postage stamps
- Various fabrics (e.g., blue jean, cheesecloth)
- Tin foil
- Cardstock or other papers
Step-by-Step Instructions
Prepare Materials
- Prepare strips of fabric and paper.
Prepare Materials Assemble Layers
- Layer the fabric and paper strips, incorporating stamps and other embellishments.
Assemble Layers Create the Roll
- Roll the layered strips to create a snippet roll.
Create the Roll

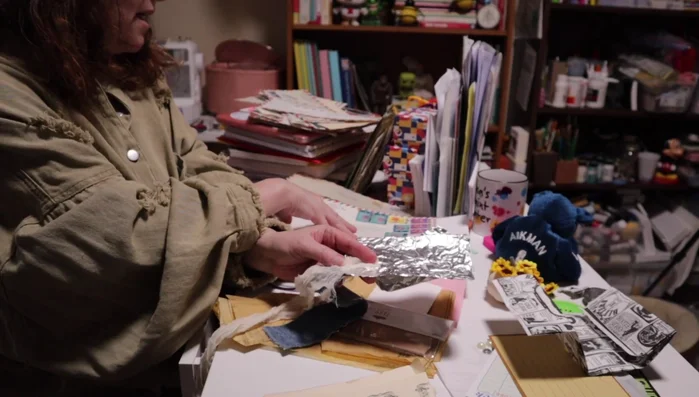
Tips
- Use different combinations of materials and stamps to create varied textures and colors.
- Consider adding foil or other shiny elements for extra visual appeal.
Read more: Two Efficient Methods to Customize Layered Postage Stamp Frames in Photoshop