This comprehensive guide explores the Brady BMP41 label maker, a versatile and user-friendly device perfect for a wide array of labeling needs. We'll walk you through the simple setup process, from unpacking the printer and installing the cartridge to navigating the intuitive interface. Learn how to create various label types, including general purpose labels, flag labels for wire identification, terminal block labels for organized wiring systems, wire markers for clear wire identification, and even breaker box labels for electrical panels. This guide will empower you to efficiently and accurately label virtually anything.From understanding the basic functions to mastering advanced features like serialization and customized label lengths, this guide covers everything you need to know to get the most out of your BMP41. We’ll detail the steps involved in creating each label type, emphasizing the use of the print preview feature to ensure accuracy before printing. This guide is designed for users of all skill levels, making the Brady BMP41 an accessible and powerful tool for professionals and DIY enthusiasts alike.
Read more: Top 10 Best Label Printers 2018: A Detailed Review
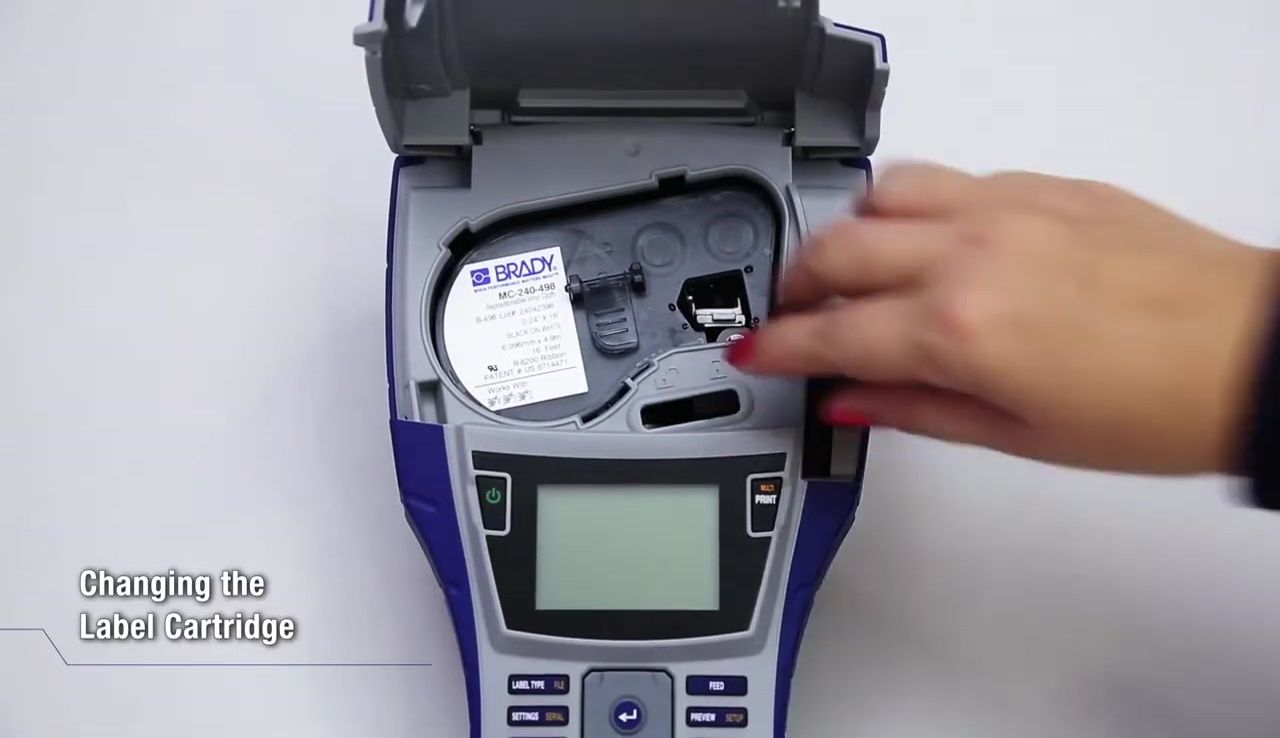
Unboxing and Cartridge Installation
The BMP41 printer arrives in a sturdy hard casing. Included are all the necessary accessories for immediate use. Opening the printer is straightforward; simply pull up on the finger tab and push the locking lever to the left to unlock.
Removing the empty cartridge is equally simple. Insert the new cartridge into the cartridge well and gently slide the locking lever to the right to secure it in place. Finally, push down on the printer cover until it snaps shut.
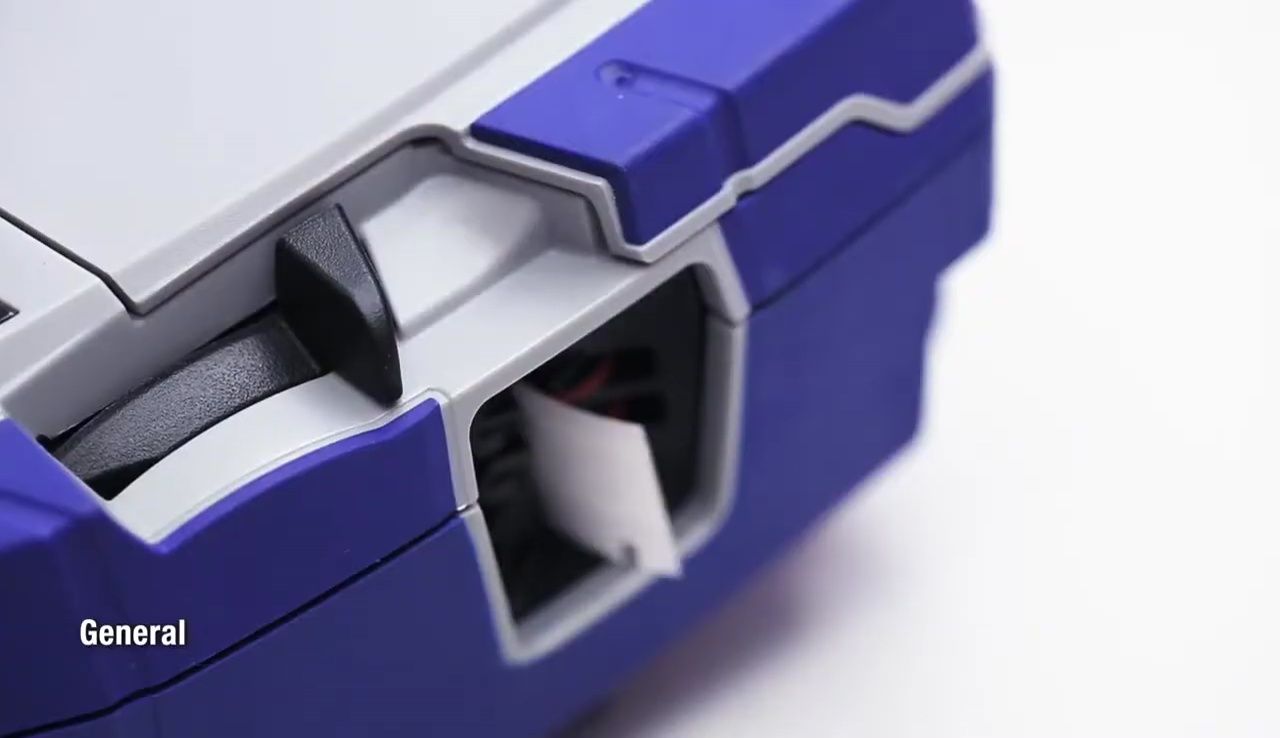
Creating General Labels
To begin creating a label, select the 'general' label type. Customize the font size by pressing the corresponding button. You can easily switch between uppercase and lowercase text using the function button and then selecting font options.

Preview your label using the 'print preview' feature before printing. Once satisfied, press print and the label will be printed. Use the cutter lever to neatly cut the label.
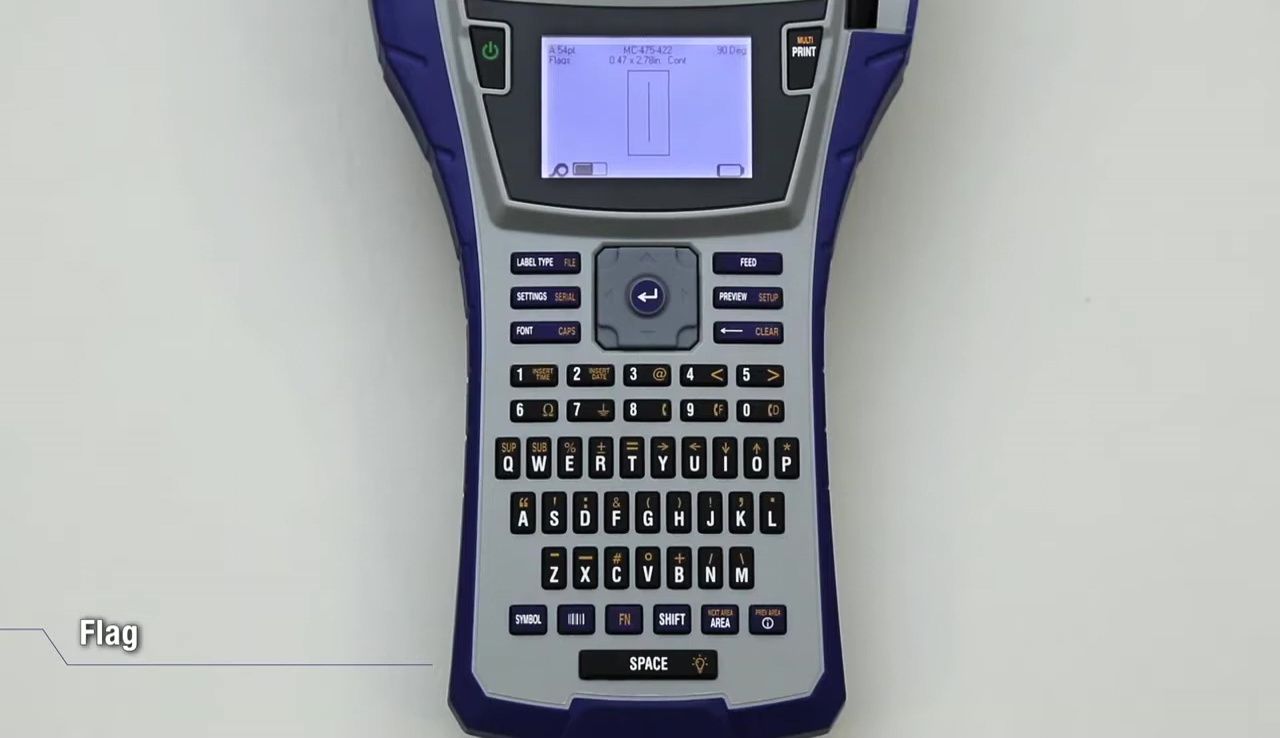
Creating Flag Labels
For flag labels, select 'flag' from the label type menu. Choose your preferred layout and input the required flag length and cable diameter. This ensures a precise fit for your application.
Once the dimensions and text are entered, check the print preview to ensure accuracy. After confirming, print and cut the label as before.
Creating Terminal Block Labels
Select 'terminal block' as the label type. Decide whether or not to serialize the terminal blocks and choose the preferred separator from the dropdown menu. You can also specify the orientation of the labels.
Input the number of terminal blocks needed, and indicate the gap size between terminals. Input your text, check your print preview, and print. Remember to use the cutter to cut the finished labels.
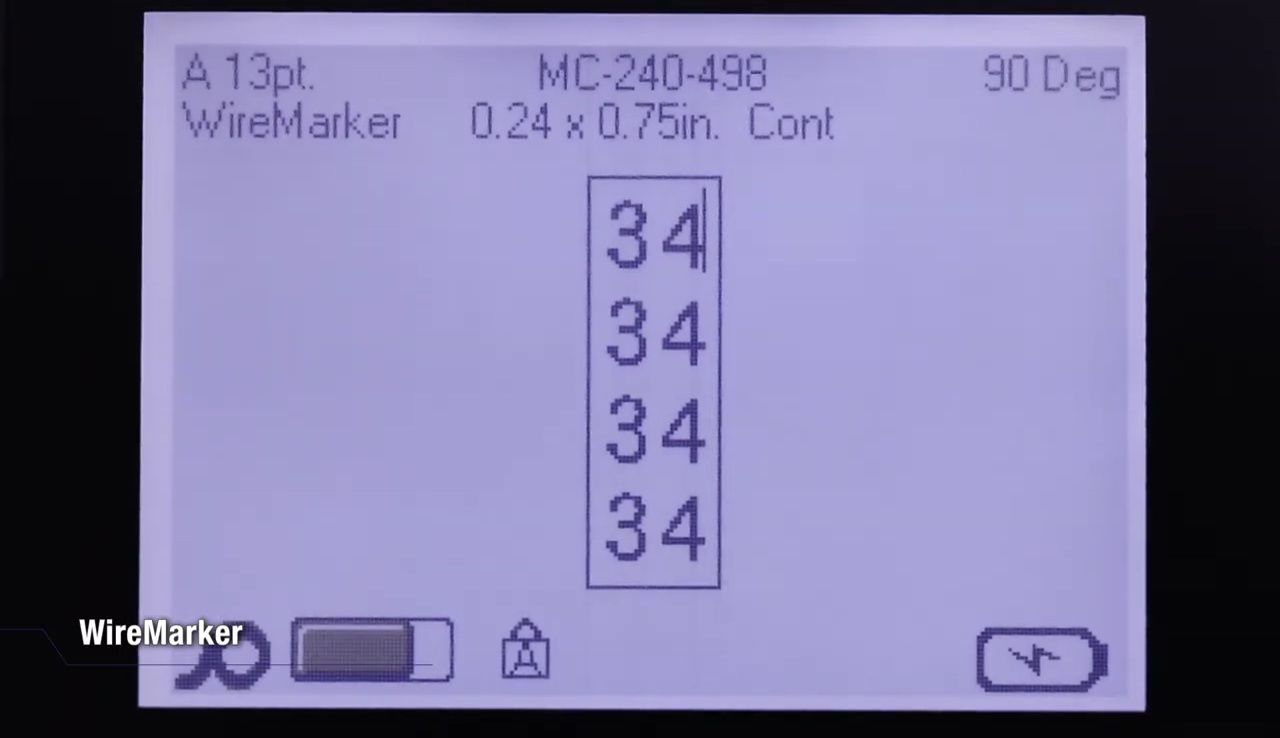
Creating Wire Marker Labels
Choose 'wire marker' for labeling wires. Select the appropriate wire size. As you type, the text repeats down the label—a convenient feature for consistent wire identification.
You can adjust the font size as needed. Check the print preview, print, and cut the label. Apply the label to the wire for clear identification.
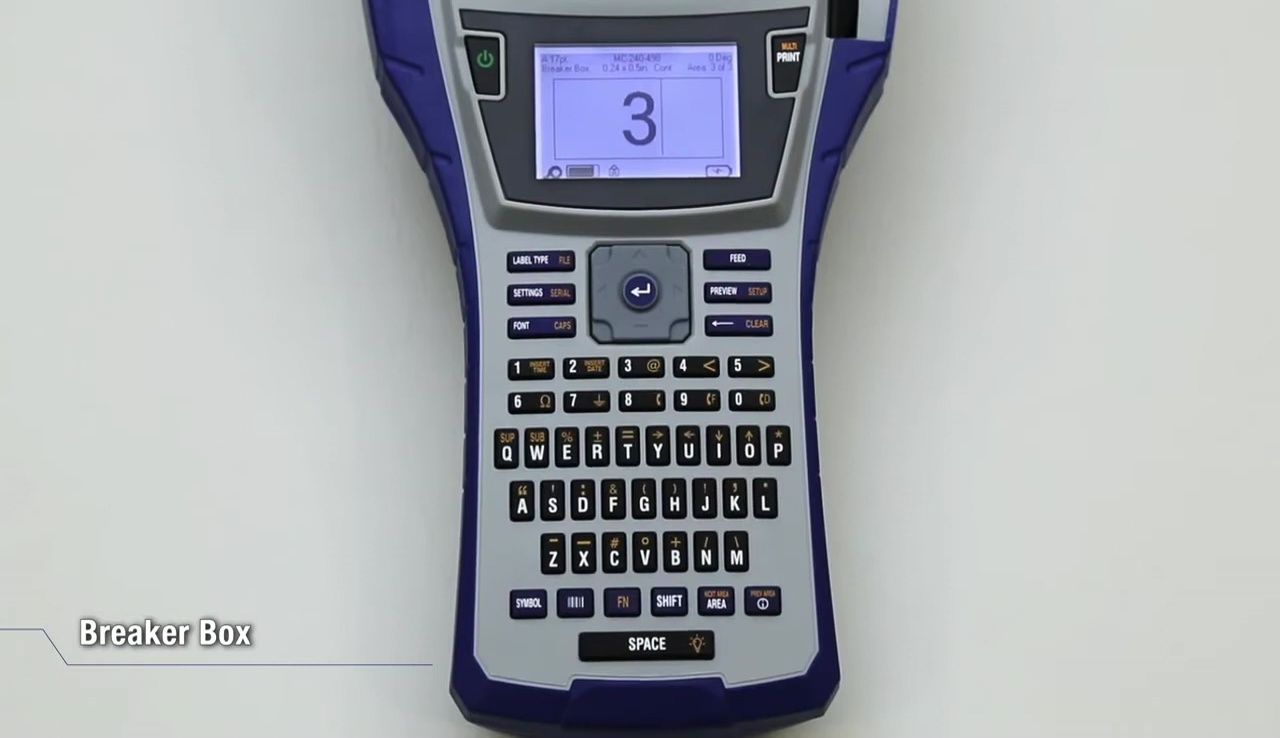
Creating Breaker Box Labels
Select 'breaker box' as the label type. Customize the length, separator, and orientation of the labels. Enter the number of breakers and choose whether to include variable pole count details.
Use the function button and 'area' selection to navigate between different areas on the label for multi-breaker applications. Check the preview and print your custom labels.
Conclusion
The Brady BMP41 label maker is a versatile device capable of creating a wide range of labels for various applications. Its intuitive interface makes label creation straightforward, even for beginners. The print preview feature minimizes errors, ensuring accurate and professional-looking labels.
The inclusion of different label types (general, flag, terminal block, wire marker, breaker box) demonstrates its adaptability to various industrial and organizational needs. While the specific features may not be groundbreaking, the user-friendliness and versatility of this label maker make it a valuable tool.