This tutorial provides a comprehensive guide to printing professional-looking jewelry price tags using a Dymo LabelWriter printer. We'll walk you through the entire process, from selecting the right printer and labels to designing and printing your price tags, ensuring your jewelry is presented with clear, accurate, and attractive pricing information. This guide is perfect for small jewelry businesses looking for a cost-effective and efficient labeling solution. We'll cover essential aspects like label selection, printer loading, software utilization, barcode options, and application tips for optimal results.Whether you're a seasoned jewelry maker or just starting out, this step-by-step instruction will empower you to create professional-quality price tags. We'll focus specifically on maximizing the capabilities of the Dymo 400 series printers and Dymo 30299 labels, addressing common challenges and offering solutions for achieving clear, crisp printouts even on the smallest label sizes. By following this guide, you'll be able to elevate the presentation of your jewelry and streamline your pricing process.
Pros And Cons
- Works well for printing small product labels.
- Relatively inexpensive.
- The way Dymo engineers their printer is not favored by the reviewer.
- 203 dpi models may not work well with small text labels.
Read more: Top 10 Best Label Printers 2018: A Detailed Review
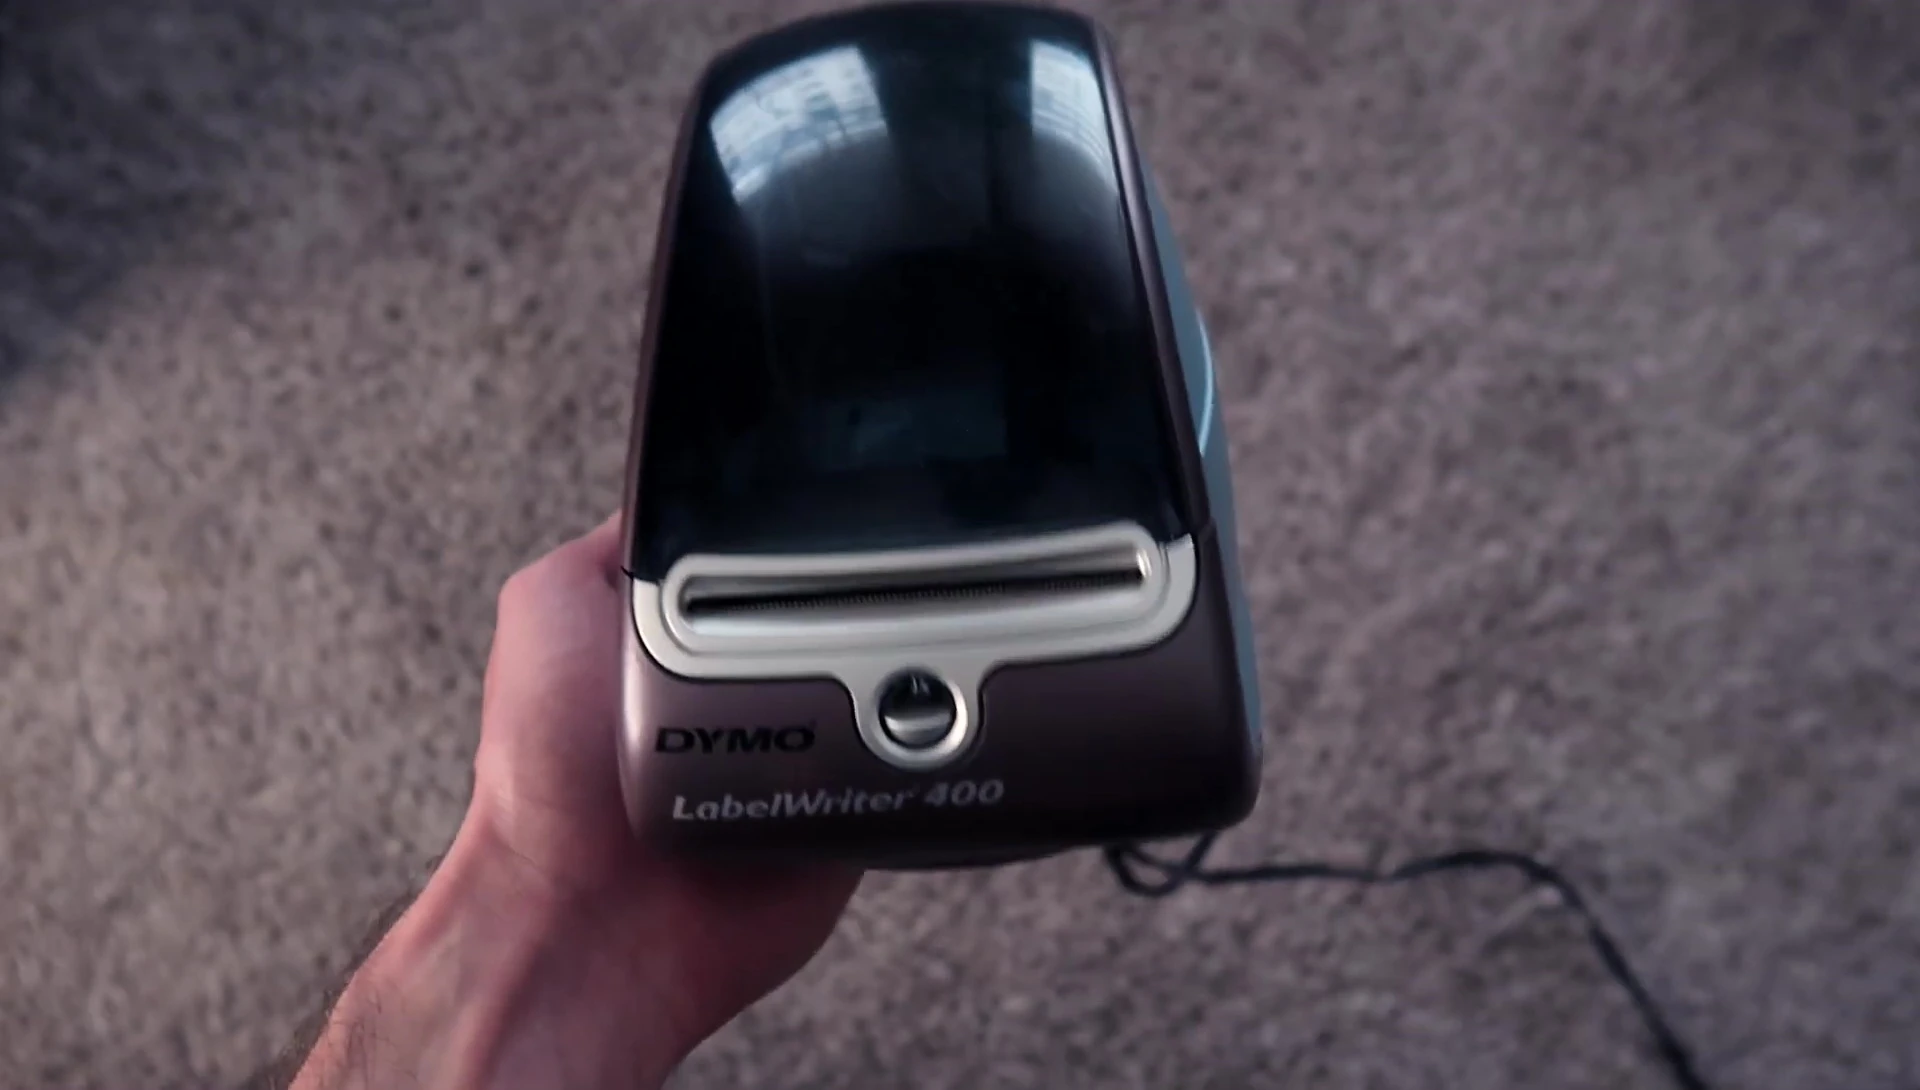
Essential Equipment: Dymo Label Printer and Labels
To successfully print professional-looking jewelry price tags, you'll need a compatible thermal printer. The Dymo 400 series (including the 450, 450 Turbo, 400 Turbo, and 4XL) is highly recommended due to its compatibility with the label size and print quality for small details. Other printers, like those with 203 dpi, might struggle with the small text size required for these labels.
The correct labels are crucial. You need Dymo 30299 labels (or equivalent third-party options), specifically designed for the Dymo printer. Ensure you order the exact dimensions to avoid misalignment and printing issues. These labels have small perforations which make it easy to peel and stick onto your jewelry.
Having the right tools is critical for an efficient labeling process. The correct combination of printer and labels will ensure clear, accurate printouts that can readily be used for your jewelry.
Loading Labels into the Dymo Printer
Properly loading the labels is essential. Open the printer, insert the label roll correctly into the spool, following the arrow's direction. The tail end should wrap around the spool and feed out smoothly.
Ensure the label punches are on the left side of the printer. Load the spool into the printer, ensuring the punches align with the left side and the print surface is at the bottom. Adjust for proper alignment before closing.
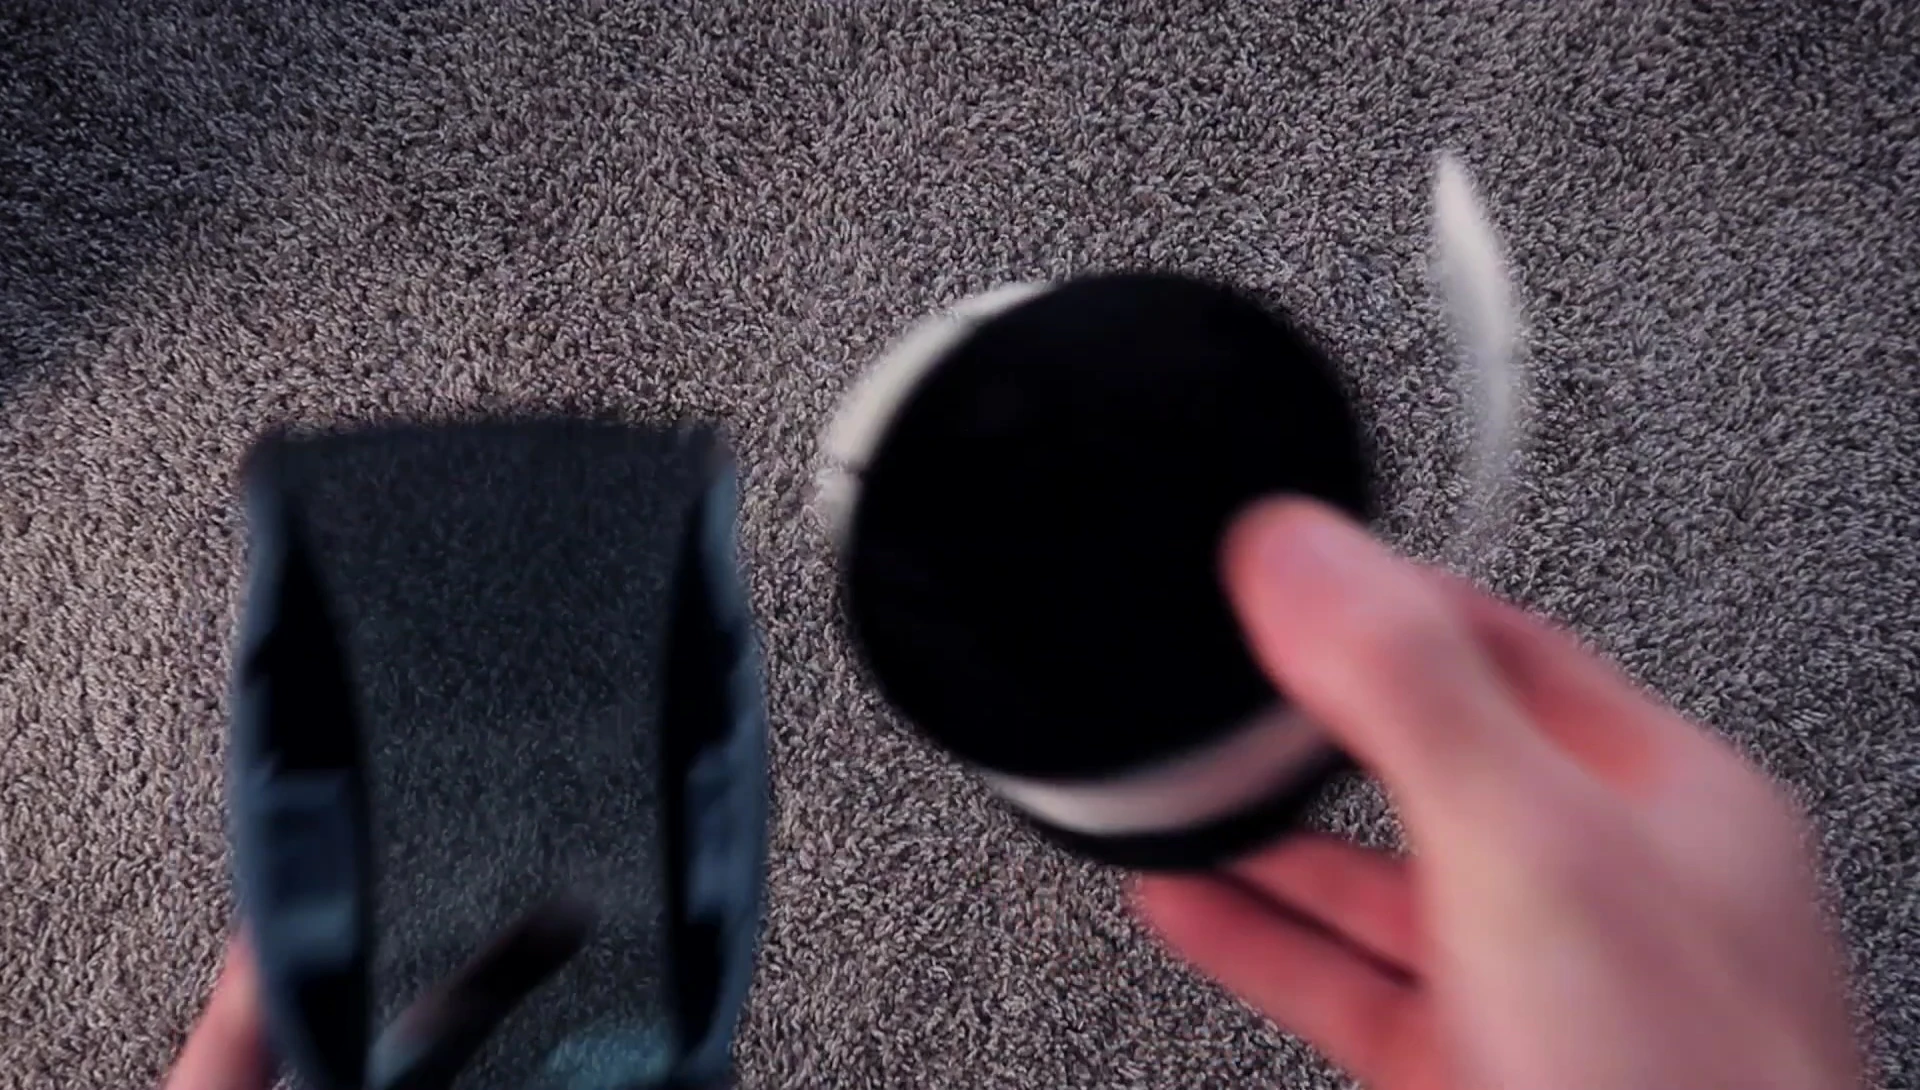
Test the loading by pressing the front button. A single label should load, indicating proper alignment with the sensor. If labels jam, use the lever to reduce pressure and remove the jam.

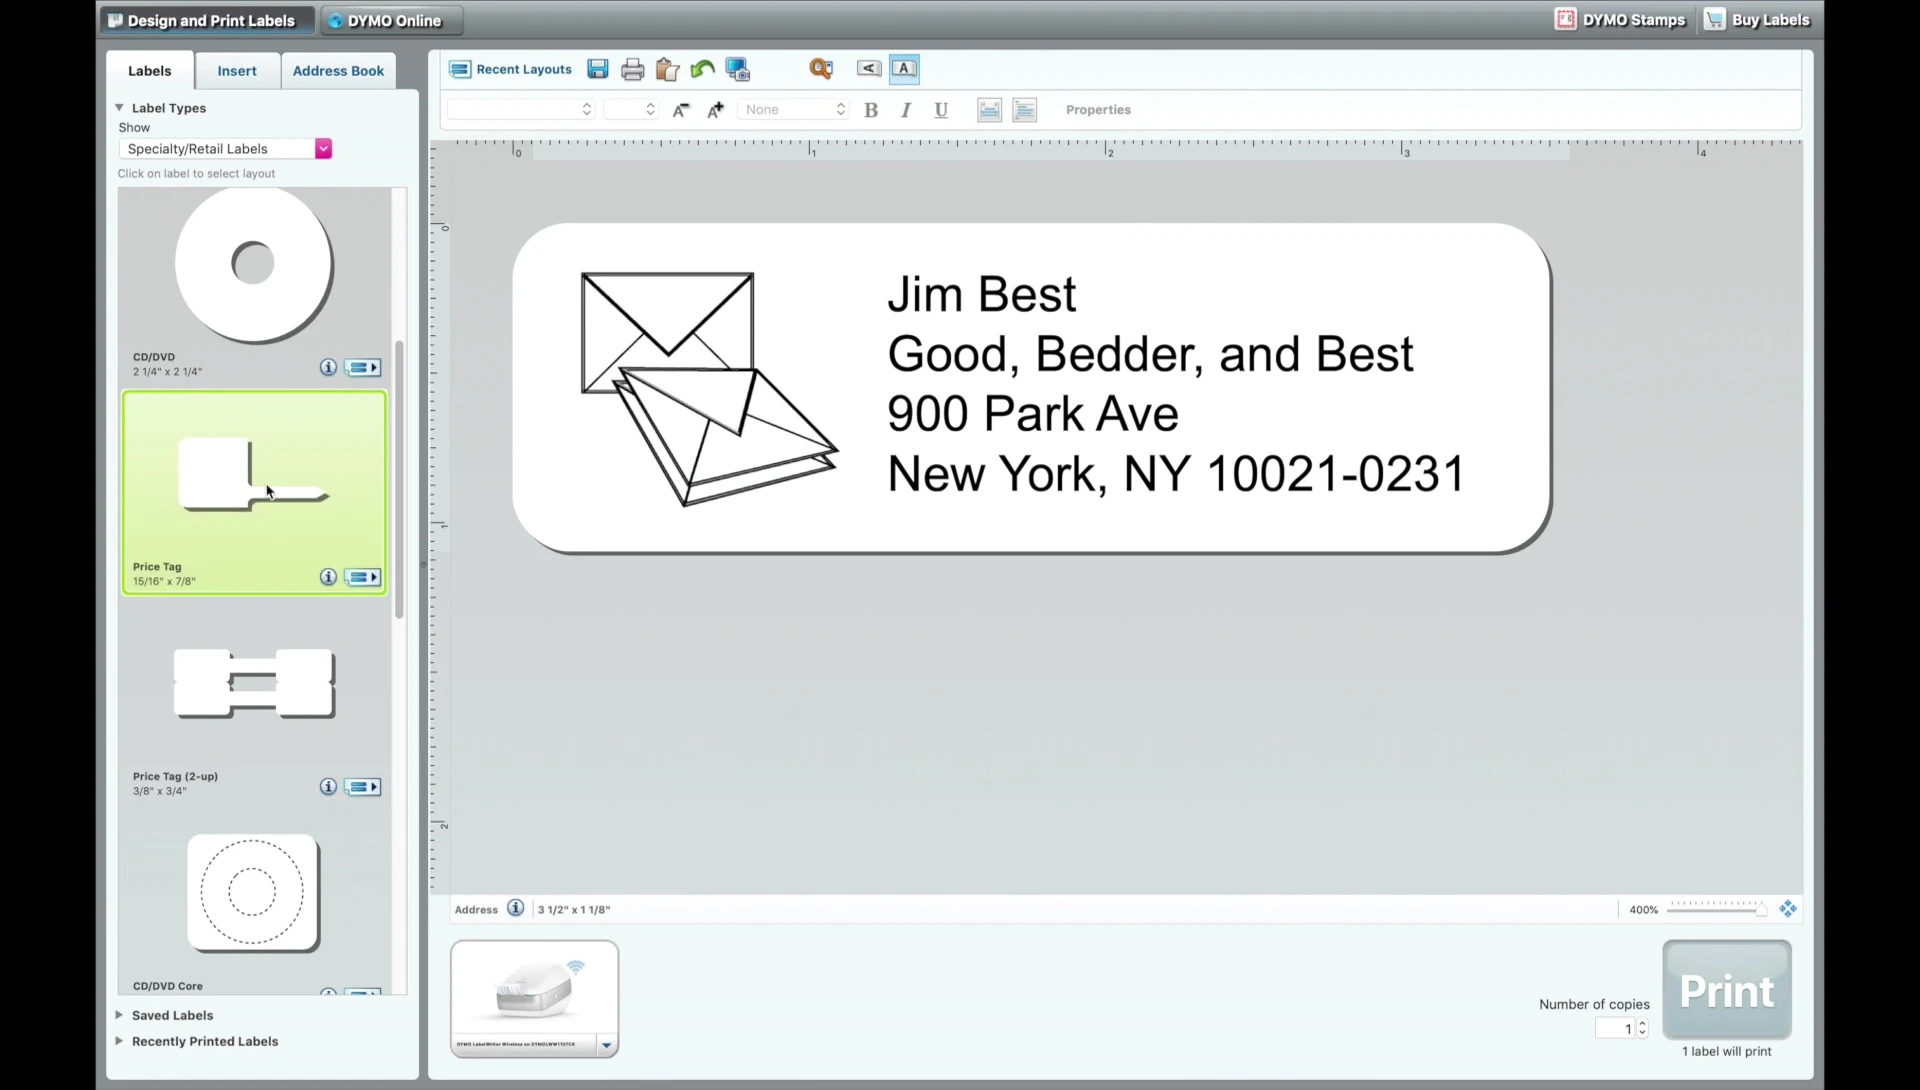
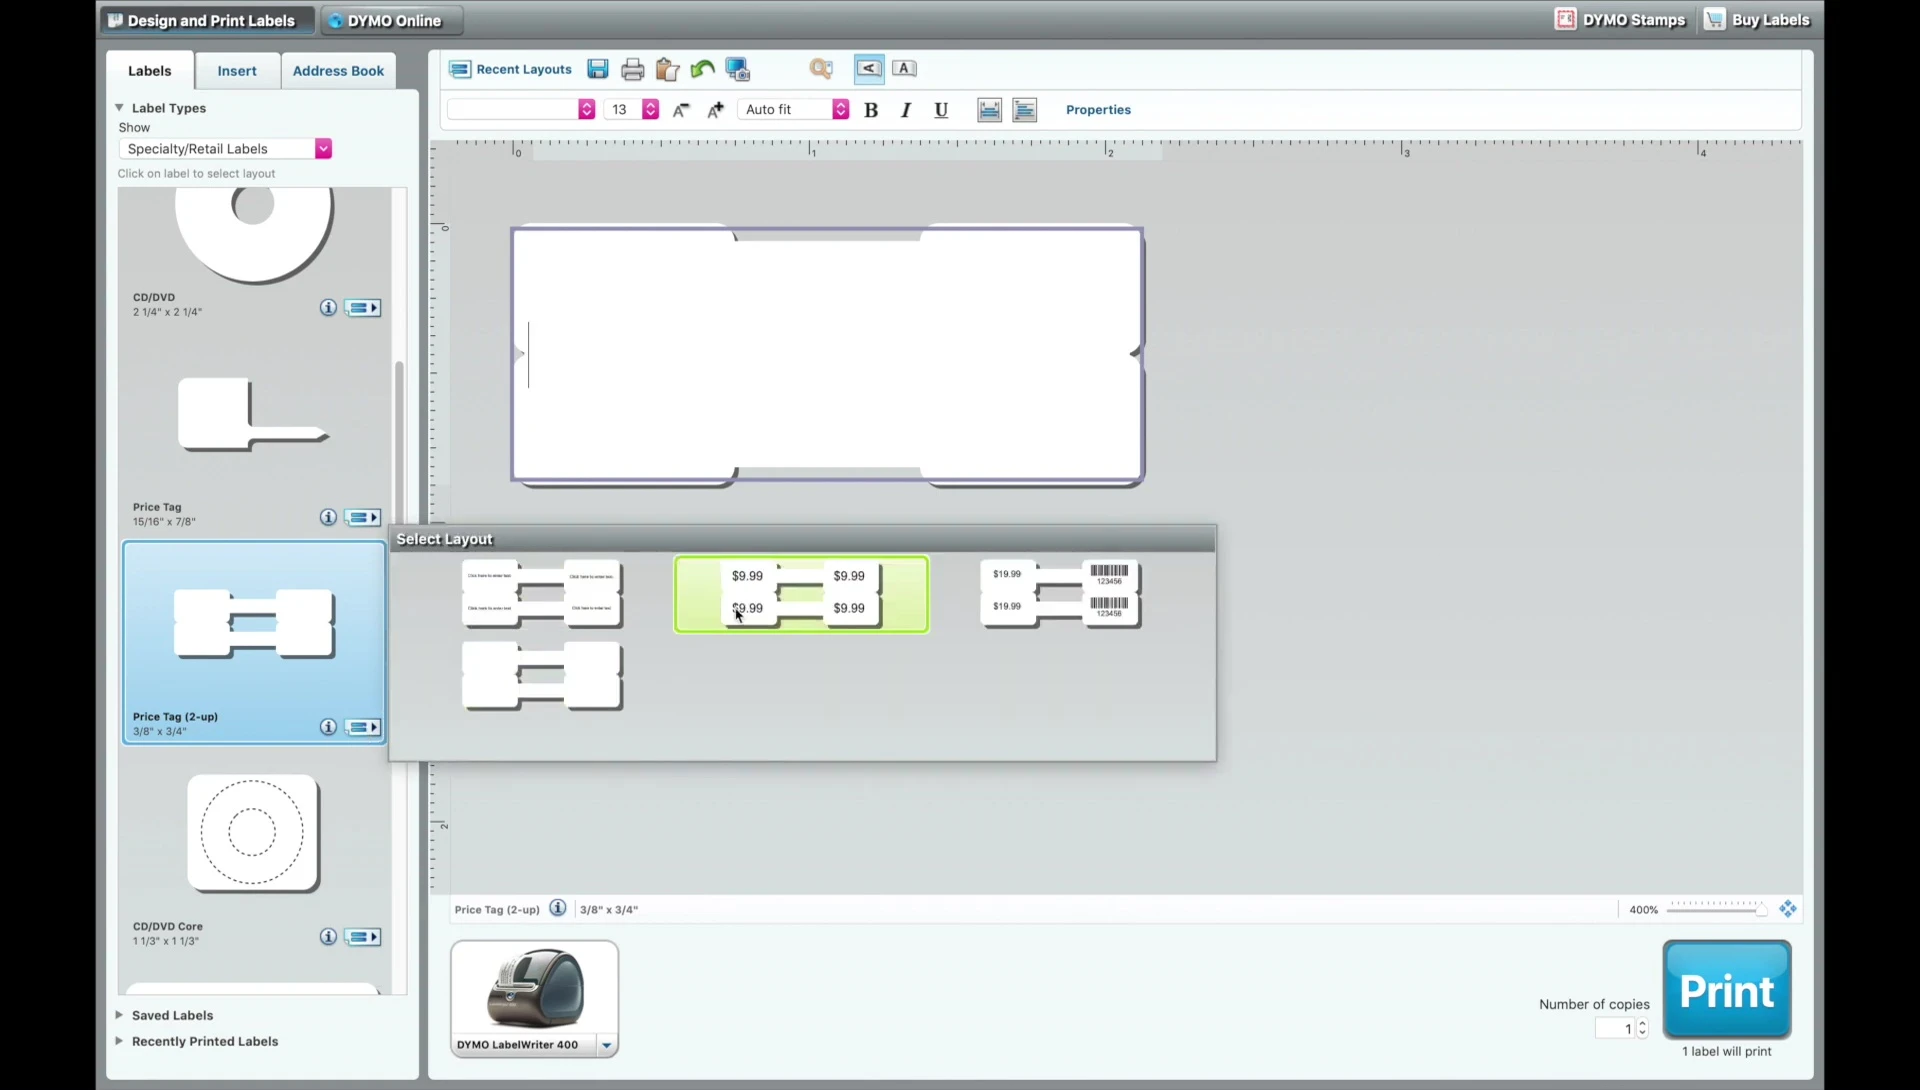
Designing Your Labels with Dymo Software
Use the Dymo Label software (available for both Mac and PC). Select "Specialty Retail Labels" and choose the appropriate price tag template. Adjust the zoom level (up to 400%) for better editing.
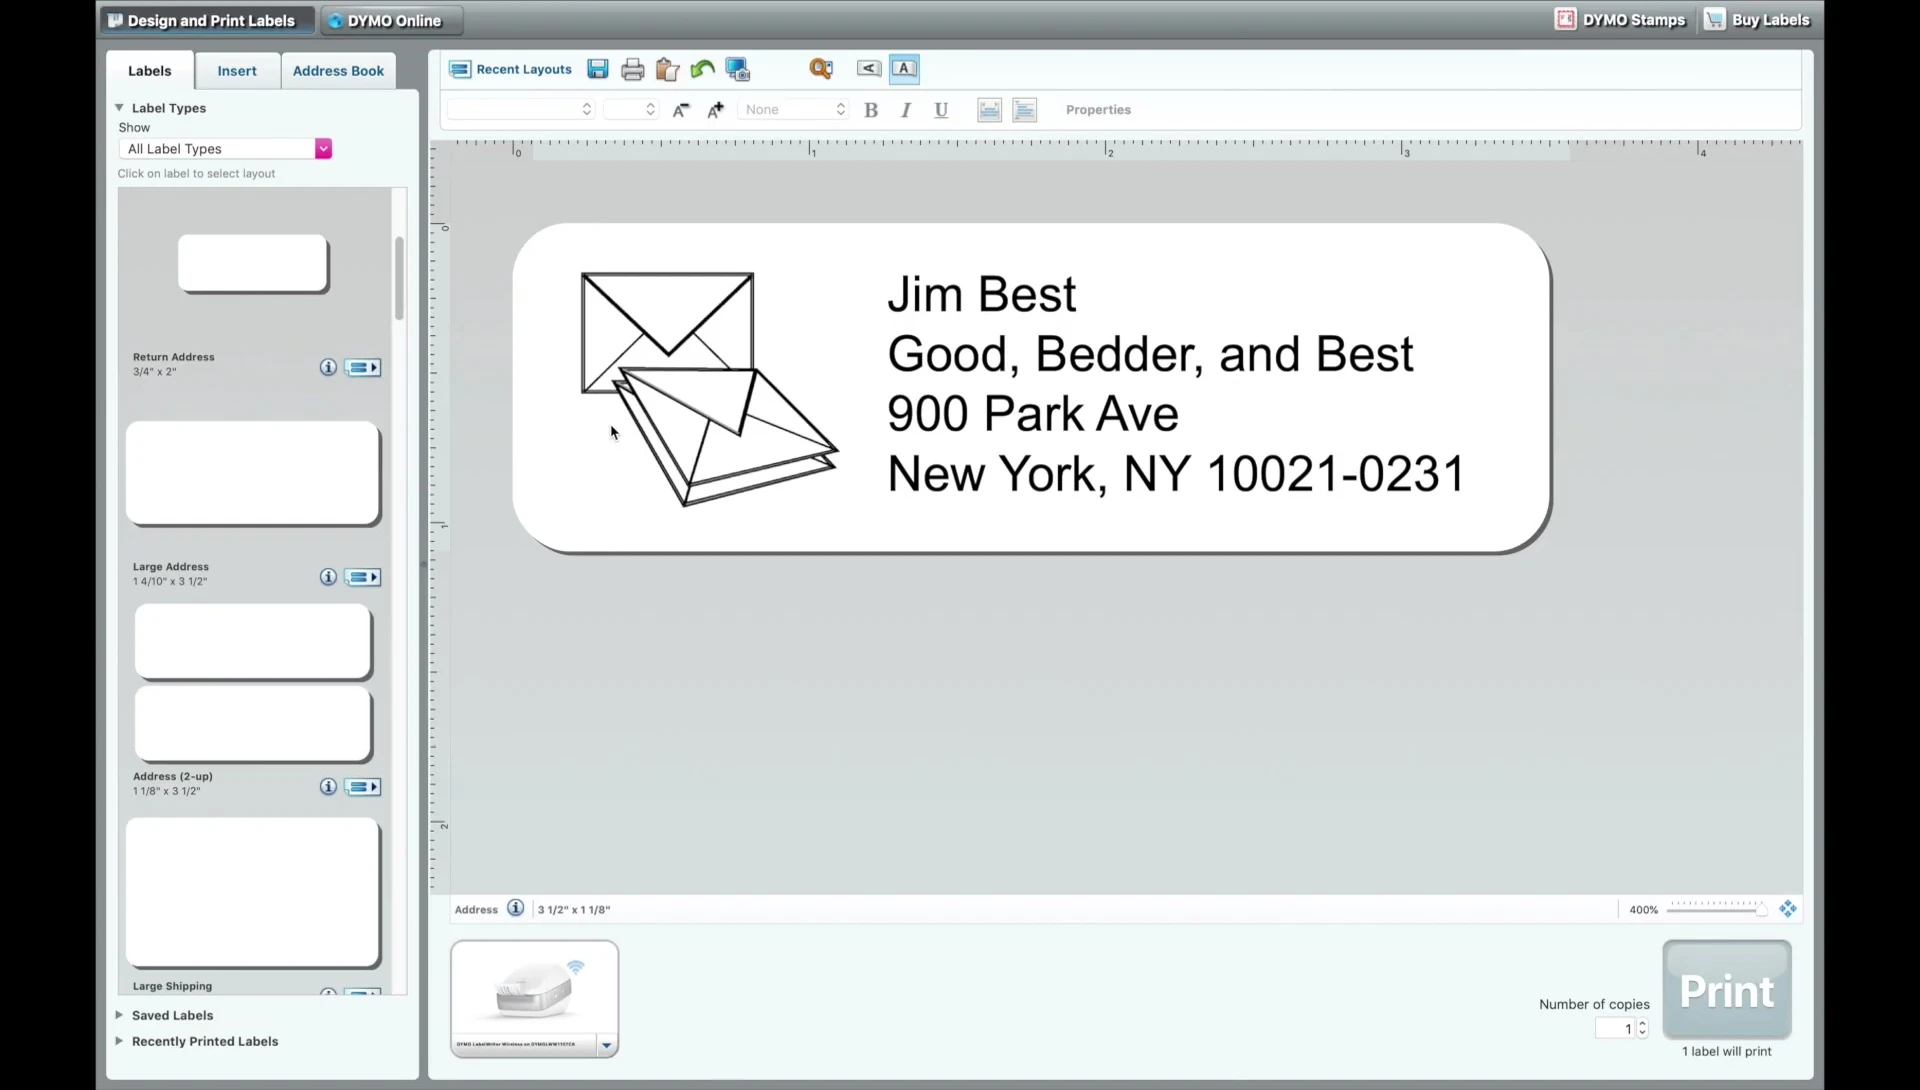
The software offers templates for text, price, price and barcode, and custom layout. Experiment with bolding text, font selection, and placement for optimal readability on the small labels.
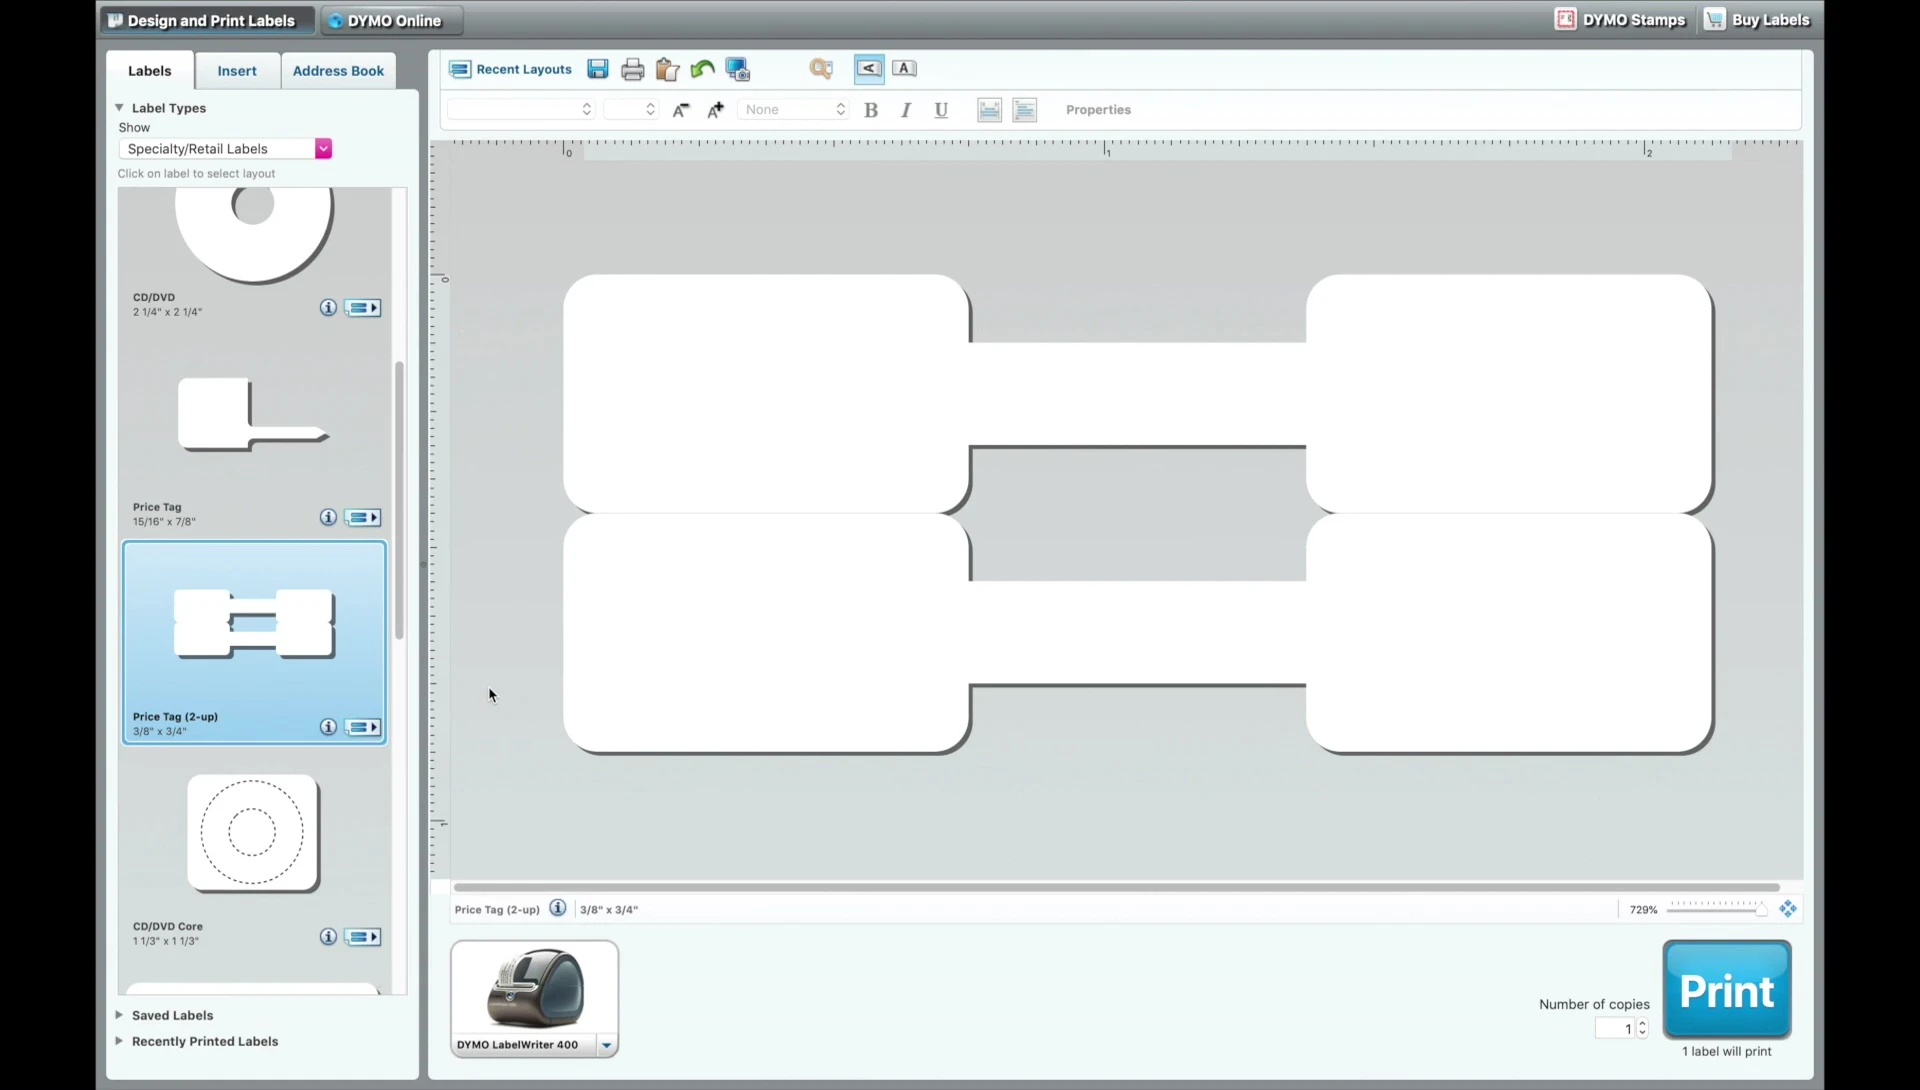
Custom layouts require careful manipulation of text boxes. Precise placement is crucial due to the limited space. Consider using the pre-made templates as a base and modify them for your needs rather than starting from scratch.
Barcode Options and Customizations
The barcode options are limited. Code 2 of 5 is the best choice for these small labels, as UPC barcodes won't fit. You might need a custom SKU for your business.
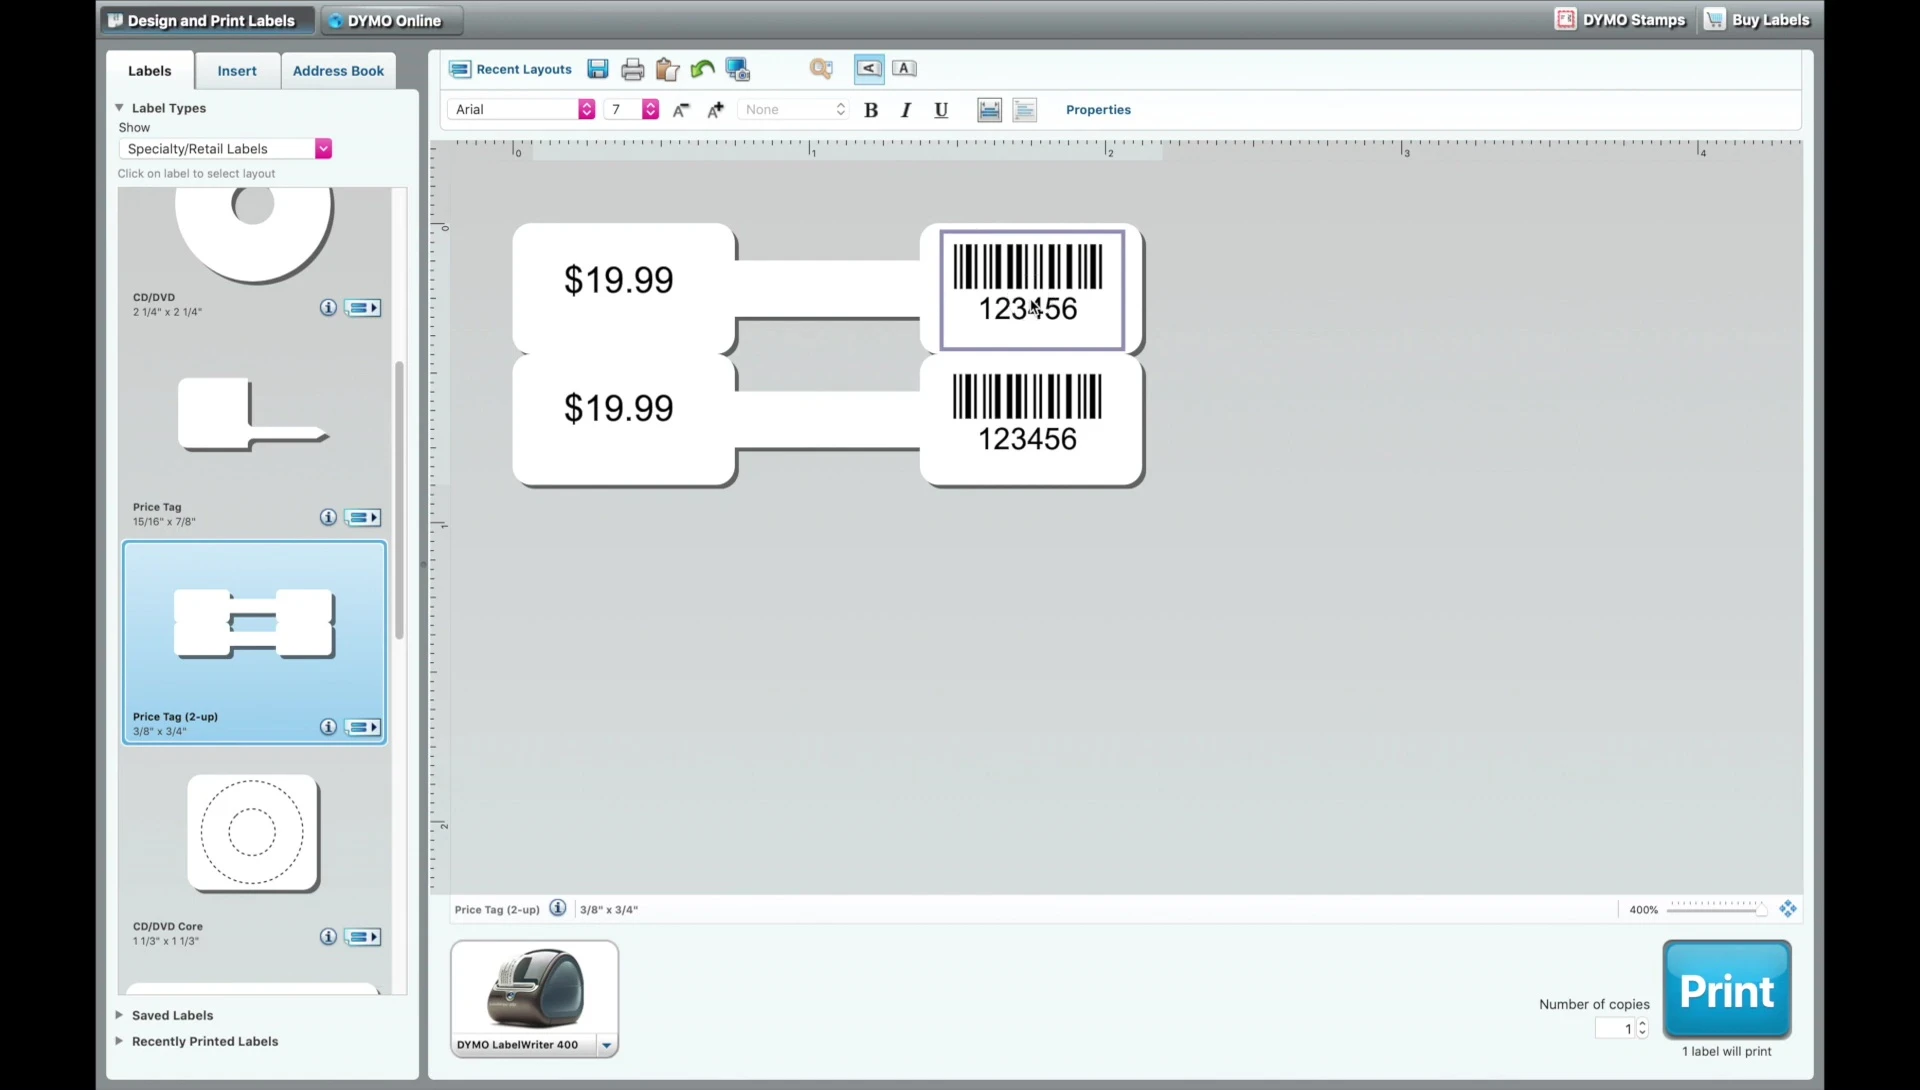
Custom layouts offer more flexibility, but careful text box manipulation is required. Centering options help align text and barcodes within the label's confined space.
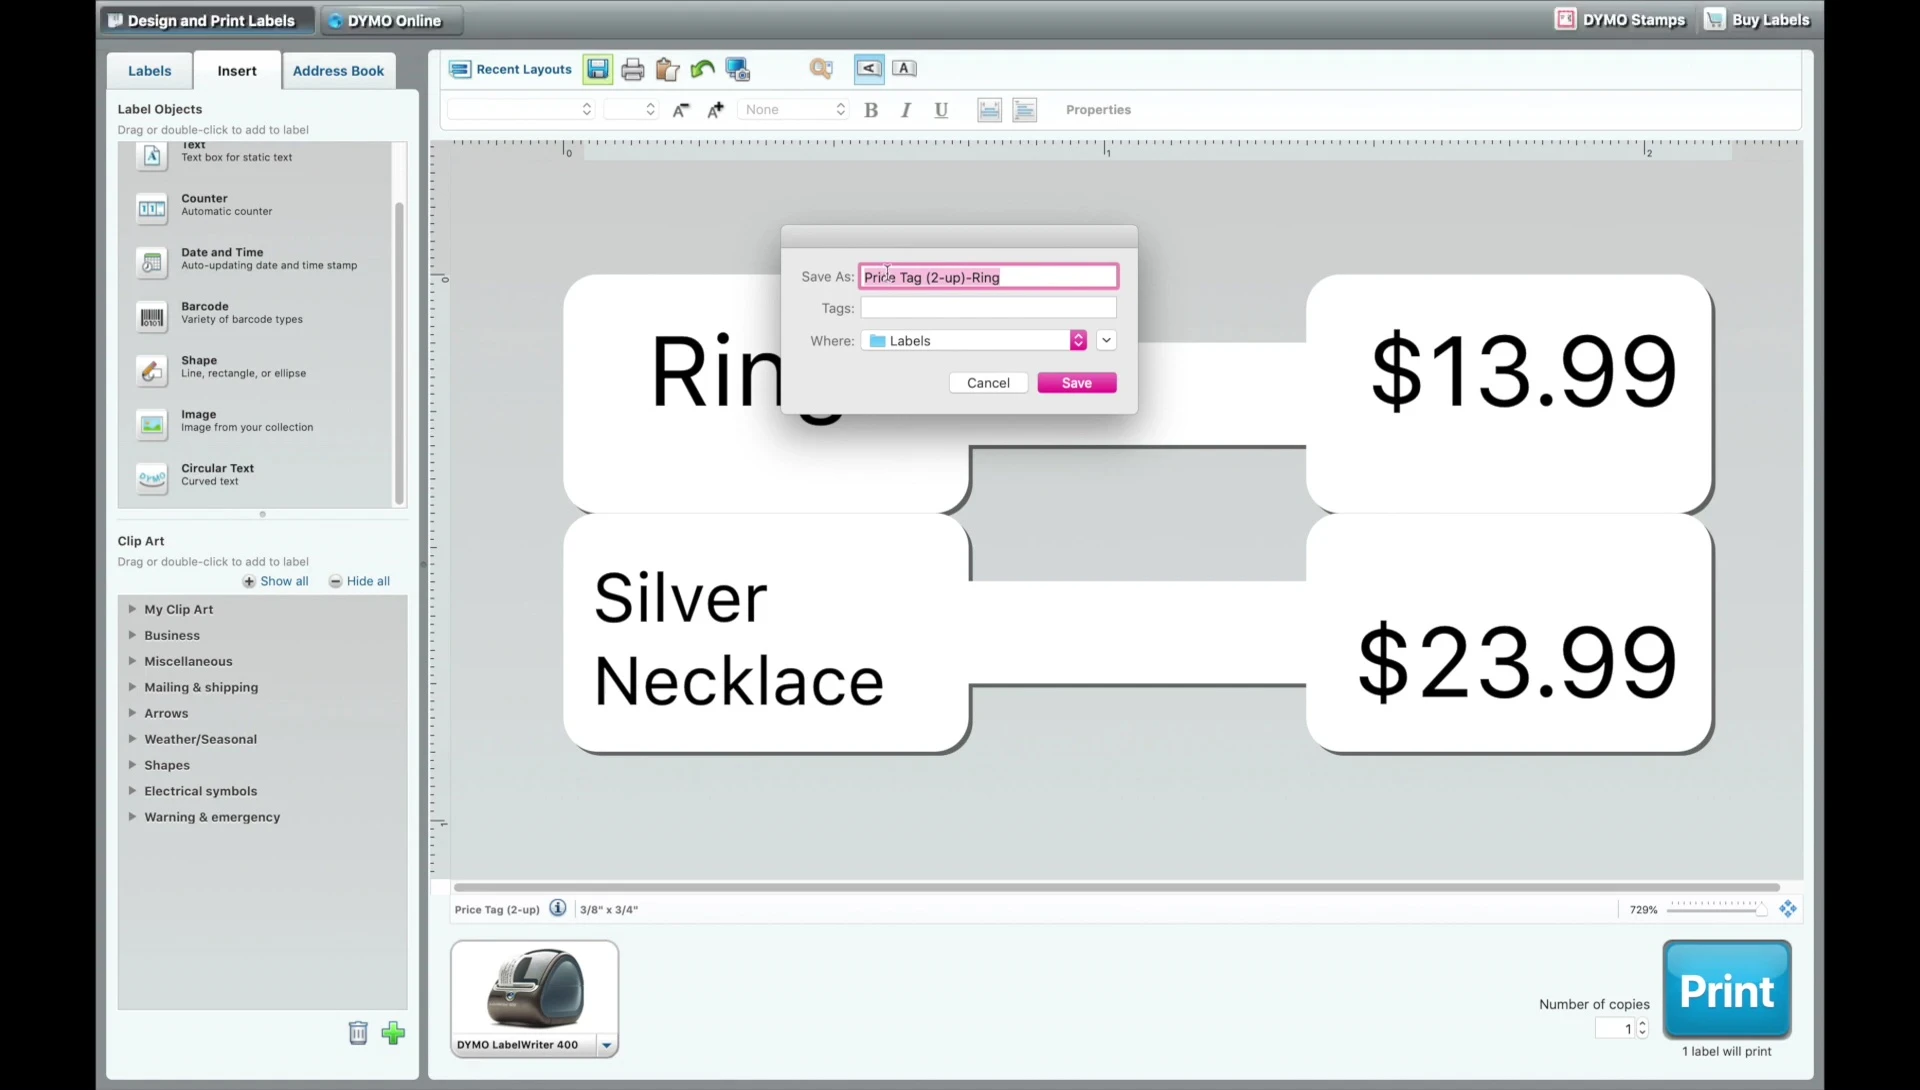
Save your finalized label layout for easy retrieval and reprinting in the future. This saves time and ensures consistency in your labeling.
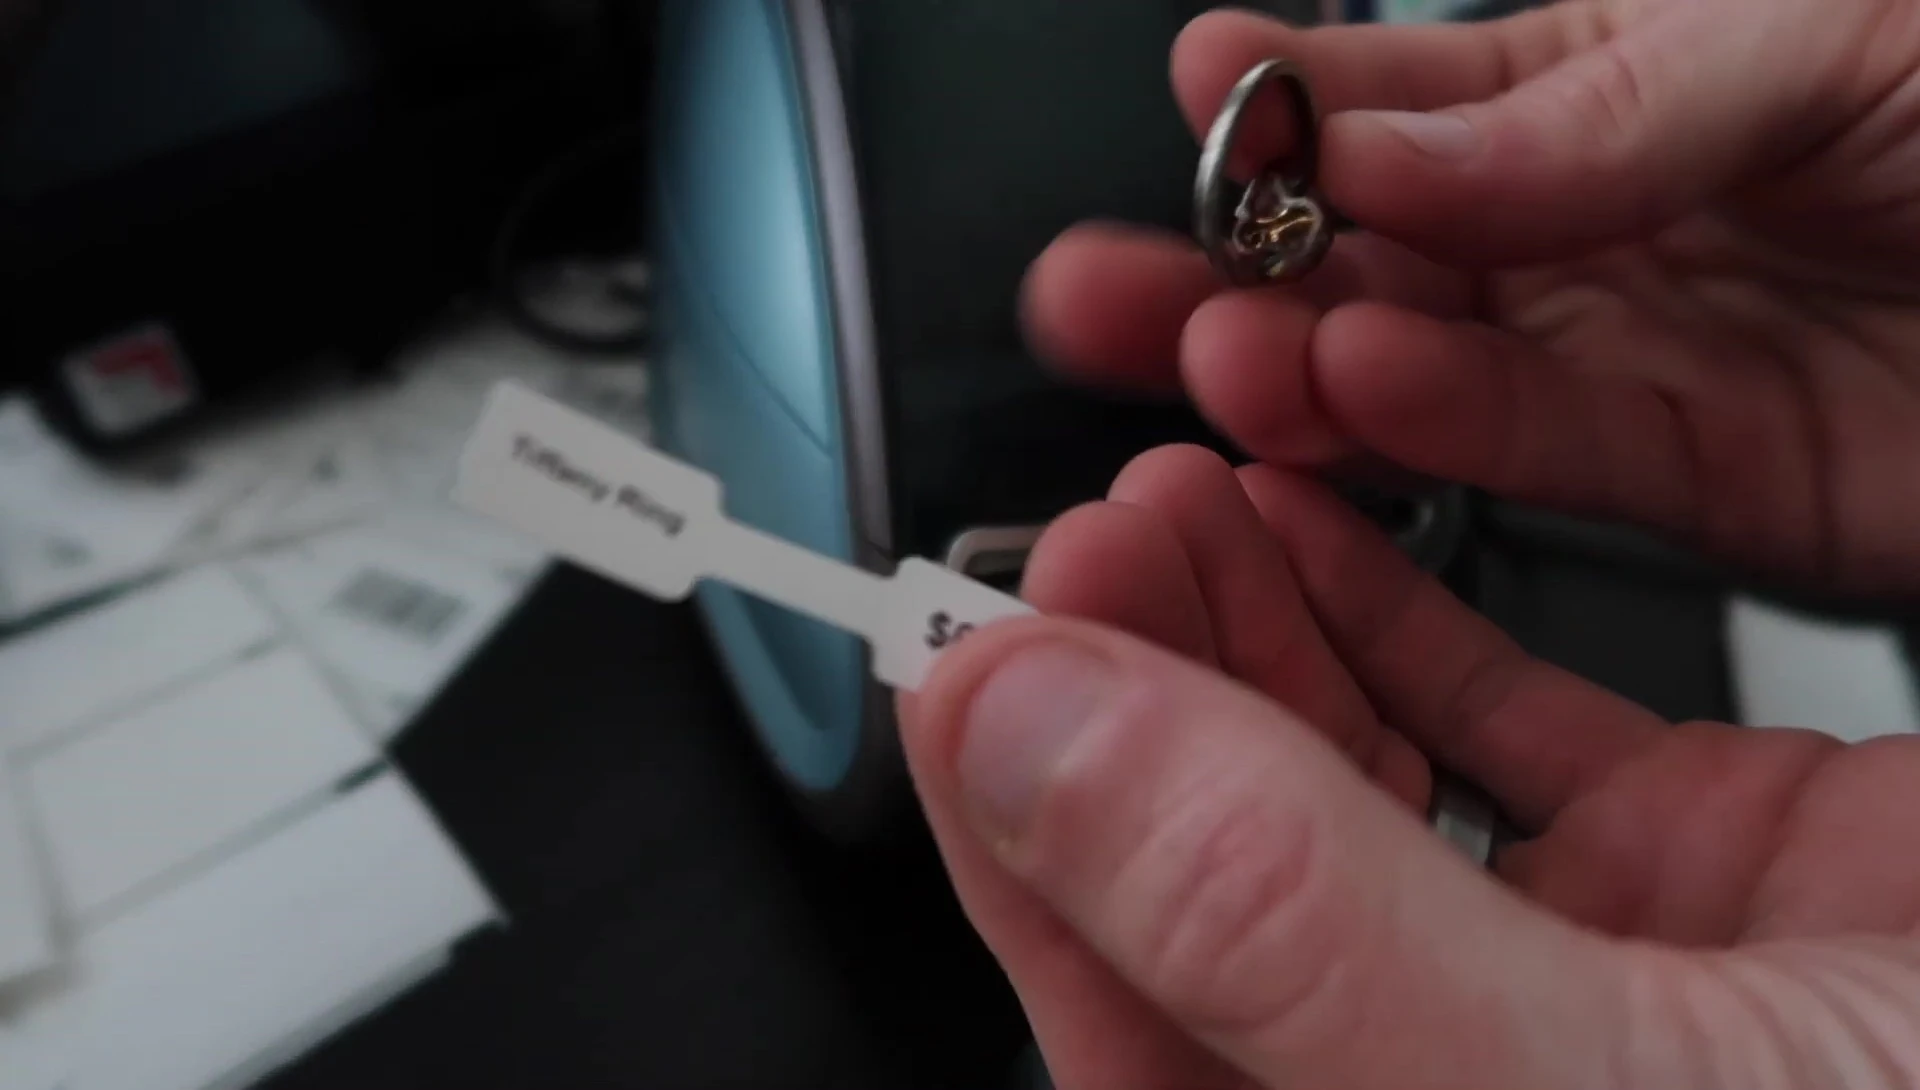
Applying the Labels to Jewelry
Once printed, gently peel the label using the perforations. Align the label's adhesive with the jewelry, ensuring proper positioning before pressing firmly.

The labels adhere strongly; removal requires considerable force or scissors. Choose wording and numbers carefully to clearly convey product information to customers.
This labeling method offers versatility. You can adapt it to various jewelry types, metals, and additional product details, making it suitable for various small business applications.
Conclusion
This tutorial demonstrates a cost-effective solution for printing professional jewelry price tags using readily available resources. The Dymo 400 series printer and specific Dymo 30299 labels offer optimal results.
While the Dymo software has limitations, the pre-made templates and customizability options allow for a functional and efficient labeling process. Understanding barcode types and limitations is important for successful printing.
The overall process is relatively straightforward, but some experimentation with label design and placement might be needed to achieve desired results. Remember to save your custom layouts for future use.