This comprehensive guide demonstrates how to effortlessly create and print barcodes using Brother P-Touch printers and Pouch Editor software. We'll walk you through the entire process, from designing your barcode layout to integrating with databases for efficient bulk printing. Learn how to leverage the versatility of Code 128 barcodes, customize your labels with text and images, and ensure readability with clear preview options. This guide covers everything from basic barcode creation to advanced techniques for enhancing security and adding context to your labels.Whether you need barcodes for inventory management, asset tracking, or other applications, this step-by-step guide will empower you to create professional, functional, and secure barcodes quickly and easily. We'll explore efficient database integration for streamlined workflow, techniques to enhance security through custom image inclusion, and methods for adding crucial supplementary information to your barcode labels. By the end, you'll be confident in your ability to generate and print barcodes that meet your specific needs.
Read more: Top 10 Best Label Printers 2018: A Detailed Review
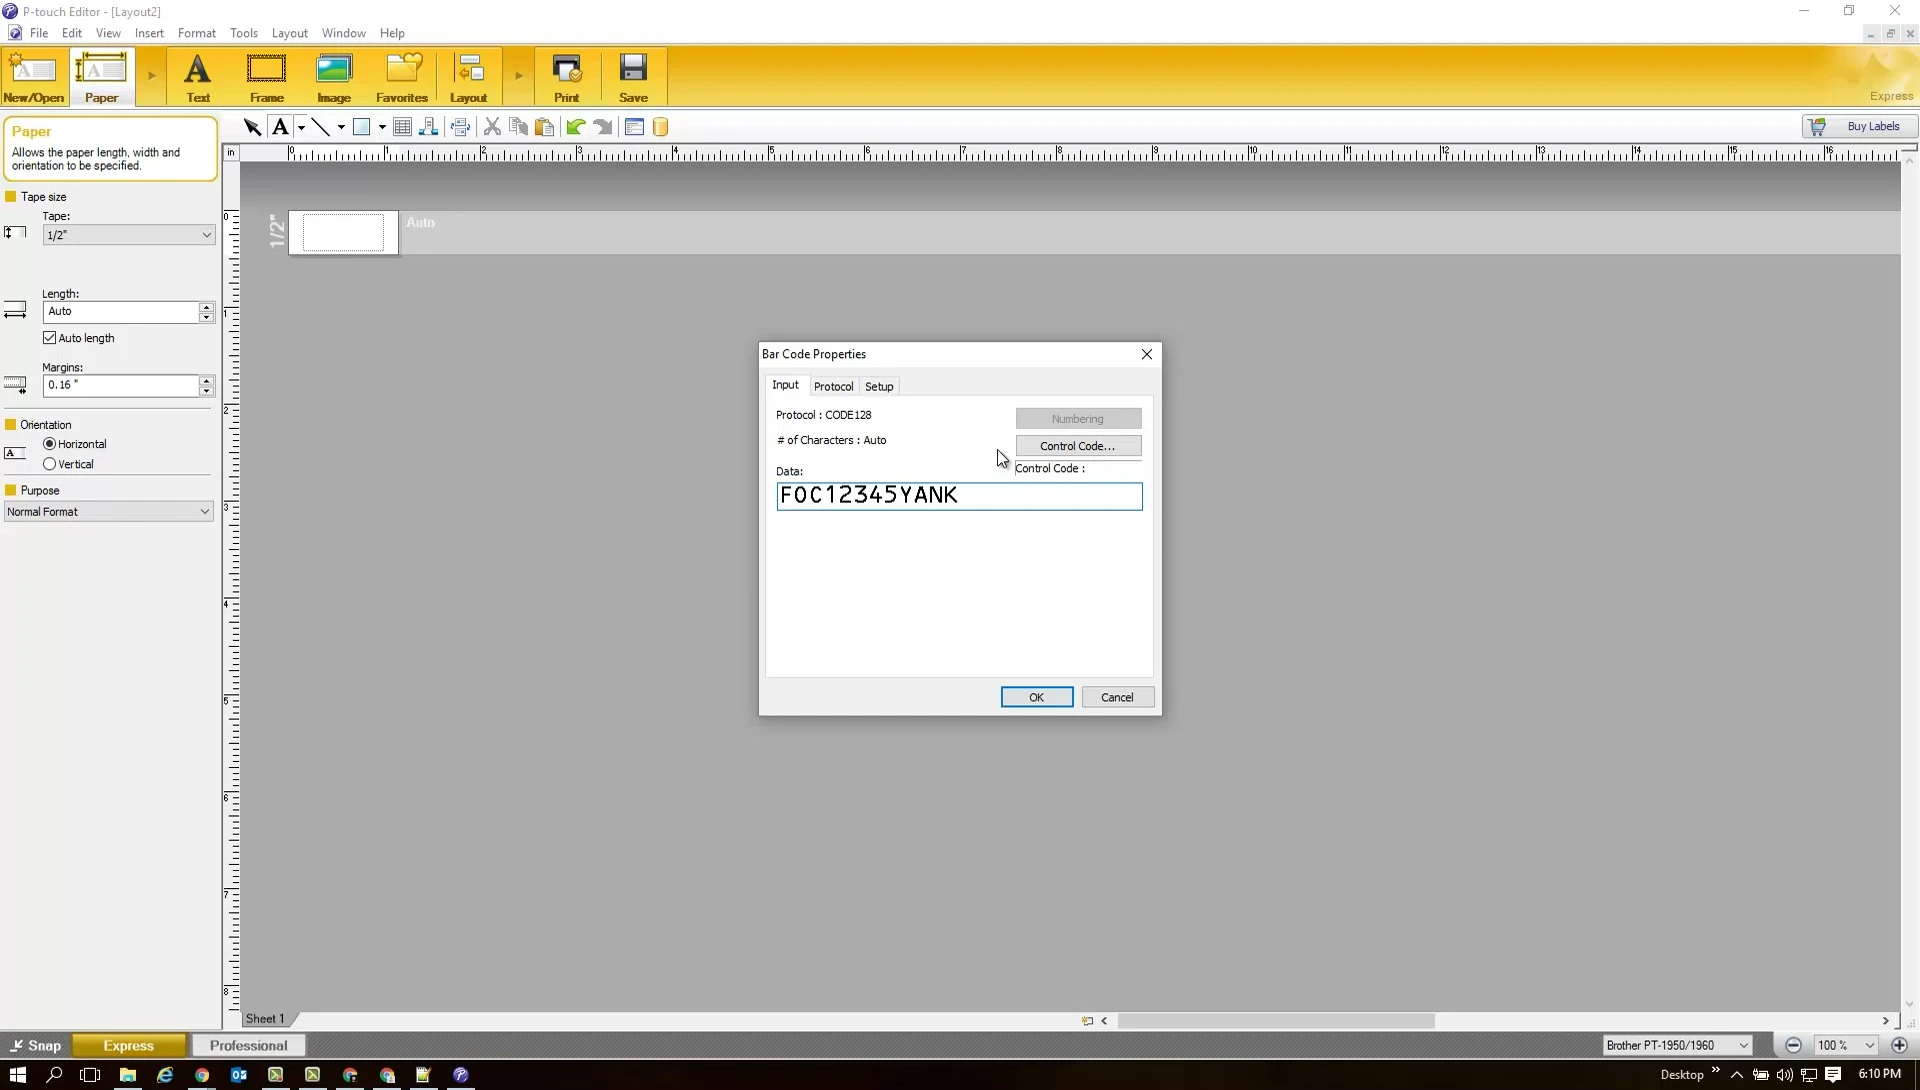
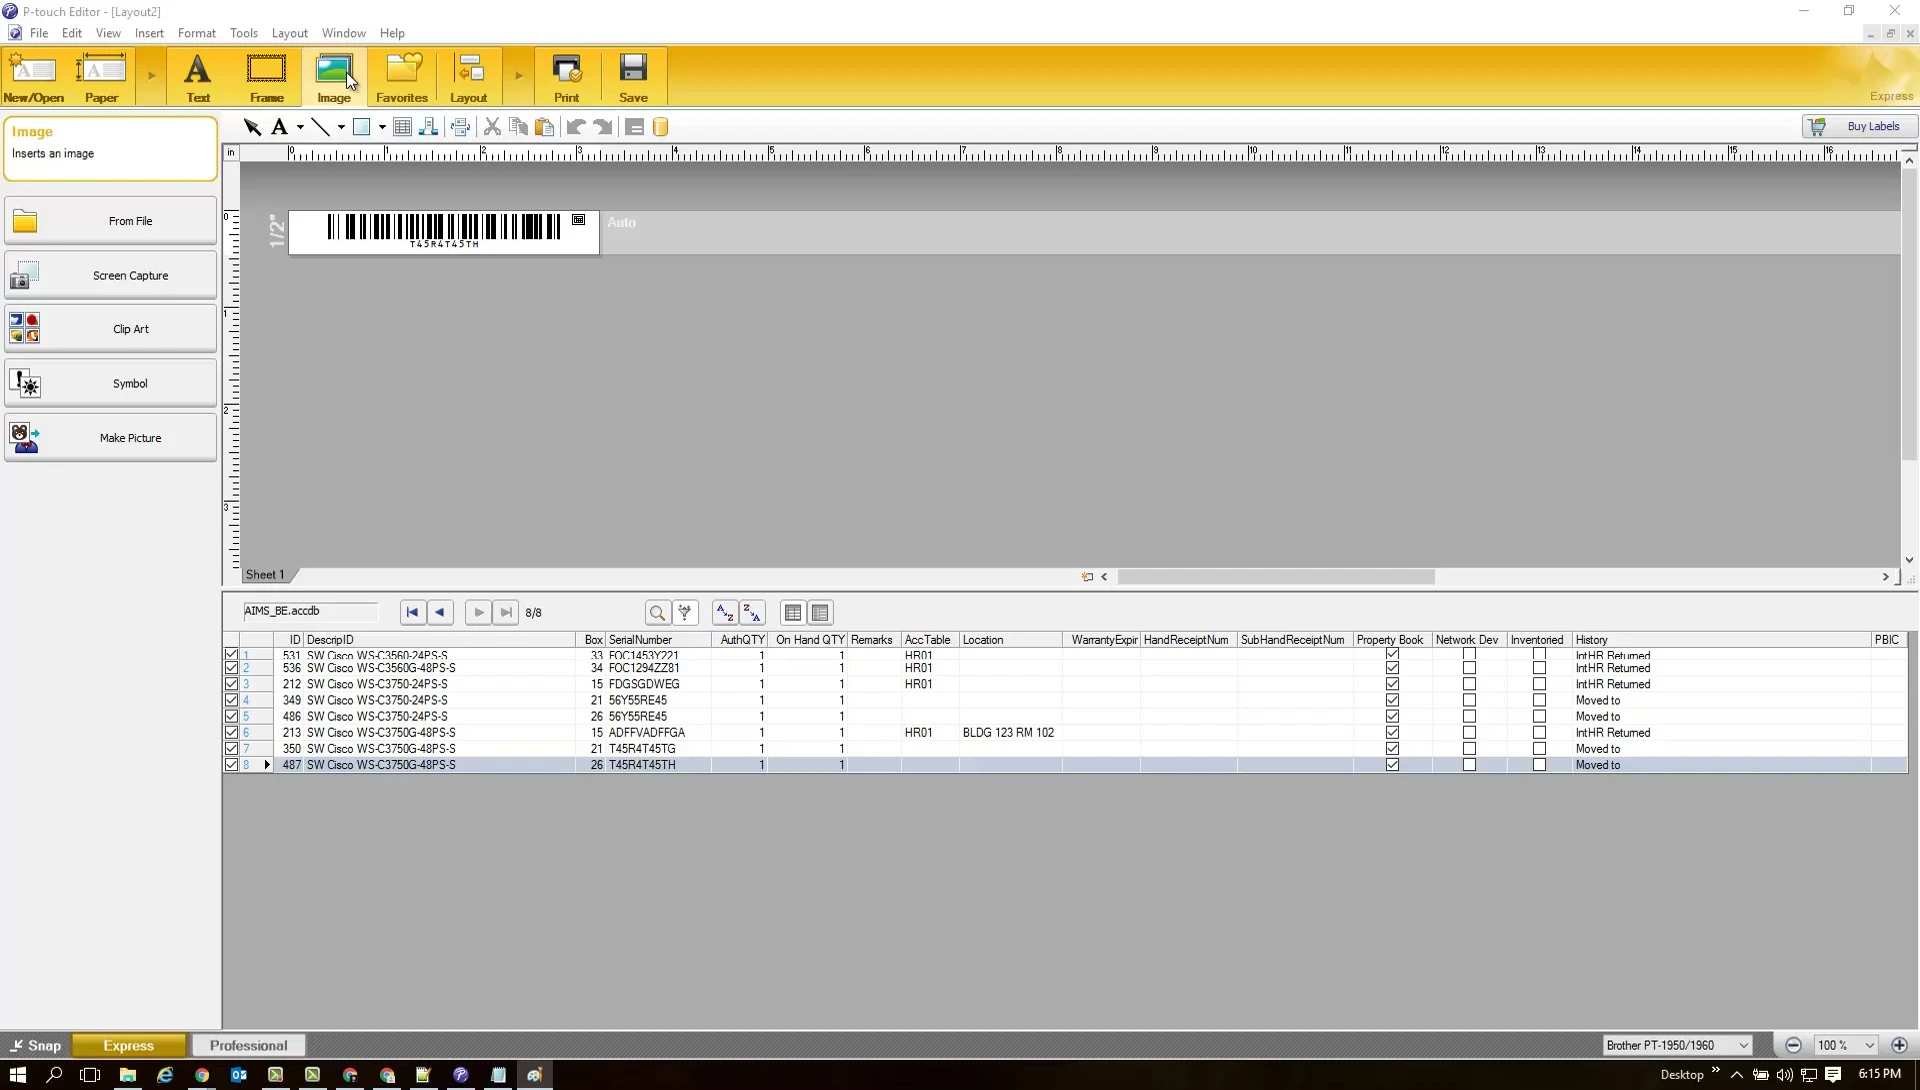
Creating Barcodes with Pouch Editor
Pouch Editor simplifies barcode creation. After installation, select 'New Layout'. Choose your barcode type; Code 128 is versatile for alphanumeric data. Input your data—in this example, a serial number—and select Code 128 if necessary.

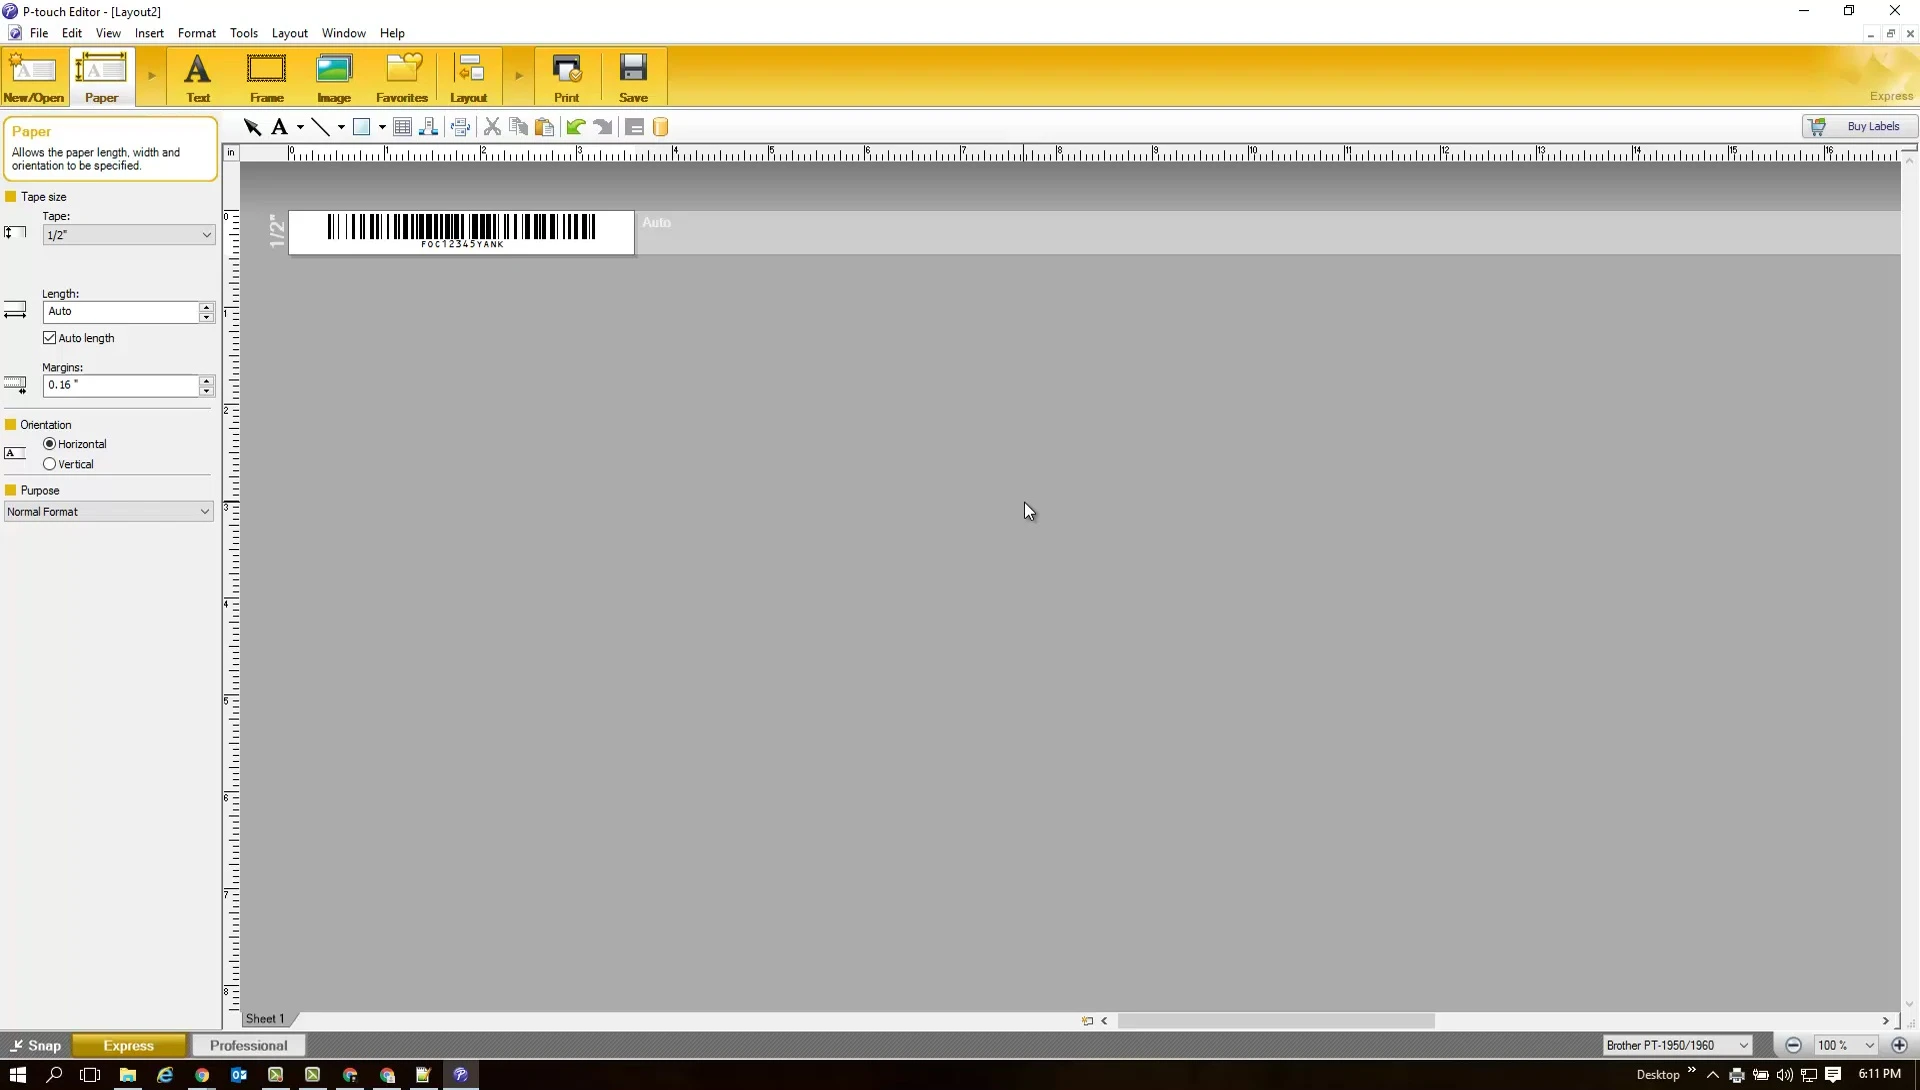
Adjust settings to display the serial number below the barcode for better readability. You can customize the font, size, and alignment. Preview your design before printing to ensure accuracy.

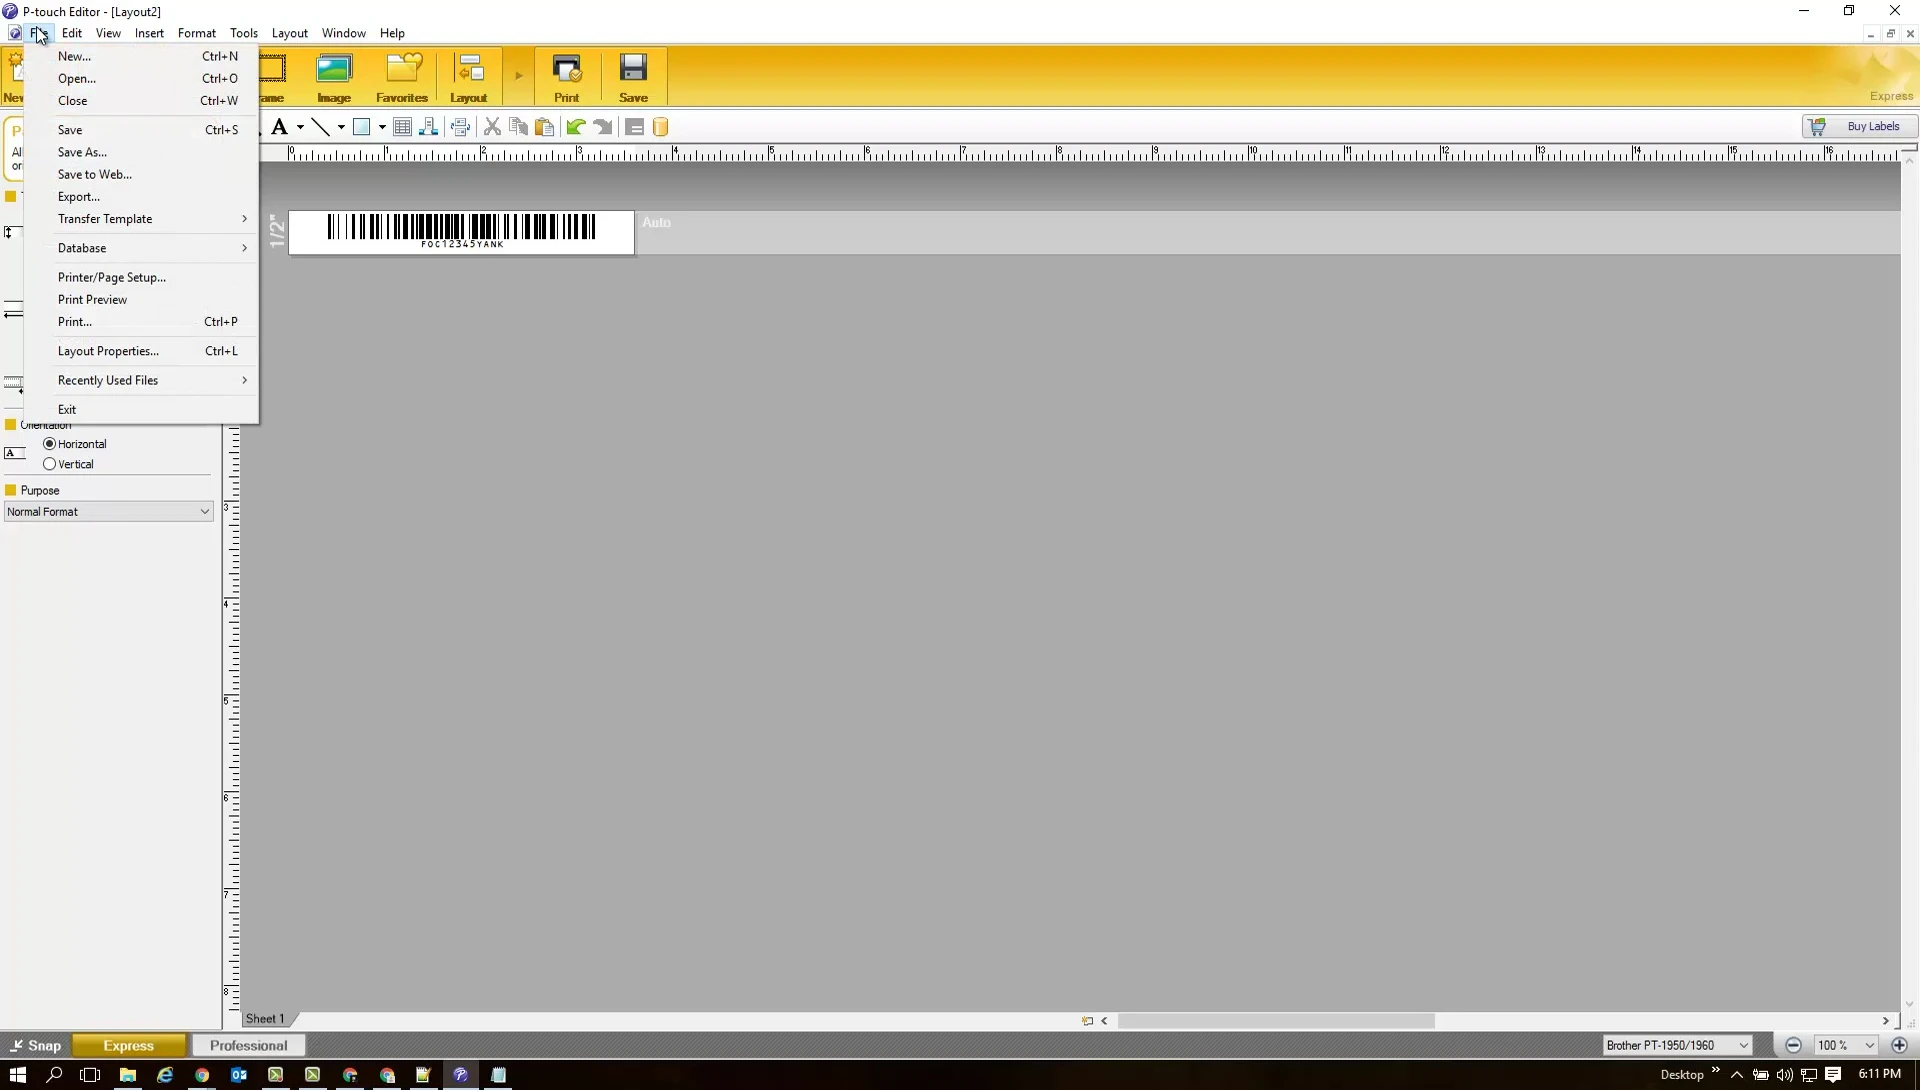
Once satisfied, simply click 'Print'. Ensure your P-Touch printer is connected and drivers are installed. The printer will generate the barcode label, ready for use.
Barcode Functionality and Scanning
After printing, test the barcode's functionality using a barcode scanner. This ensures the generated barcode is readable and correctly interprets the data.
Scanning the printed barcode should successfully input the serial number. The speed of the scanning process may vary depending on the scanner's capabilities.
The seamless integration with scanners demonstrates Pouch Editor's efficiency in producing functional barcodes for various applications.
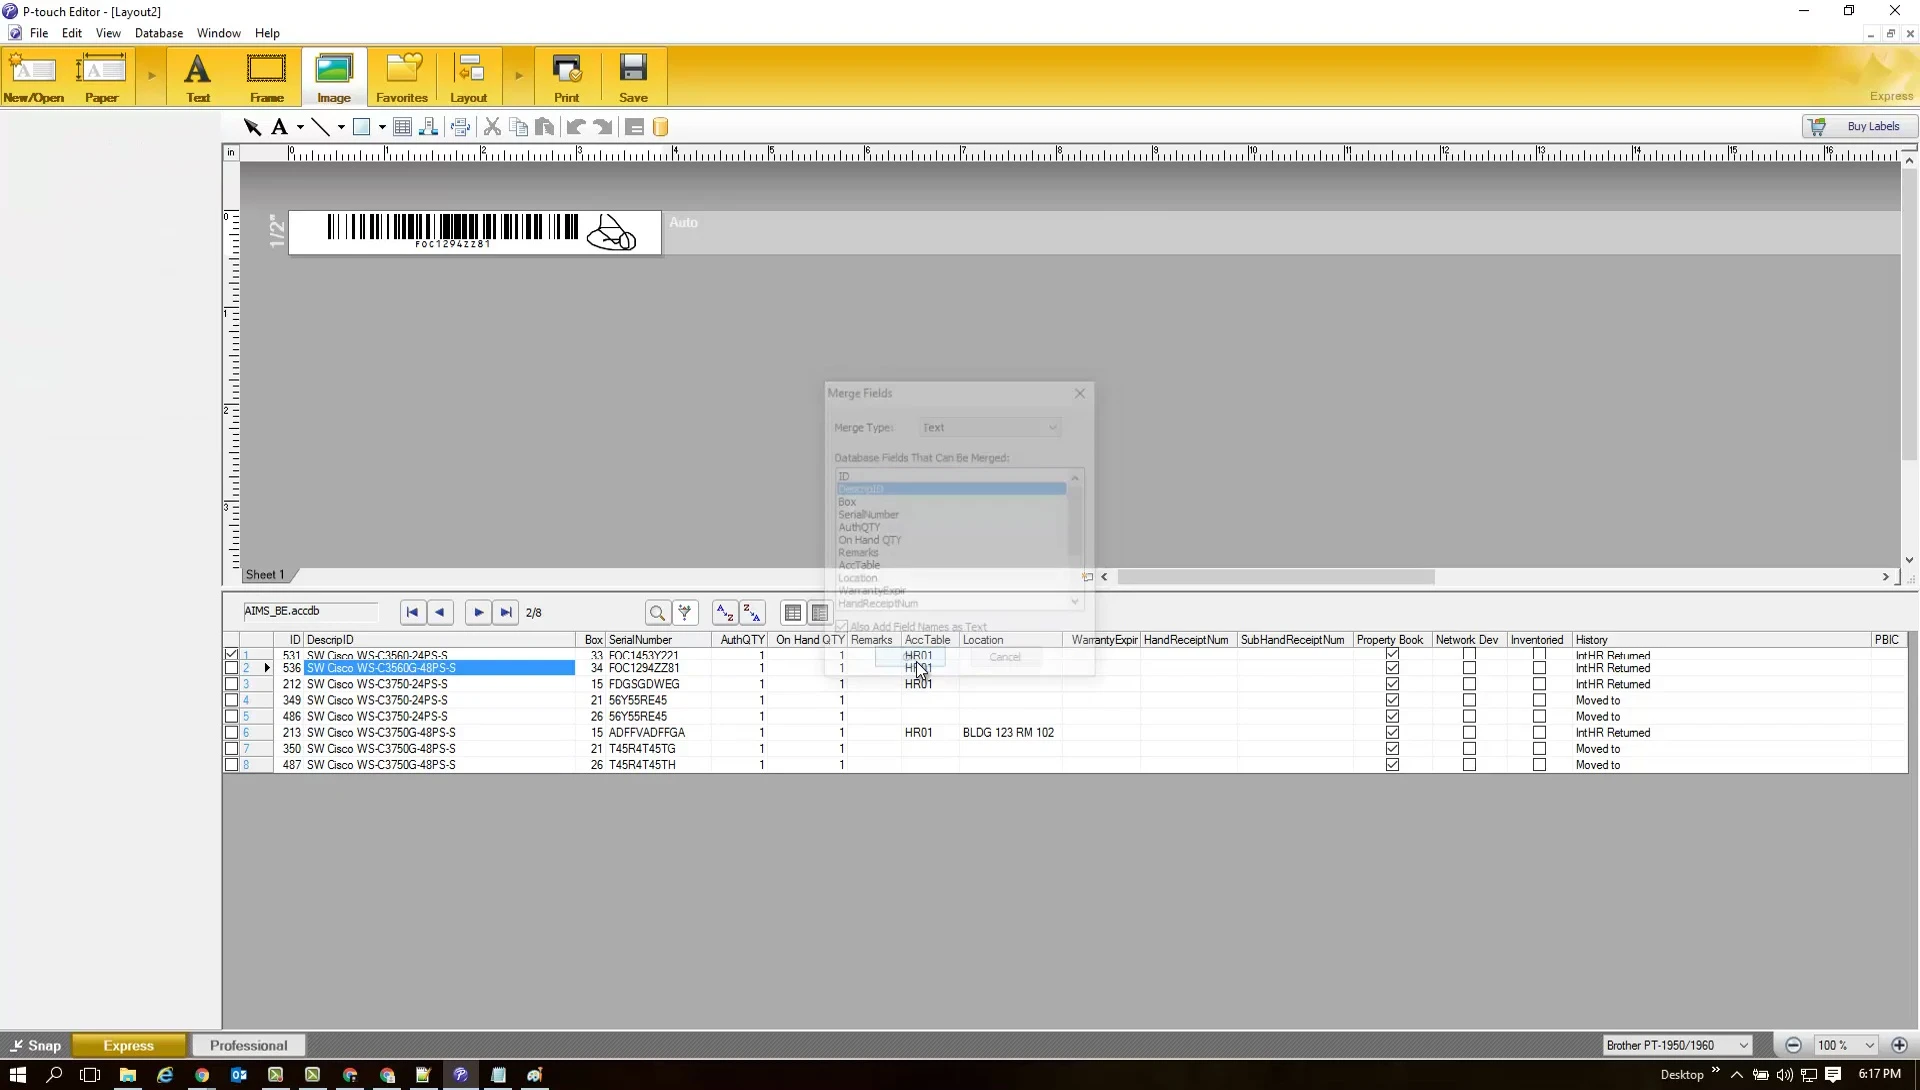
Database Integration and Bulk Printing
Pouch Editor integrates with databases like MySQL for streamlined barcode generation. By linking the editor to a database, you can generate barcodes directly from your data source.
This enables efficient bulk printing of barcodes with data fetched from the database. It's particularly useful for large-scale labeling or inventory management.

The database integration significantly improves workflow efficiency and reduces manual data entry, ideal for applications requiring numerous barcodes.
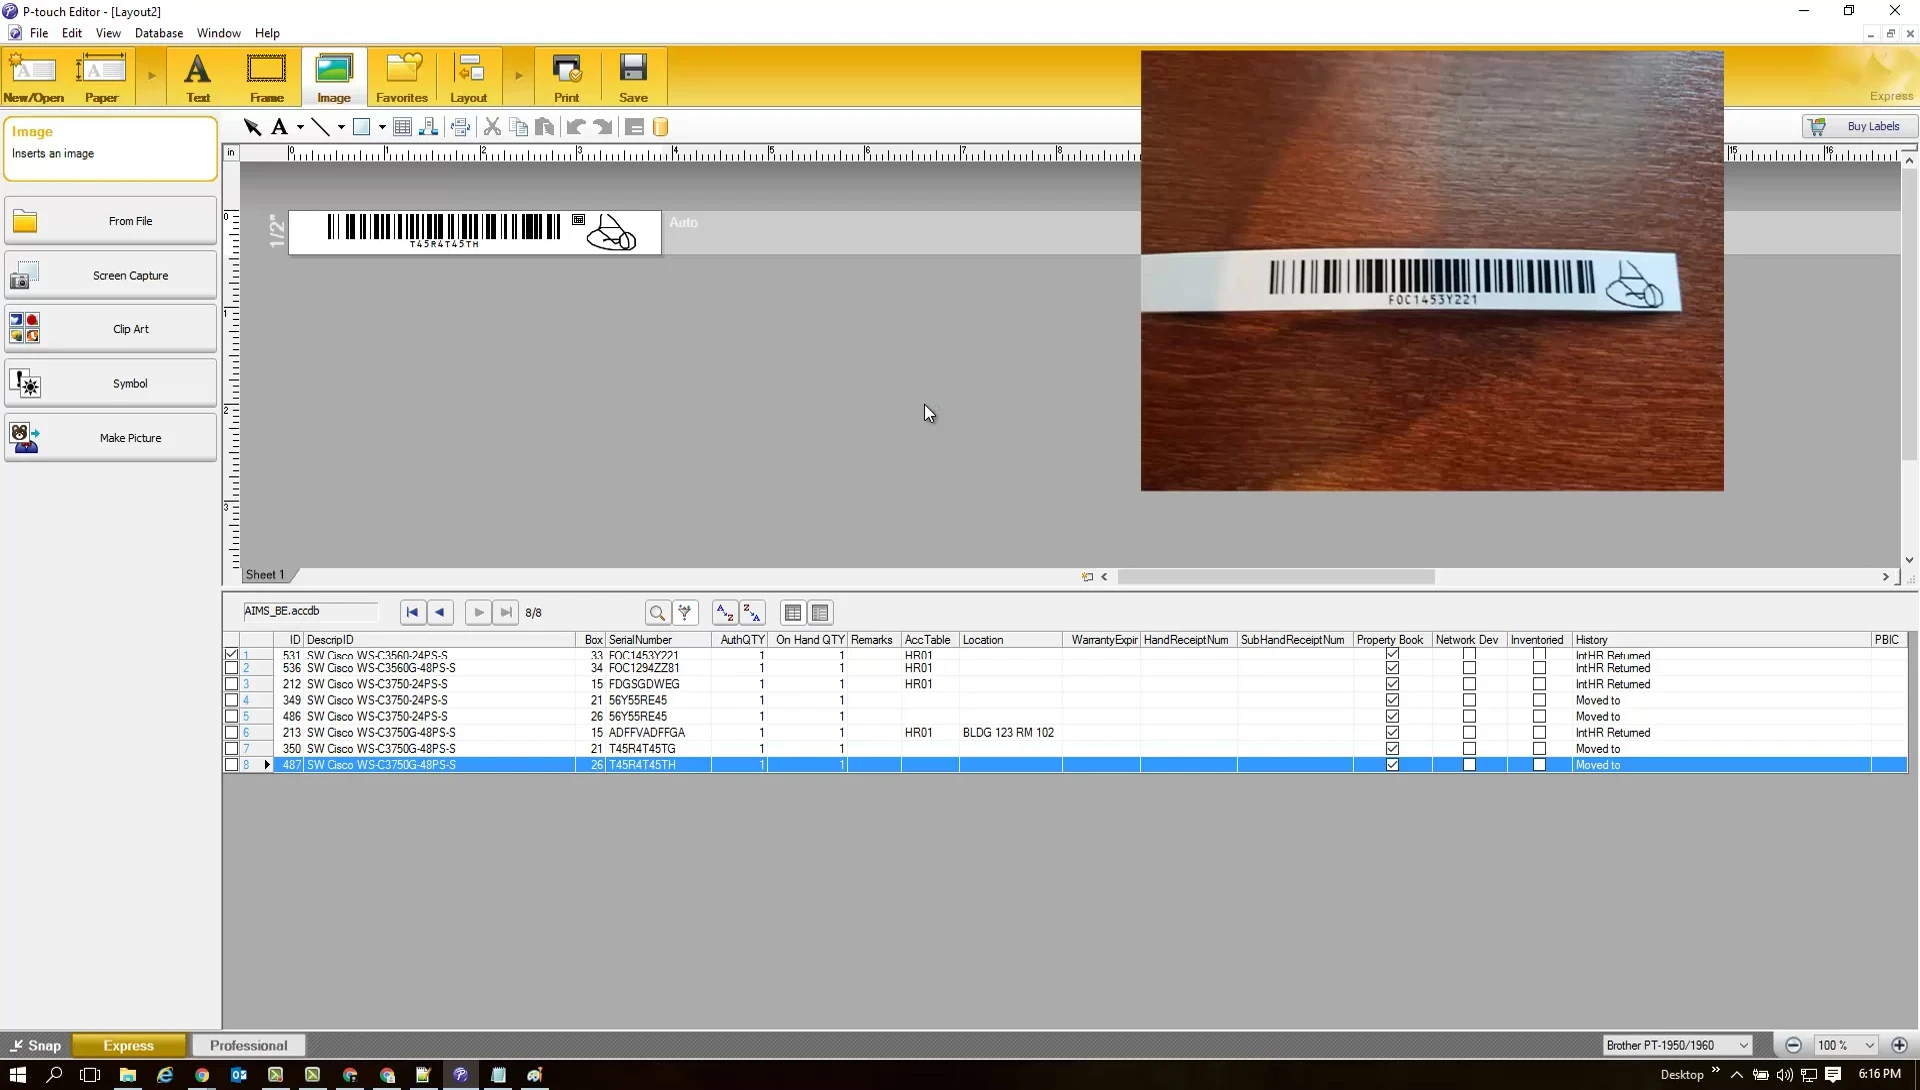
Adding Security Features: Custom Images
To enhance security and prevent unauthorized barcode use, add a custom image (like a signature) to the label. This acts as a verification element.

Import the image into Pouch Editor and position it on the barcode label. This adds a layer of authentication and helps track label usage.
The addition of custom images provides an extra level of security, preventing fraudulent use and ensuring only authorized personnel use the barcodes.
Adding Additional Data Fields
Extend barcode labels with additional data fields like descriptions or IDs. Right-click the relevant data in the database and select 'Merge into Layout'.
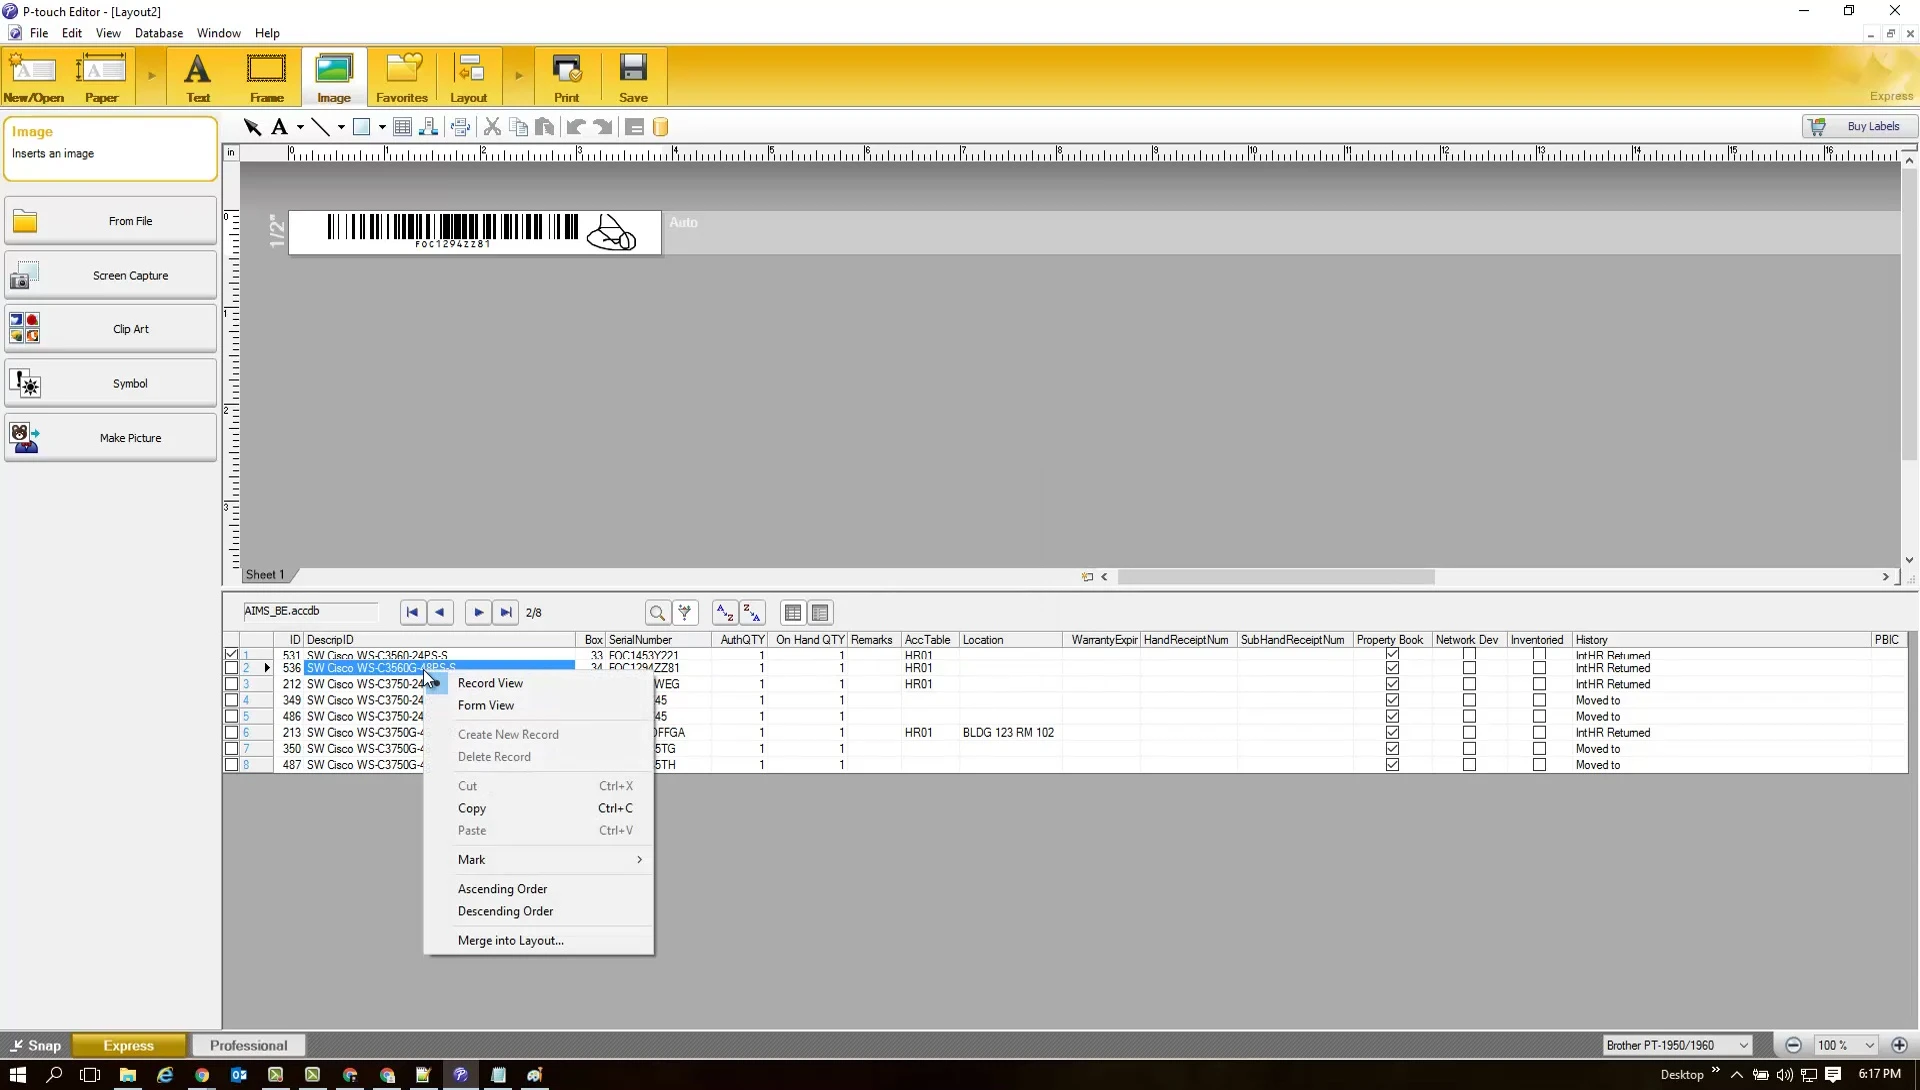
This adds context to the barcode, making it easier to identify the associated item or asset. It aids in inventory management and tracking.
Customize the placement and formatting of these data fields for optimal readability. This ensures all important information is clear and easy to access.
Conclusion
Brother P-Touch with Pouch Editor offers a robust solution for barcode creation and printing. Its database integration streamlines bulk printing, enhancing efficiency.
The ability to customize labels with images and additional data fields adds a layer of security and context. This feature is highly valuable for inventory management and asset tracking.
Overall, Pouch Editor is a powerful, user-friendly tool for creating and printing professional, functional barcodes.