In today's digital age, the art of sending a physical letter might seem outdated, but there's still a certain charm and personal touch to receiving handwritten correspondence. Whether it's a heartfelt note to a loved one, an important document to a business, or a carefully crafted invitation, knowing how to properly address and mail an envelope ensures your message arrives safely and makes a positive impression. Incorrectly addressed mail can lead to delays or even prevent your letter from reaching its destination.
Therefore, mastering the fundamentals of envelope addressing is crucial for effective communication. This step-by-step guide will walk you through the process, ensuring your mail arrives promptly and professionally. From choosing the right envelope size to understanding the proper placement of addresses and postage, we'll cover everything you need to know to confidently send your mail.
Preparation and Safety Guidelines
- Always use a permanent marker or pen to write clearly. Avoid using pencil, as it can smudge or fade.
- Ensure the recipient's address is complete and accurate, including apartment number, if applicable. Double-check the zip code.
- Affix sufficient postage. Underpaid mail may be returned to sender or delivered late.
Step-by-Step Instructions
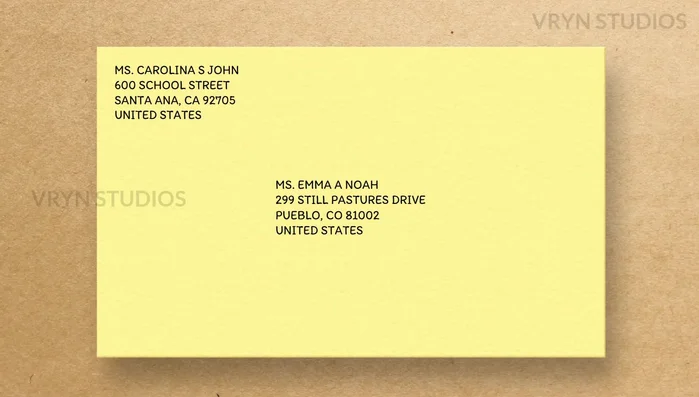
Write Sender's Address
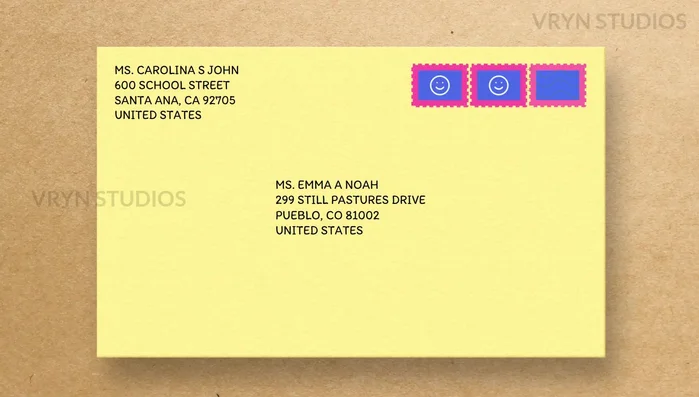
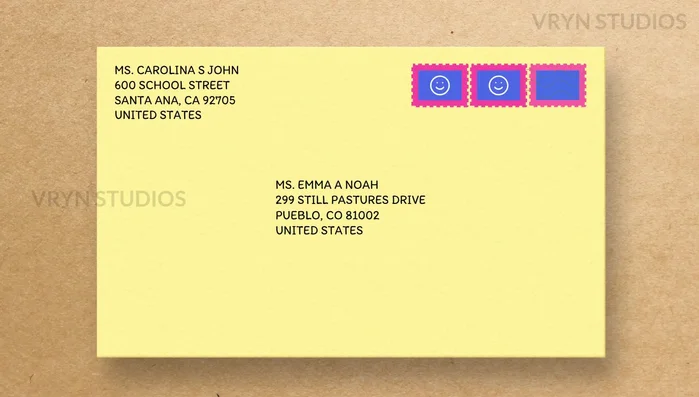
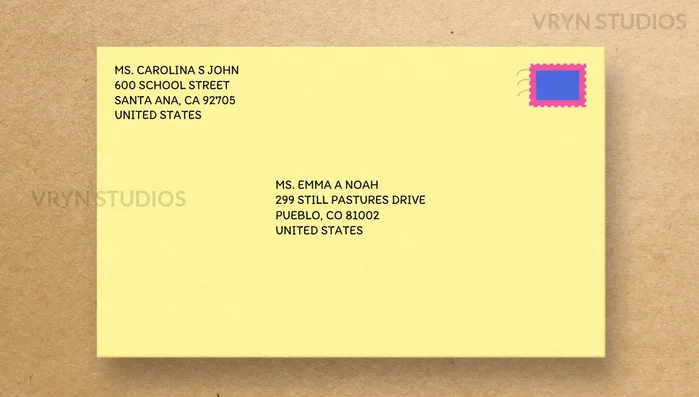
- Write the sender's name in the top left corner of the envelope.
- Write the sender's street address (including number and street name) on the line below the sender's name.
- Write the sender's city, state, and zip code on the line below the street address.
- Include apartment or suite number on the same line as the street address if applicable.

Write Sender's Address - Double-check the sender's address for accuracy before mailing.
- Ensure the sender's writing is legible and clear.
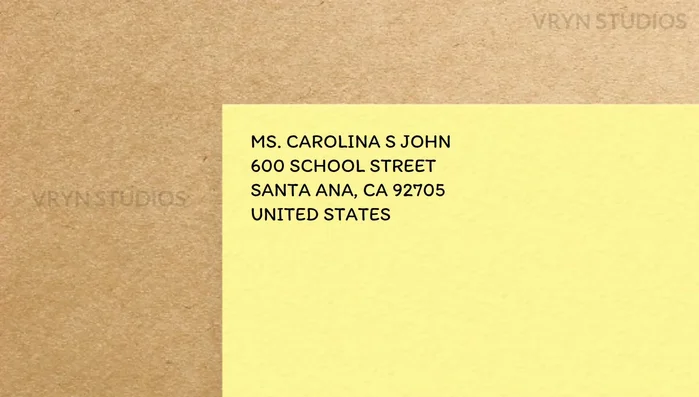
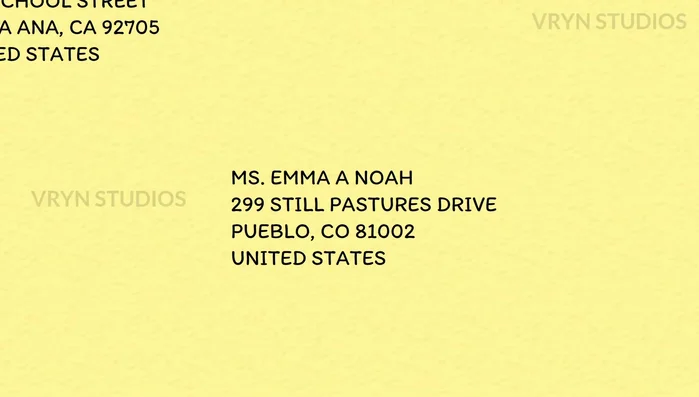
Write Sender's Address Write Recipient's Address
- Write the recipient's full name in the center of the envelope, using a clear and legible font.
- Write the recipient's street address (including house number and street name) two lines below the recipient's name, in a clear and legible font.
- Write the recipient's city, state, and zip code three lines below the street address. Use the correct state abbreviation and a clear, legible font.
- Include apartment or suite number on the same line as the street address if applicable.
Write Recipient's Address - For international addresses, include the country name on the last line in capital letters.
- Double-check the recipient's address for accuracy before mailing and ensure the writing is legible and clear for the post office.
- Check the address format used in the destination country before mailing, and consider using online address verification tools.
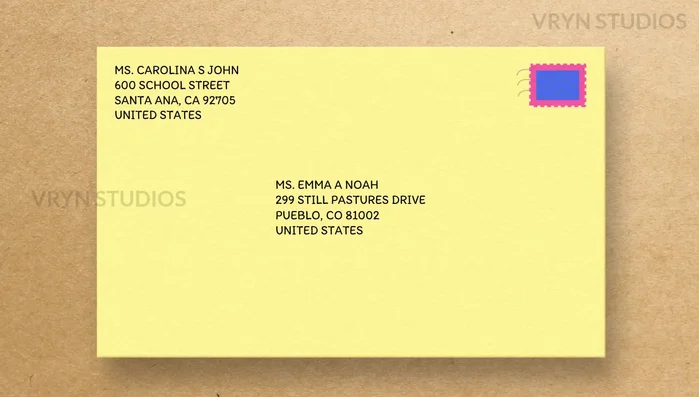
Write Recipient's Address Apply Postage
- Determine the weight and size of your mail piece to determine the required postage.
- Purchase the appropriate amount of postage stamps.
- Place stamps in the upper right corner of the envelope or package, facing correctly and not upside down.
- Arrange multiple stamps neatly and orderly, ensuring each denomination is visible. If using metered postage, place it in the top right corner.
Apply Postage Final Check and Mailing
- Double-check the address and postage before mailing.
- For packages, add necessary labels such as customs forms or shipping labels depending on destination and contents.
Final Check and Mailing


Read more: Upcycling Padded Envelopes: A Trash-to-Treasure Craft Project
Tips
- N/A