Shipping costs can quickly eat into your profits, especially when selling handmade items like charming farmhouse signs. Finding affordable and effective packaging solutions is crucial for online businesses, and DIY methods often offer the most significant savings. Forget overpriced shipping supplies and embrace the rustic charm of your products by creating your own packaging – a process that's both cost-effective and surprisingly simple. This approach not only reduces expenses but also allows you to personalize your brand presentation, ensuring each sign arrives safely and beautifully presented to your customers.
This guide provides a step-by-step process for creating sturdy, aesthetically pleasing, and budget-friendly packaging for your farmhouse signs, showcasing how to reuse and repurpose materials for maximum savings. Ready to start saving money and showcasing your craftsmanship? Let's dive into the easy-to-follow instructions.
Preparation and Safety Guidelines
- X-acto knife
- Shipping tape
- Bubble wrap
- Cardboard box (from Walmart)
- Screwdriver
- Sawtooth hangers
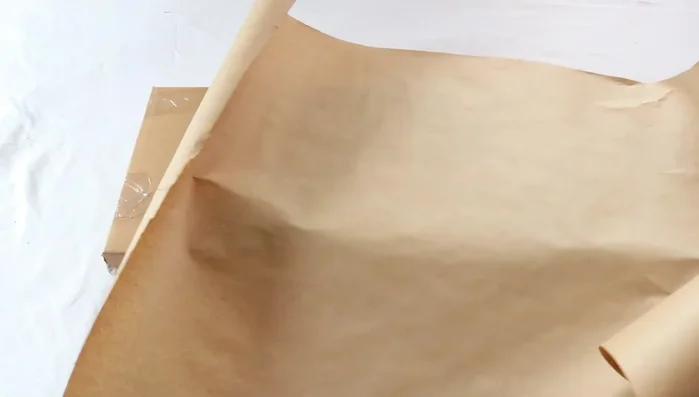
- Craft paper or contractor paper
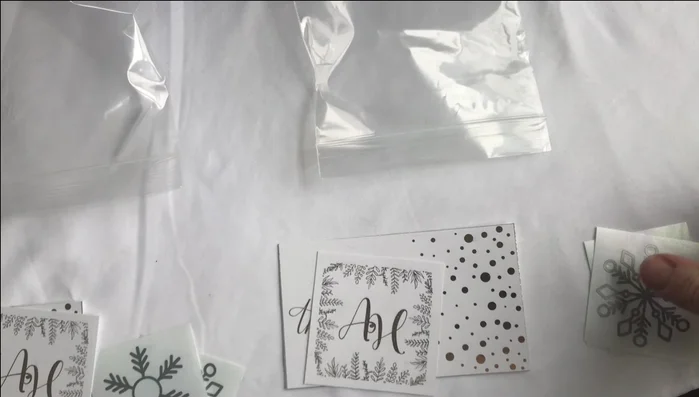
- Business cards
- Thank you cards
- Snowflake decals
- Use sturdy cardboard or a rigid mailer to prevent damage during transit. Avoid flimsy materials that can bend or crush your sign.
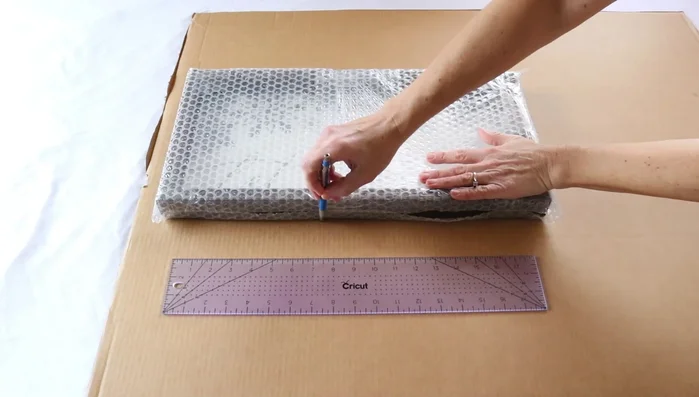
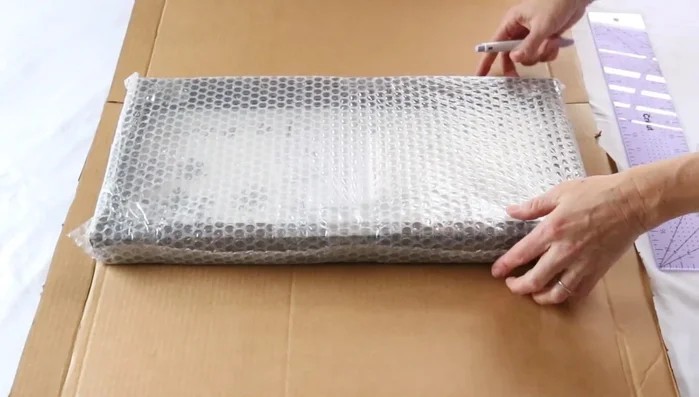
- Protect the sign's surface with bubble wrap, packing peanuts, or other cushioning material to prevent scratches or impacts. Ensure the sign is completely surrounded by padding.
- Clearly label the package as "Fragile" and handle with care to alert shipping carriers to the item's delicate nature.
Step-by-Step Instructions
Prepare Thank You Packets
- Prepare Thank You Packets

Prepare Thank You Packets Wrap and Protect the Sign
- Wrap Signs with Bubble Wrap
Create Custom Shipping Box
- Create Custom Shipping Boxes
- Assemble the Box
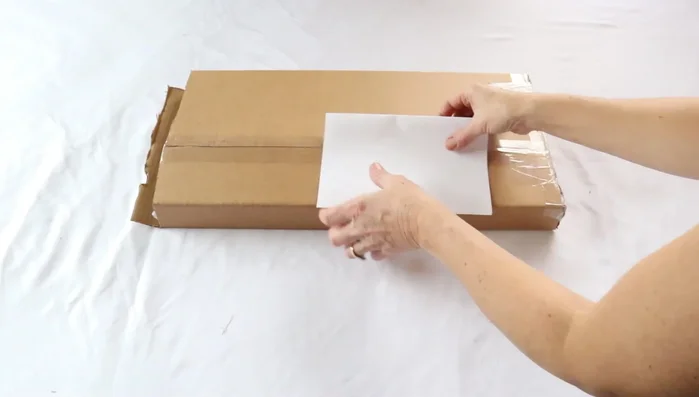
Create Custom Shipping Box Package the Sign
- Add Packing Slip and Thank You Packet
- Add Finishing Touches
Package the Sign
Read more: DIY IKEA Bed Shipping Box Extension: Maximize Your Existing Box!
Tips
- Use shipping tape instead of packing tape for stronger sealing.
- Purchase sawtooth hangers in bulk from Amazon for cost savings.
- Source large cardboard boxes from Walmart for creating custom boxes.
- Use craft or contractor paper for a professional finish.
- Keep copies of packing slips for your records.