Tired of flimsy furniture and exorbitant shipping costs? Imagine transforming rustic shipping crates into stunning, one-of-a-kind furniture pieces – a coffee table with industrial chic, a bookshelf bursting with character, or even a unique headboard for your bedroom. This isn't a pipe dream; with a little ingenuity and the right tools, you can upcycle these readily available crates into functional and visually appealing home décor. The beauty lies in their inherent ruggedness, offering a blank canvas for your personal style and creativity.
Forget overpriced, mass-produced furniture. This ultimate guide will walk you through the entire process of crafting your own unique furniture from repurposed shipping crates, from sourcing the perfect crates to the final touches of sanding and staining. Get ready to unleash your inner craftsman, save money, and create pieces you’ll cherish for years to come – let's dive into the step-by-step instructions!
Preparation and Safety Guidelines
- Circular Saw
- Straight Edge
- Table Saw (optional)
- Miter Saw
- Gorilla Wood Glue
- Spring Clamps
- 1 ¼ inch finish nails
- 2x2s or 2x4s
- ⅛ inch plywood
- 2 ½ inch Craig pocket screw bits (or decking screws)
- Shipping blankets
- pallet jack (optional)
- Always wear safety glasses and gloves when handling tools and wood. Sharp edges and splinters are common risks.
- Ensure adequate ventilation when using stains, paints, or sealants. These products often contain VOCs (Volatile Organic Compounds) that can be harmful if inhaled.
- Use appropriate fasteners for the weight of the furniture you'll be placing inside. Underestimating the strength of your construction could lead to collapse and damage.
Step-by-Step Instructions
Planning and Measurement
- Measure your furniture and determine crate dimensions. Add ½ inch to each inside dimension for clearance.

Planning and Measurement Cutting Materials
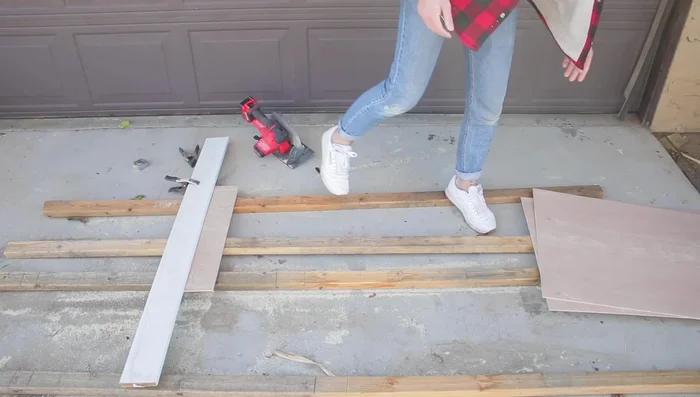
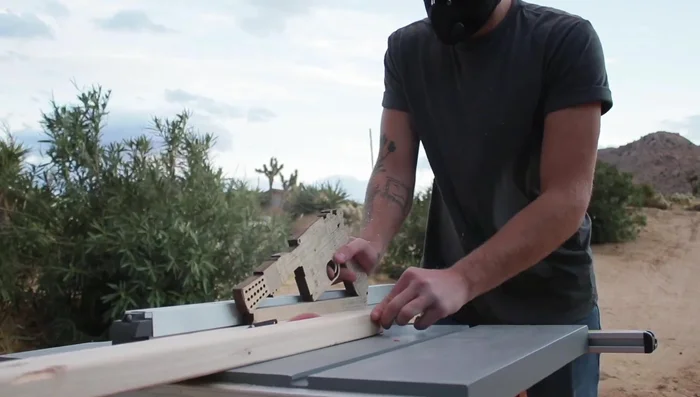
- Cut plywood sheets to size using a circular saw and straight edge.
- Cut 2x2s or 2x4s to length for the crate frame. Choose boards without the pith (center of the tree) to avoid warping.
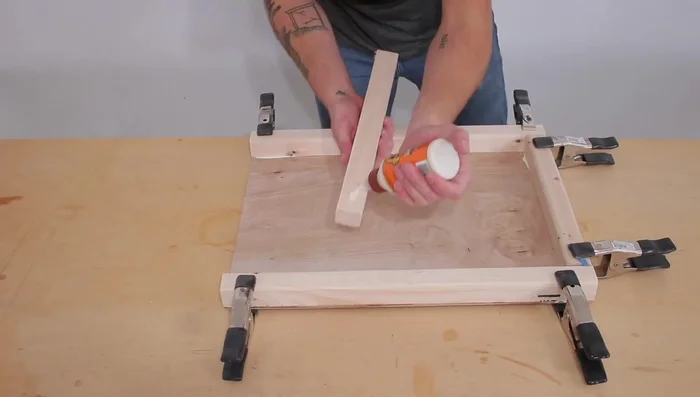
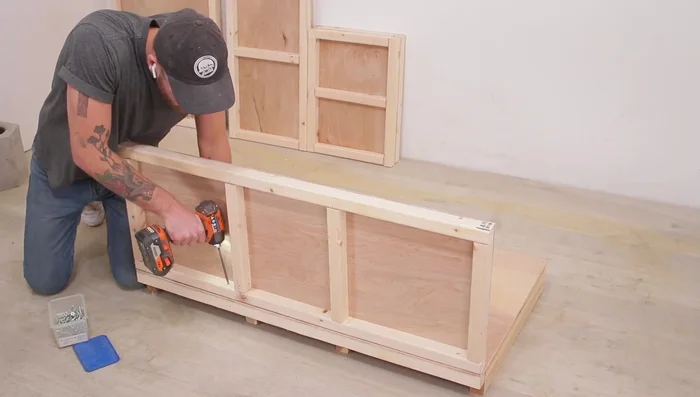
Cutting Materials Assembling the Crate Frame
- Assemble the crate frame. Apply wood glue and clamp pieces together before nailing. Use 1 ¼ inch finish nails to temporarily hold the pieces while the glue dries.
Assembling the Crate Frame Building the Base
- Create a double-layered plywood base for added strength (optional, but recommended for heavier items).
- Attach the base to the frame using screws.
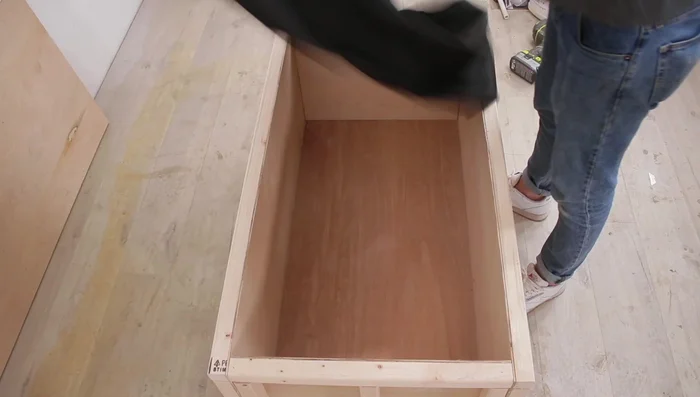
Building the Base Protecting the Furniture
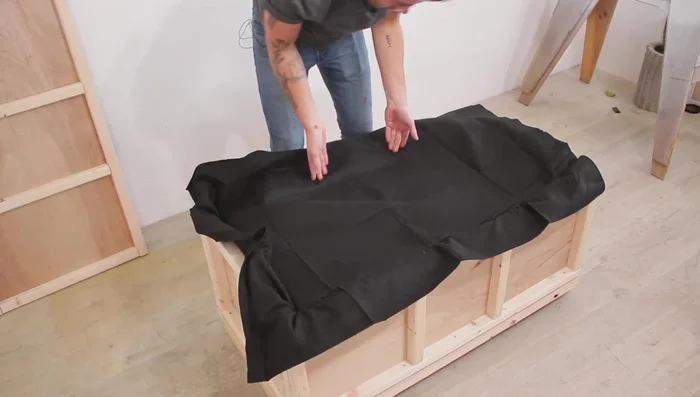
- Line the crate with shipping blankets for extra protection.
Protecting the Furniture Securing the Furniture and Lid
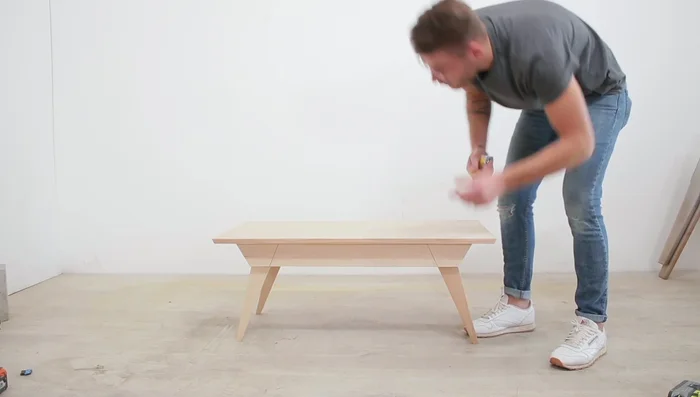
- Place your furniture inside the crate, add additional blankets, and secure the lid.
Securing the Furniture and Lid

Read more: DIY IKEA Bed Shipping Box Extension: Maximize Your Existing Box!
Tips
- Precise cuts aren't necessary; an ⅛ inch tolerance is acceptable.
- Simple butt joints are sufficient; avoid complicated cross bracing unless absolutely necessary.
- Use Craig pocket screw bits or decking screws for secure fastening.
- For heavier items or pallet jack use, use 2x6s for runners instead of 2x4s.