Losing a loved one is incredibly difficult, and offering comfort during this time can feel challenging. While words of condolence are important, a thoughtful gesture can often speak volumes. This is where a handcrafted sympathy gift box comes in—a unique and deeply personal way to express your sympathy and support. Instead of resorting to mass-produced items, let's explore the rewarding experience of creating a beautiful and meaningful gift from recycled materials, transforming humble cardboard into a cherished keepsake.
This DIY project allows you to upcycle readily available cardboard, personalizing it with heartfelt touches that truly reflect the deceased and their connection to the recipient. From selecting the perfect colors and embellishments to adding a personalized message, every step is an opportunity to create a present brimming with love and remembrance. Ready to turn ordinary cardboard into an extraordinary symbol of comfort? Let's delve into the step-by-step instructions below.
Preparation and Safety Guidelines
- Cardboard mailer
- Quilt batting
- Fabric scraps
- Hot glue gun
- Scissors
- Pencil or chalk
- Measuring tape
- Wired ribbon
- Tassels
- Sympathy card
- Shipping Envelopes
- Always supervise children if they are assisting with cutting or gluing. Sharp objects and adhesives can be dangerous.
- Ensure the cardboard you use is clean and free from any sharp edges or splinters before beginning the crafting process. Sand down any rough areas if necessary.
- Use non-toxic, child-safe adhesives and paints if your project will be handled by children or individuals sensitive to chemicals.
Step-by-Step Instructions
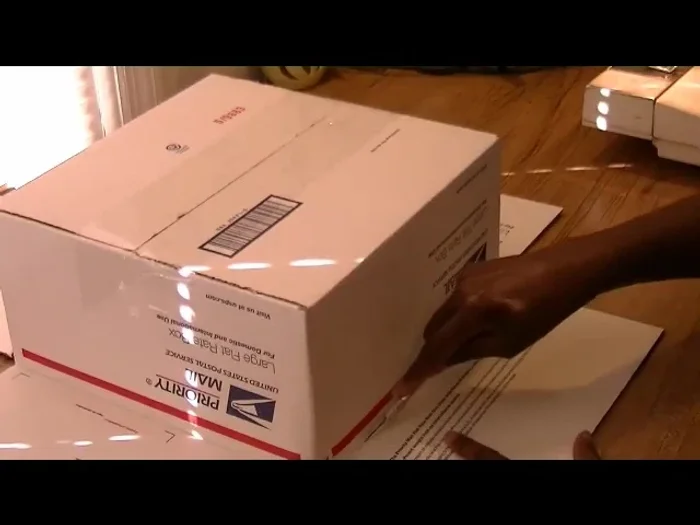
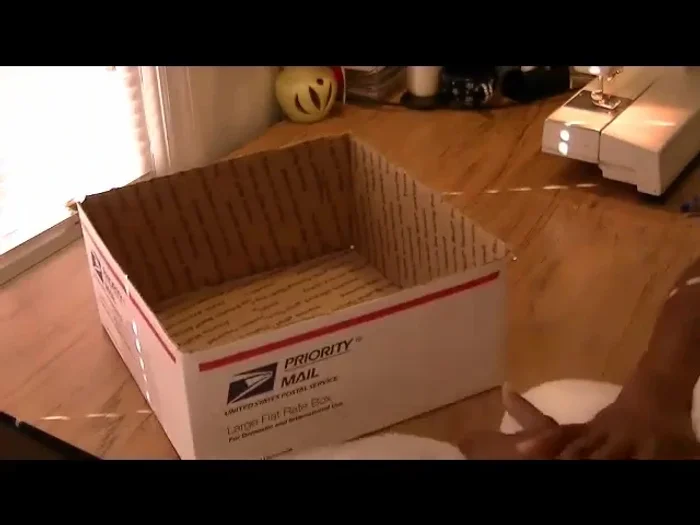
Prepare the Cardboard Box
- Remove flaps from a cardboard mailer.

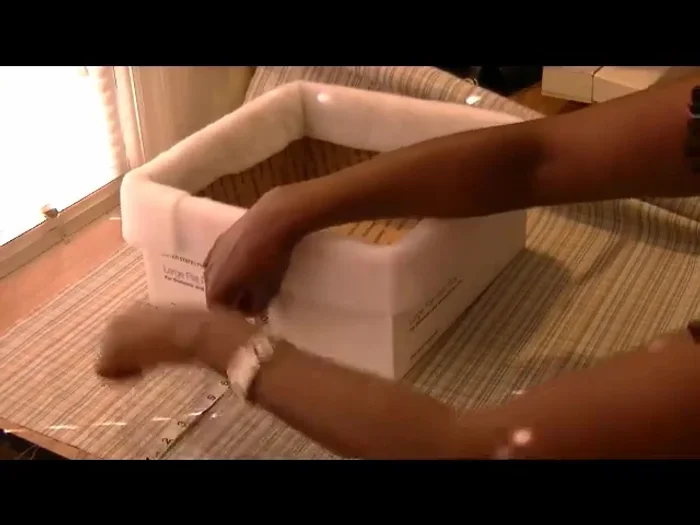
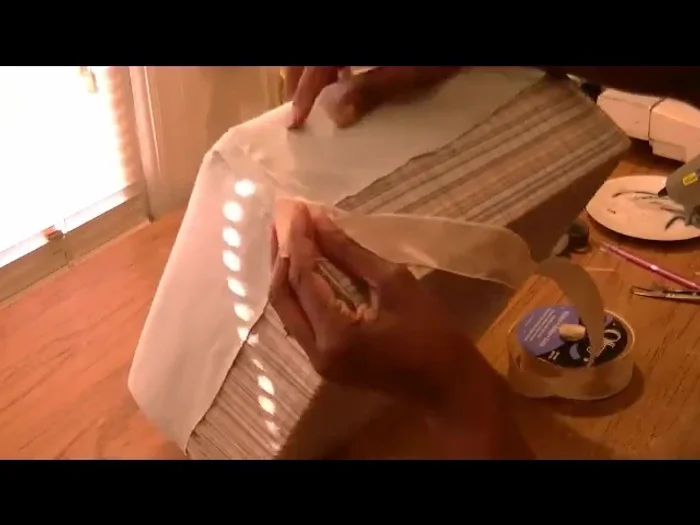
Prepare the Cardboard Box Add Padding
- Glue quilt batting around the box to create a soft, rounded edge.
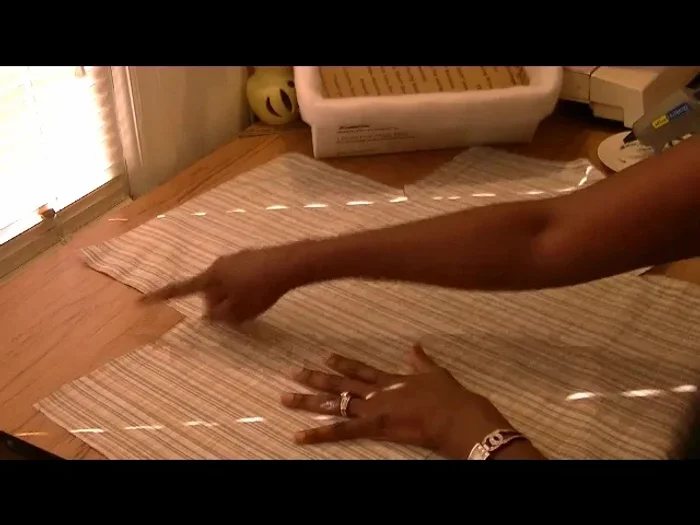
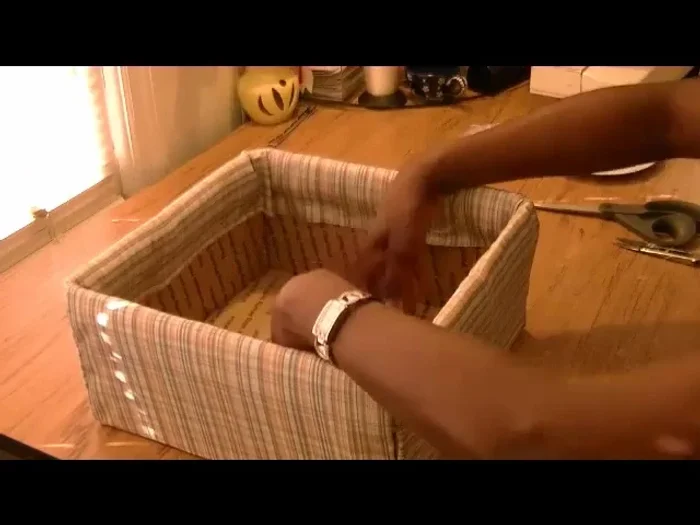
Add Padding Cover with Outer Fabric
- Cut and glue fabric around the box, leaving an inch overhang.
- Clip the corners of the fabric to allow for neat wrapping around the edges of the box. Glue and secure the fabric to the box.
Cover with Outer Fabric Cover the Interior
- Cut and glue two fabric strips to cover the inside of the box, tucking them neatly under the batting.
Cover the Interior Decorate and Finalize
- Decorate the box with ribbon, a bow, and tassels to hide the seams and add a personalized touch.
Decorate and Finalize
Read more: DIY IKEA Bed Shipping Box Extension: Maximize Your Existing Box!
Tips
- Use a generous amount of hot glue, but not too much, to secure the materials.
- If fabric isn't perfectly centered, it's okay. The final product will still be attractive.
- Don't be afraid to experiment with different fabrics and ribbons to create a unique and personalized look.