Label makers are indispensable tools for organizing and identifying items around the home, office, or even in a crafting space. However, the sticky residue from labels and the accumulation of dust and debris can quickly degrade your LR label maker's performance and even damage its delicate mechanisms. A dirty label maker not only produces subpar labels, but can also lead to frustrating jams and malfunctions, ultimately wasting your time and resources. Maintaining a clean machine ensures longevity, optimal print quality, and a smoother workflow.
Regular cleaning is key to keeping your LR label maker in top shape. This guide provides a simple, effective, and step-by-step process to thoroughly clean your LR label maker, leaving it looking and functioning like new. Let's dive into the detailed instructions that will help you revitalize your essential labeling tool.
Preparation and Safety Guidelines
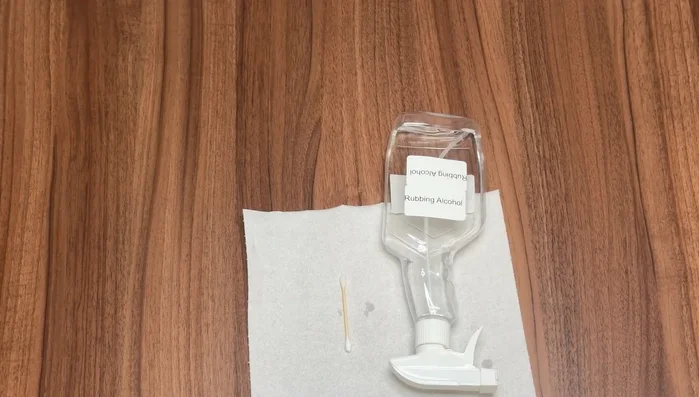
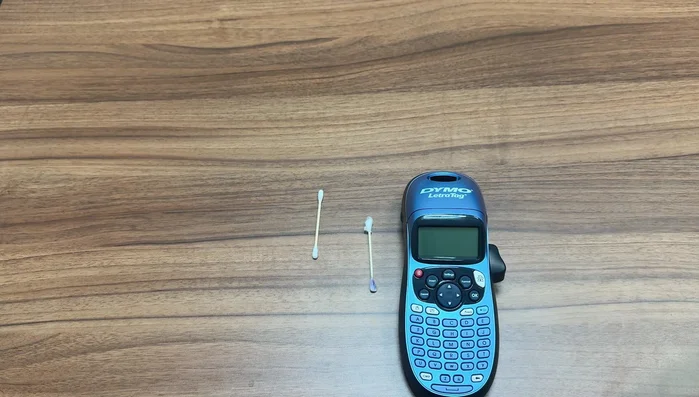
- Cotton swabs
- Isopropyl or rubbing alcohol
- Tweezers (optional)
- Sharp tool (optional)
- Always unplug the label maker from the power source before cleaning or performing any maintenance.
- Avoid using harsh chemicals, abrasive cleaners, or excessive moisture that could damage the device's electronic components or the printing mechanism.
- Never immerse the label maker in water or any other liquid. Clean only the exterior surfaces and accessible parts.
Step-by-Step Instructions
Preparation
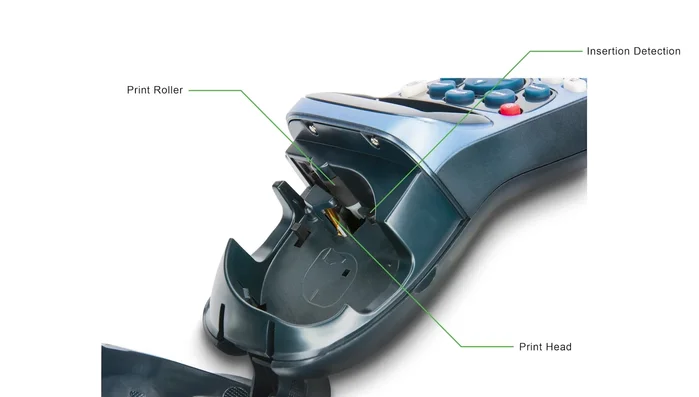
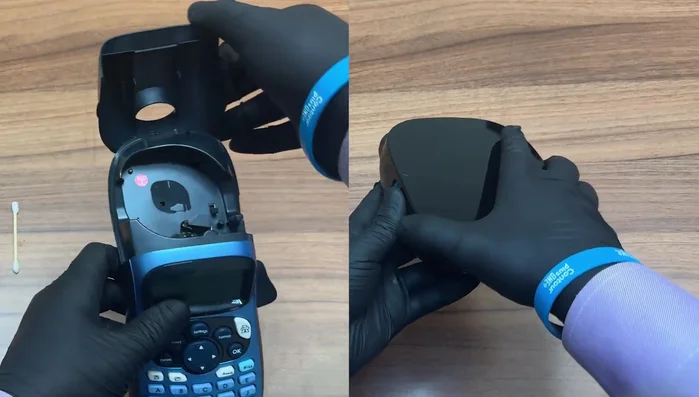
- Familiarize yourself with the different parts of your printer, especially the print head and print roller.
- Moisten a cotton swab with isopropyl alcohol. Ensure it's not dripping.
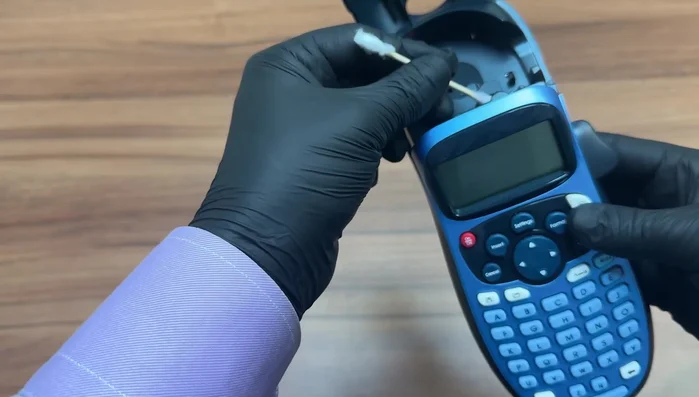
- Open the cassette compartment and remove the cartridge if present.

Preparation Clean Print Head and Roller
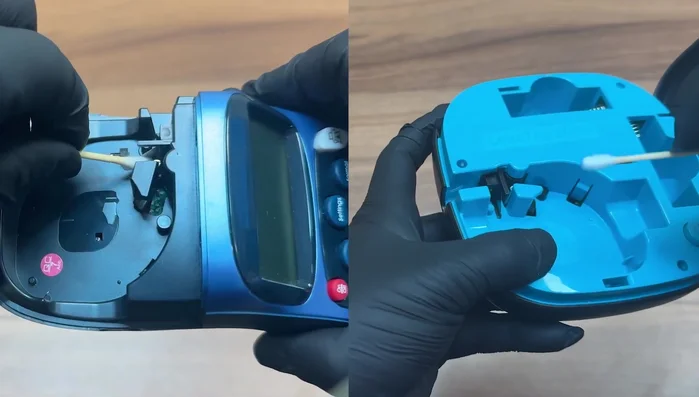
- Carefully wipe the print head with the swab, replacing it as needed until it no longer changes color.
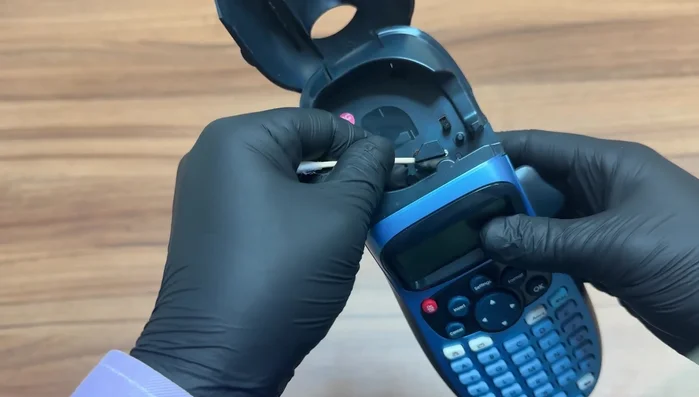
- Clean the print roller in the same manner, removing any wrapped tape first.
- Let the alcohol solution dry for about 5 minutes.
Clean Print Head and Roller Clean Cutter Blade
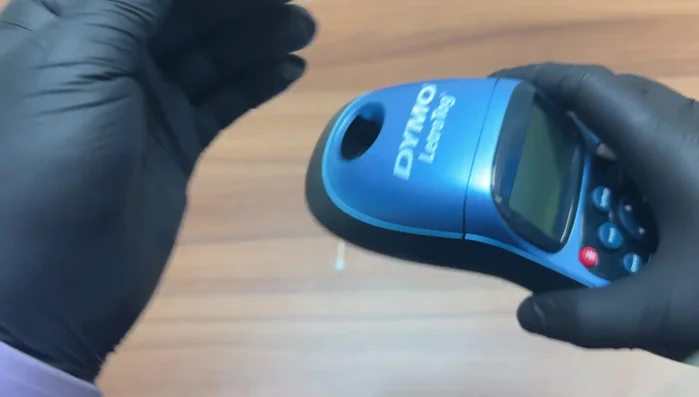
- Press and hold the insertion detection button and cutter button simultaneously to expose the cutter blade.
- Carefully clean the cutter blade with a cotton swab, using extreme caution due to its sharpness. Replace the swab as needed until it no longer changes color.
- Let the alcohol solution dry for about 5 minutes.
Clean Cutter Blade

Read more: Quick Fix: Reset Your Label Printer for Disconnect Issues
Tips
- Excess cleaning solution could damage the printer, so avoid dripping.
- If your printer has a tape jam, you may need tweezers and a sharp tool.
- Do not place your hand near the cutter mechanism while cleaning.