Tired of messy handwritten labels that fade and peel? Looking for a reliable and affordable solution for labeling everything from pantry staples to office supplies? Then you've come to the right place! This comprehensive guide dives headfirst into the Nelco P21 label maker, offering an in-depth unboxing and review designed to help you decide if this compact machine is the perfect addition to your organizational arsenal. We'll explore its features, ease of use, and overall performance, comparing its capabilities to the price point.
From unpacking the box to creating your first label, we'll walk you through every step of the process. Prepare to be amazed by the simple yet effective design of the Nelco P21 and discover whether it truly lives up to the hype. Get ready for a detailed step-by-step guide that will equip you with everything you need to know about this popular label maker.
Preparation and Safety Guidelines
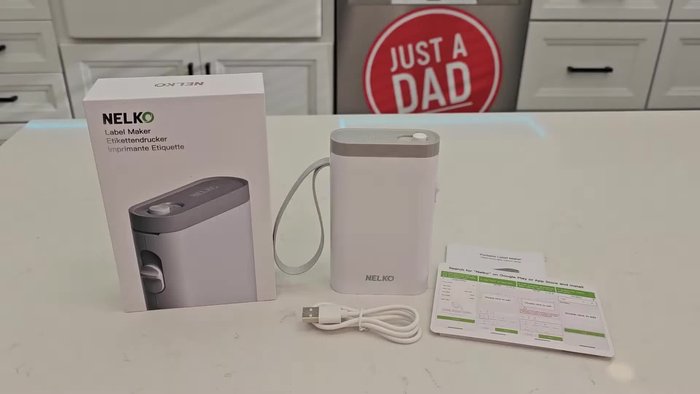
- Nelco P21 Label Maker
- USB-C cable
- Wall charger
- Always unplug the Nelco P21 label maker before changing the tape cartridge or performing any maintenance to prevent electric shock.
- Keep the label maker away from excessive heat, moisture, and direct sunlight to ensure optimal performance and longevity.
- Do not attempt to disassemble the device yourself. Contact customer support for repairs or if you encounter any malfunctions.
Step-by-Step Instructions
Unboxing and Preparation
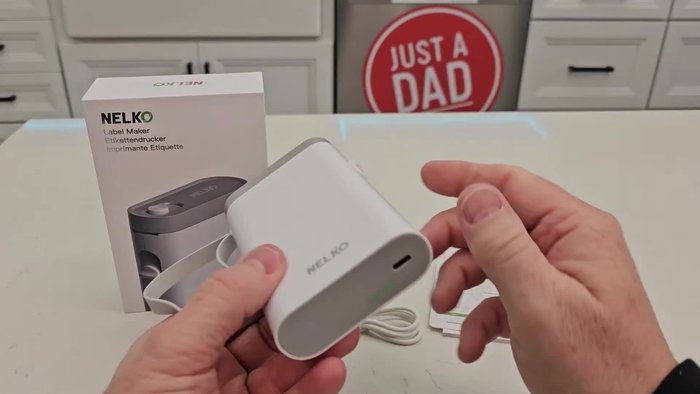
- Unbox the Nelco label maker and locate the manual and USB-C charging cable.
- Charge the label maker using the USB-C cable and a wall charger.
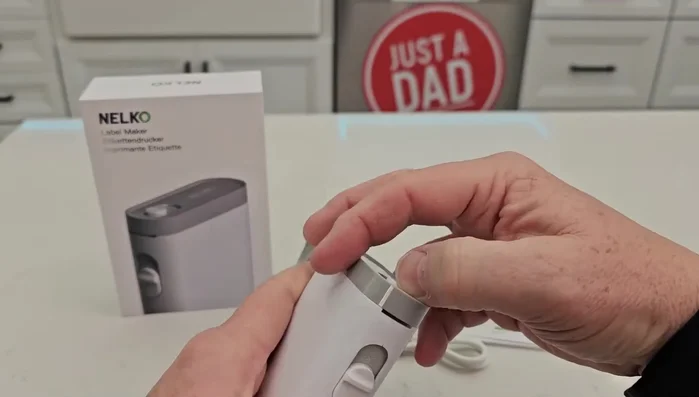
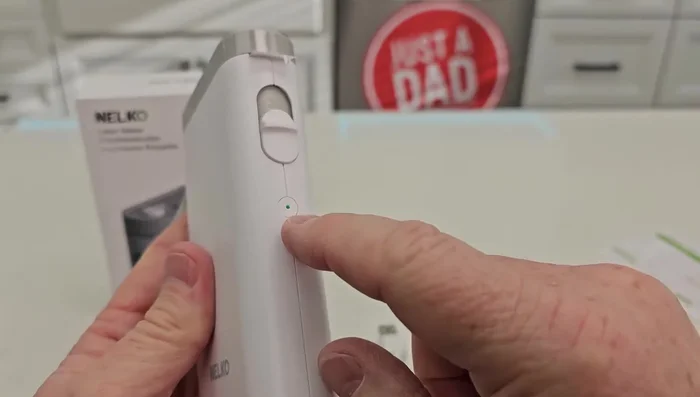
- Open the label maker by pressing the button and lifting the top cover.
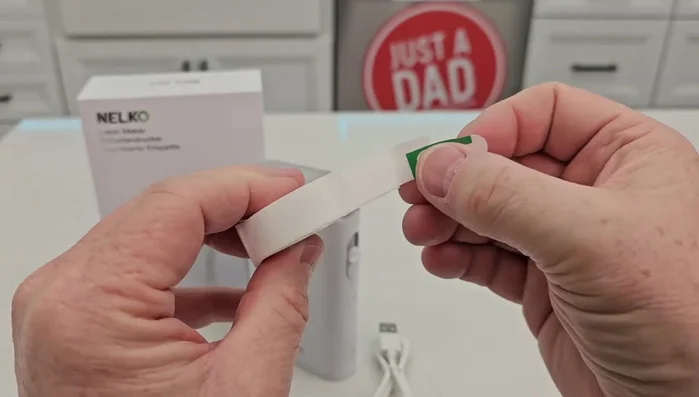
- Remove the protective label from the printer tape. If it's difficult to remove cleanly, tear it off.

Unboxing and Preparation - Insert the printer tape into the machine, ensuring it's tightly rolled and slightly extends from the machine.
Unboxing and Preparation Initial Setup and Calibration
- Turn on the label maker by long-pressing the power button until it beeps.
- The label maker will calibrate automatically. A single tap of the button initiates the calibration and printing of a test label.
Initial Setup and Calibration App Connection and Label Creation
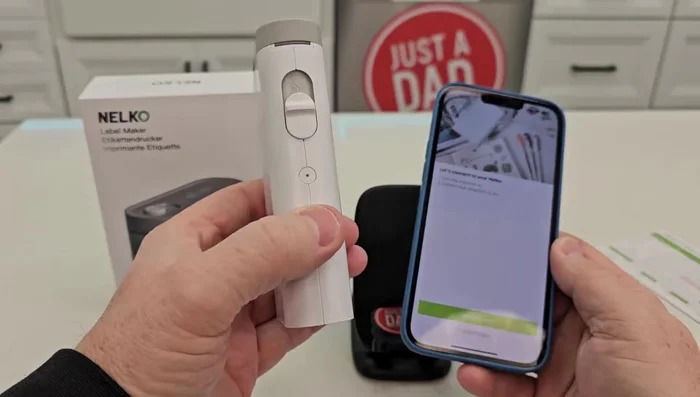
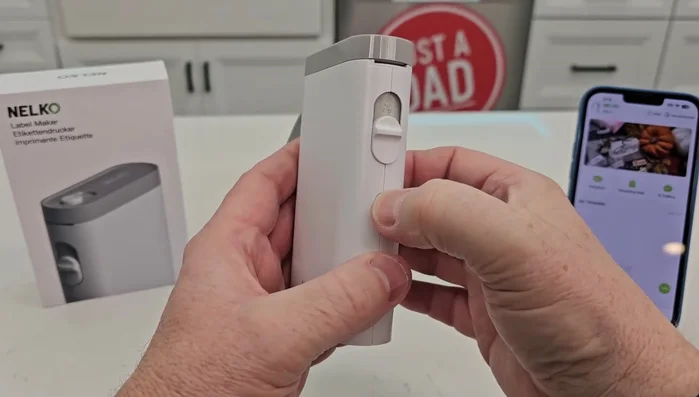
- Download and open the Nelco app. Connect to the label maker via Bluetooth. The app will detect the device and provide instructions to complete the connection.
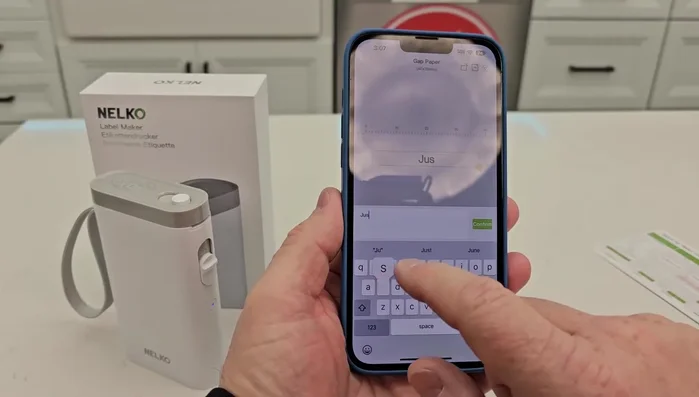
- Use the app to create your label. Customize font, size, style, alignment and add text to your label.
App Connection and Label Creation Printing and Finishing
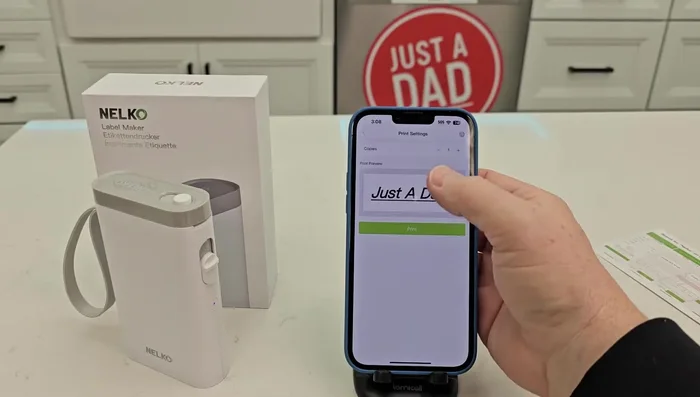
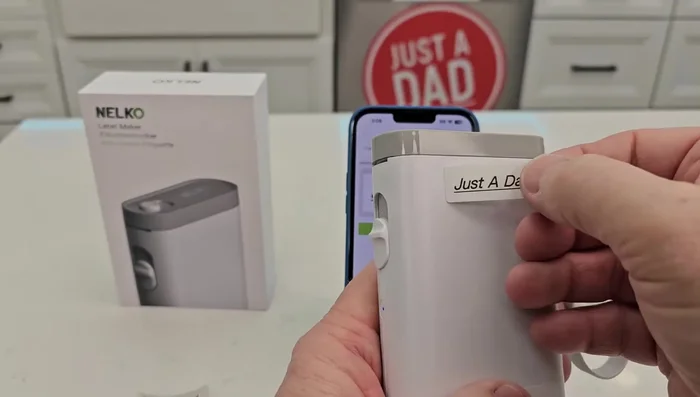
- Press the 'print' button in the app to print the label. Once printed, you may need to use the cutter.
- Remove the printed label.
Printing and Finishing Power Off
- To turn off the label maker, press and hold the power button until it beeps twice.
Power Off


Read more: Quick Fix: Reset Your Label Printer for Disconnect Issues
Tips
- If the protective label is difficult to remove, simply tear it off.
- Ensure the printer tape is tightly rolled and a small amount is sticking out from the label maker.
- The app allows for real-time label editing and customization. Experiment with the various font options, sizes, and alignments.
- A single tap of the power button while the machine is on will recalibrate and print a label. A long press will turn it off.