Efficiently labeling products is crucial for smooth operations, and the PTE 300/500/550 label printers are designed to streamline this process. However, even with user-friendly technology, loading the tape correctly is the foundation of successful printing. Misaligned or improperly loaded tape can lead to jams, wasted labels, and costly downtime. This guide focuses specifically on the PTE 300/500/550 models, offering clear instructions to ensure you're up and running quickly.
This quick and easy guide provides a step-by-step walkthrough of the tape loading process for your PTE 300/500/550 label printer, eliminating any guesswork and minimizing potential problems. Follow these simple instructions to ensure accurate label dispensing and avoid common pitfalls, maximizing the efficiency and longevity of your printer.
Preparation and Safety Guidelines
- Always turn off the printer and unplug it from the power source before loading or replacing the tape.
- Handle the tape gently to avoid damage or tearing. Avoid touching the adhesive side of the tape.
- Ensure the tape core is correctly seated and aligned within the printer to prevent jams and printing errors.
Step-by-Step Instructions
Open the Printer
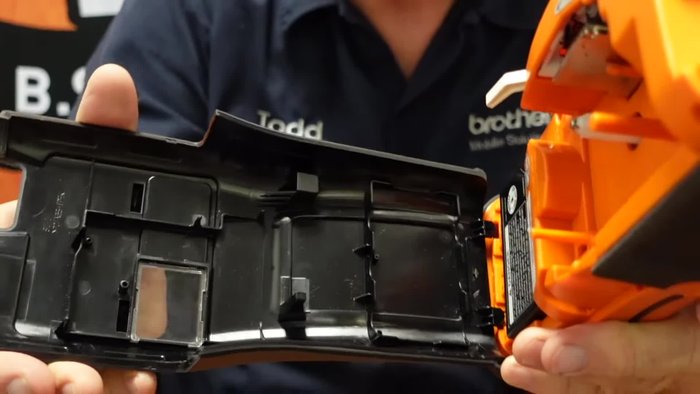
- Open the printer's back cover by depressing the latch and pulling outwards.

Open the Printer Position the Tape
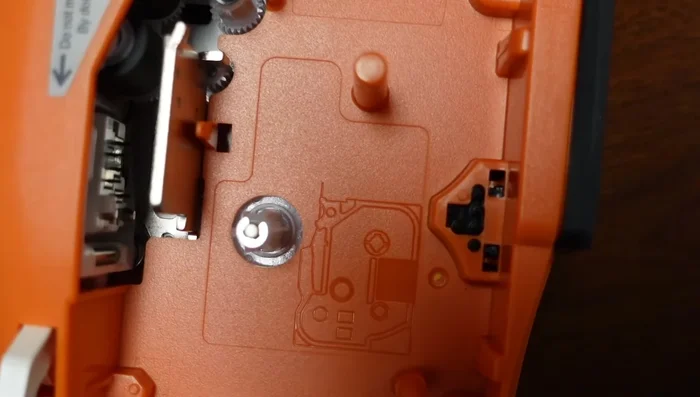
- Locate the cavity and pins; these align with the tape's holes.
- Ensure the open area faces left. Position the tape (TZe221, 3/8 inch recommended) with the bottom edge first.
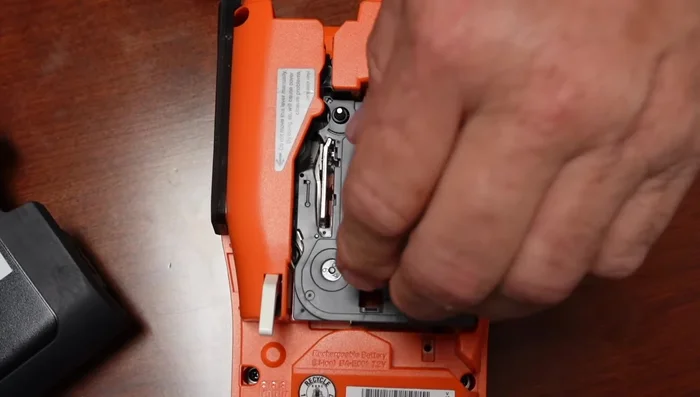
Position the Tape Insert and Secure the Tape
- Insert the tape, lining it up with the roller.
- Press firmly to secure the tape.
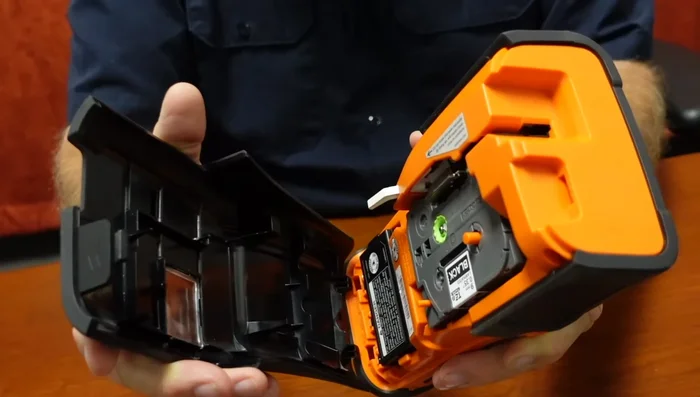
Insert and Secure the Tape Close the Printer
- Close the back cover; this activates the cap stand and pinch roller.
Close the Printer

Read more: Quick Fix: Reset Your Label Printer for Disconnect Issues
Tips
- Do not press the white tab that locks the tape; leave it alone.
- The 3/8 inch TZe221 tape is ideal for patch panels, face plates, and electrical equipment.