In today's digitally-driven world, personalized labeling has become easier than ever, thanks to the rise of compact thermal printers and user-friendly apps. The mBin thermal printer, with its intuitive companion app, empowers you to create stunning, customized labels and stickers for virtually any purpose – from organizing your pantry and craft supplies to adding a personal touch to your handmade gifts. Forget generic, bland labels; the possibilities are endless with the control and precision this printer offers. Imagine effortlessly designing and printing perfectly sized labels, quickly and efficiently, all from your smartphone or tablet.
This versatile technology opens doors to creativity and organization, but navigating the app might seem daunting at first. This guide provides a comprehensive, step-by-step walkthrough of the mBin thermal printer app, teaching you to master its features and unlock its full potential. Let's dive into the detailed instructions and discover how to create professional-looking labels and stickers in minutes.
Preparation and Safety Guidelines
- mBin Thermal Printer
- Smartphone with mBin App
- Always ensure the printer is properly connected to your device via Bluetooth or Wi-Fi before starting a print job. Connection issues are a common cause of printing problems.
- Use only mBin-approved labels and stickers with your thermal printer. Using incompatible materials can damage the print head or result in poor print quality.
- Never touch the thermal print head directly. The surface is delicate and can be easily damaged by fingerprints or other contaminants, affecting print quality.
Step-by-Step Instructions
Set up the Print Job
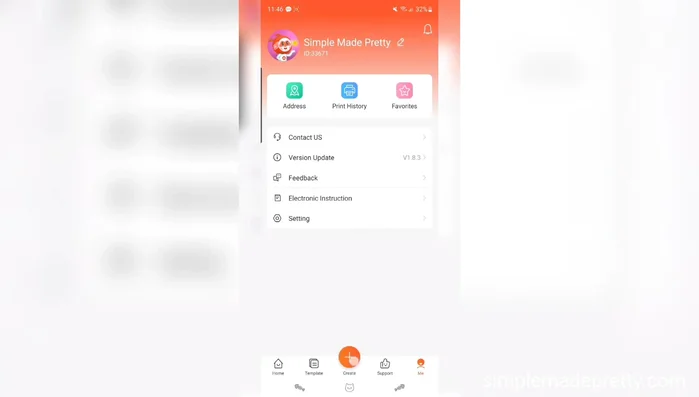
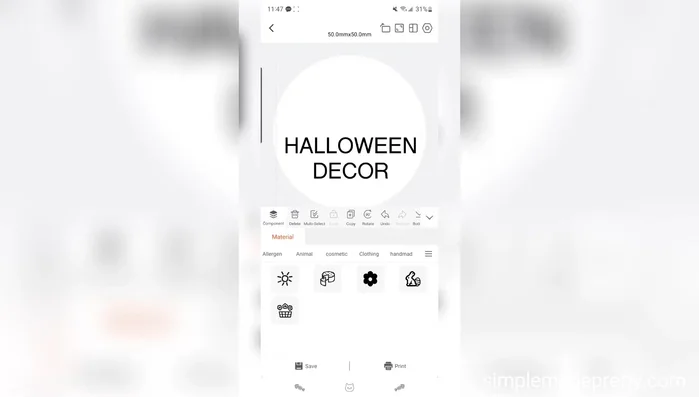
- Open the mBin app and tap the 'Create' button.
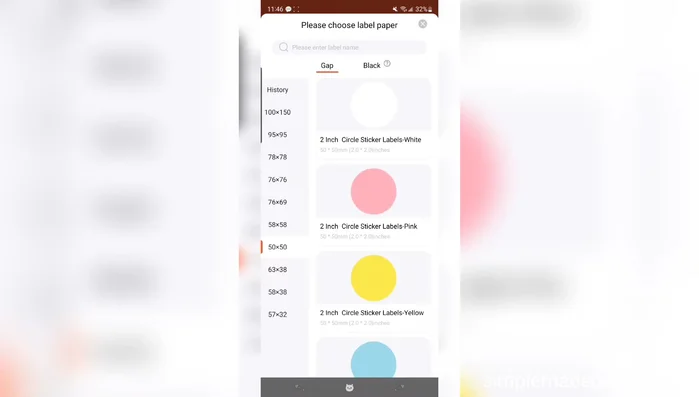
- Select the desired label type (e.g., 2in white sticker label for clear labels).
- Adjust the number of labels to print.

Set up the Print Job Design Your Label
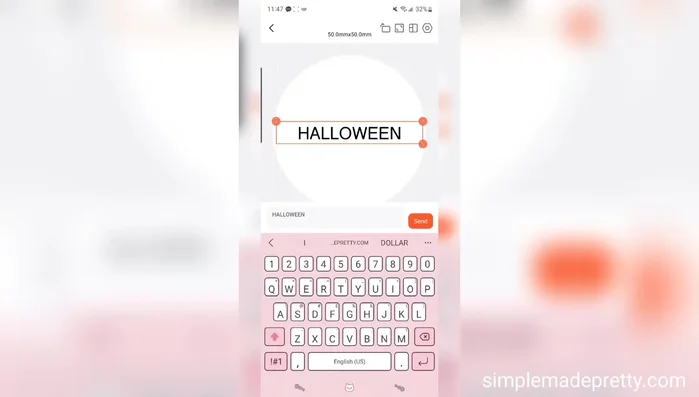
- Add text to your label, customize font, size, alignment, and spacing.
- Add icons or images from the app's library.
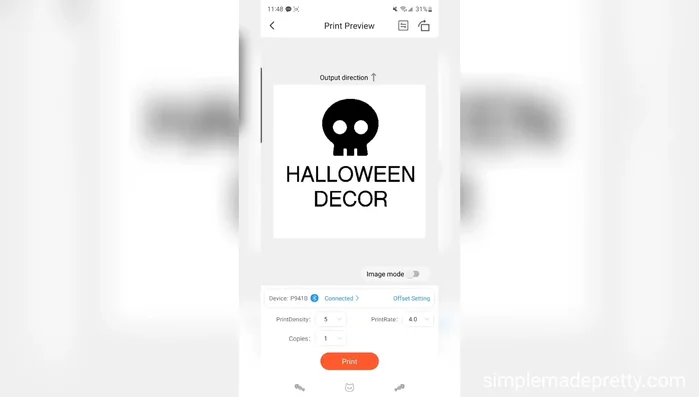
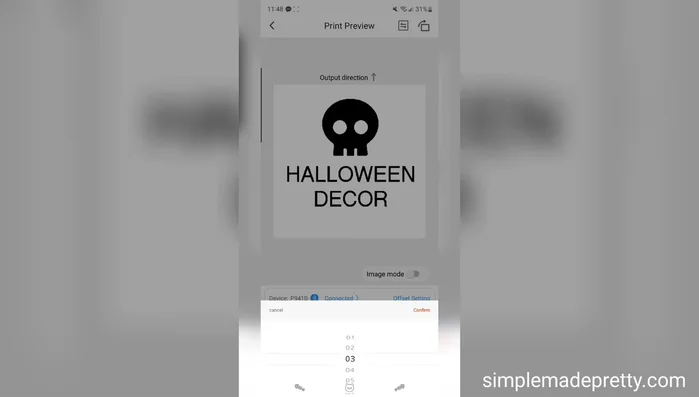
Design Your Label Print and Apply
- Tap the 'Print' button.
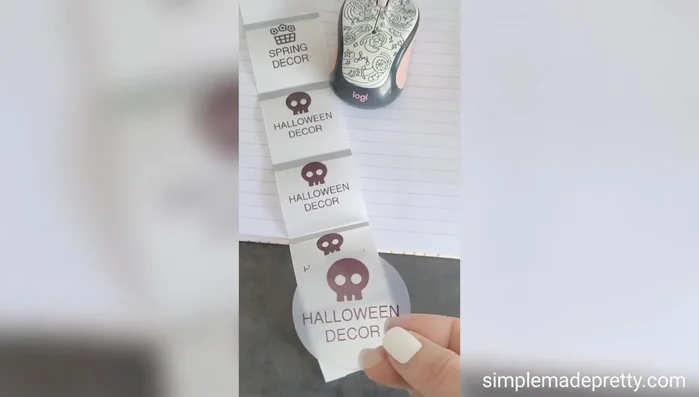
- Peel and apply the labels to your items.
Print and Apply
Read more: Quick Setup Guide: Beeper by 426 Thermal Label Printer (Windows & Mac)
Tips
- Save your designs for easy reuse.
- Use Canva or other design programs to create custom images and upload them to the app.
- Add barcodes, QR codes, dates, and other information to your labels as needed.
- Consider label placement for optimal visibility (e.g., multiple labels on storage bins).
- Download designs with transparent backgrounds for optimal results in the mBin app.