Running a small business is demanding, and efficient organization is crucial for success. Among the many operational aspects demanding attention, the packaging area often gets overlooked, leading to wasted time, increased errors, and ultimately, lost revenue. A chaotic packaging process can slow down order fulfillment, frustrate your team, and even damage your brand image. Imagine streamlined operations where every box, label, and filler is readily accessible, leading to faster shipping times and happier customers.
This ultimate guide provides a step-by-step process to transform your small business packaging area from disorganized chaos to a well-oiled machine. We’ll walk you through optimizing your space, implementing efficient storage solutions, and establishing streamlined workflows that will significantly boost your productivity and overall business efficiency. Let's get started on creating the packaging area your small business deserves.
Preparation and Safety Guidelines
- Storage Cubes
- Shipping Boxes
- Padded Envelopes
- E-wrap
- Tissue Paper
- Jewelry Boxes
- Spring Fill
- Envelopes
- Label Printer (DYMO 4XL)
- Acrylic Organizers
- Pegboards
- Scissors
- Polishing Cloths
- Water Activated Tape
- Tape Dispenser (thrifted)
- Glue (Loctite)
- Washi Tape
- Twine
- Stamps
- Ink Pad
- Muslin Cloths
- Double-sided Tape
- Waterproof Vinyl Stickers
- Command Hooks
- Macrame Hanging Organizer
- Always store packaging materials away from heat sources and direct sunlight to prevent warping, melting, or degradation. This is especially important for materials like plastic films and cardboard boxes.
- Keep your packaging area clean and well-ventilated to minimize the risk of fire hazards. Dispose of any damaged or flammable materials promptly and safely.
- Clearly label and organize hazardous materials like adhesives, inks, or cleaning solvents. Ensure you have proper safety data sheets (SDS) readily available and follow all safety guidelines for handling and storage.
Step-by-Step Instructions
Prepare the Packaging Area
- Designate a packing area near the front door for efficient order fulfillment.

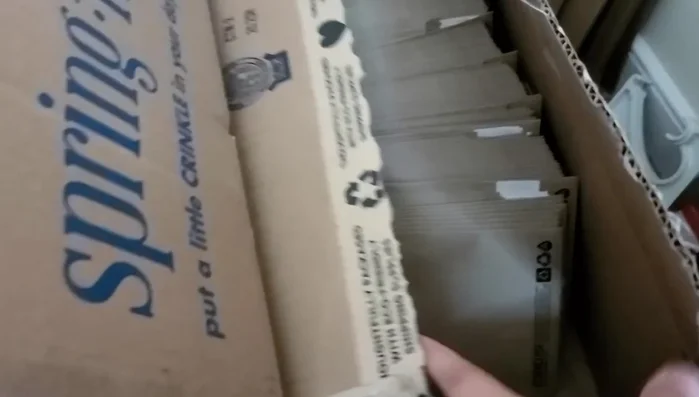
Prepare the Packaging Area Organize Shipping Supplies
- Reorganize your shipping supplies closet.
- Utilize storage cubes to organize shipping envelopes, boxes, spring fill, tissue paper, and jewelry boxes.
- Optimize space by arranging cubes in columns and rows, maximizing vertical space.
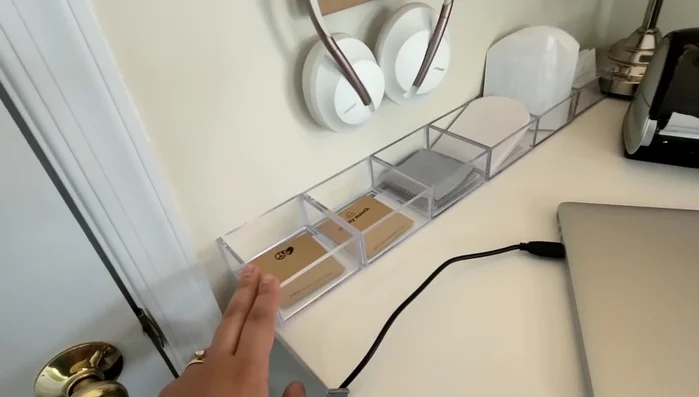
Organize Shipping Supplies Set up Packing Desk
- Set up your packing desk with essential supplies within easy reach.
- Organize small items like necklace cards, earring cards, polishing cloths, etc., using acrylic organizers.
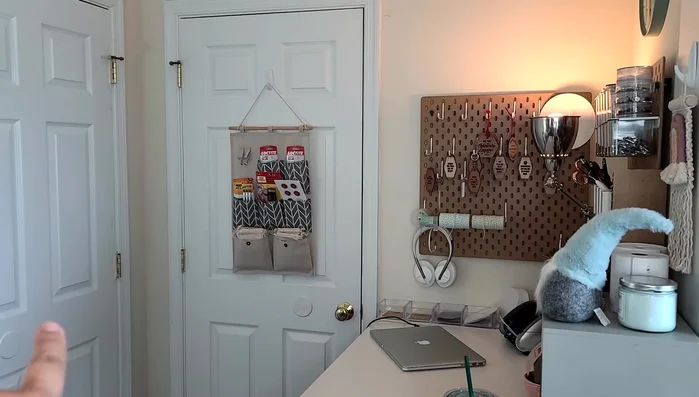
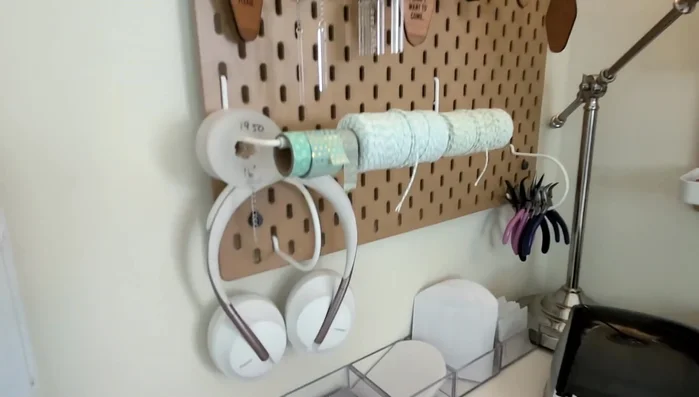
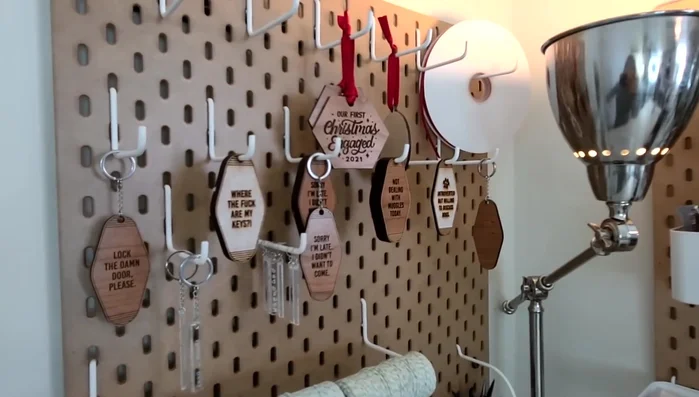
Set up Packing Desk Optimize Workspace with Pegboards
- Use pegboards to hang tools and frequently used items like headphones, pliers, washi tape, and twine.
Optimize Workspace with Pegboards Prepare for Order Fulfillment
- Keep ready-to-ship items easily accessible.
Prepare for Order Fulfillment
Read more: Creating FedEx Shipping Labels: A Step-by-Step Guide Using FedEx Ship Manager
Tips
- Use spring fill for fragile items and to fill voids in packaging.
- Source eco-friendly packaging materials made with recycled content from companies like EcoEnclose and Bags and Bows.
- Pre-cut tissue paper squares to efficiently fill voids in jewelry boxes.
- Use water-activated tape for a sustainable and efficient sealing method.
- Use a label printer (DYMO) to quickly print shipping labels and pre-cut the labels to avoid tearing. Consider sustainable shipping label paper that's fully recyclable.