Shipping labels: the unsung heroes of e-commerce, yet also a frequent source of frustration. Inefficient label creation can drain valuable time and resources, impacting your bottom line and customer satisfaction. Lost time spent manually creating and printing shipping labels translates directly to lost profits and increased stress. Are you spending more time wrestling with labels than focusing on growing your business? With Chibi Pro, you can streamline this crucial process and reclaim your valuable time. This powerful tool offers a range of features designed to optimize every stage of label generation, from address input to printing.
Chibi Pro's intuitive interface and automated features dramatically reduce the effort involved in producing accurate and professional-looking shipping labels. Say goodbye to manual data entry errors and hello to effortless label creation. Ready to discover how Chibi Pro can revolutionize your shipping workflow? Let's dive into a step-by-step guide that will show you exactly how to optimize your shipping label process using this innovative software.
Preparation and Safety Guidelines
- Always double-check all shipping information (address, recipient name, package weight/dimensions) before printing labels. Incorrect information can lead to delays or lost packages.
- Use high-quality printer and label stock for optimal scannability. Damaged or blurry labels can cause delivery issues.
- Keep a copy of all shipping labels and tracking information for your records. This is crucial for resolving potential problems and for accounting purposes.
Step-by-Step Instructions
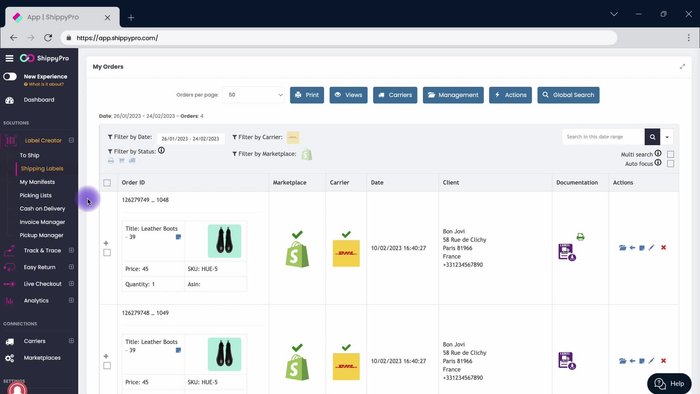
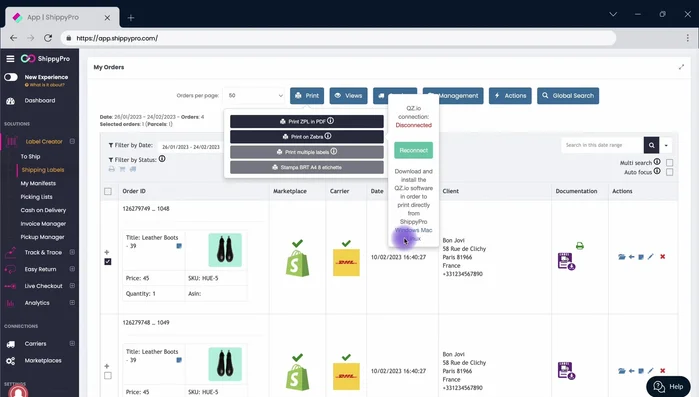
Set Up Label Printing
- Automatically print and customize shipping labels to align with your brand.
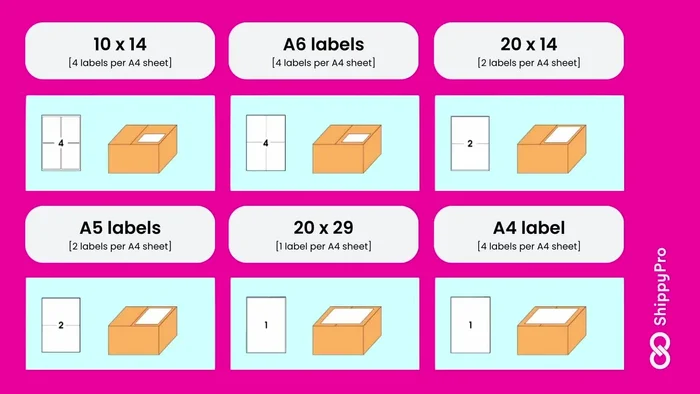
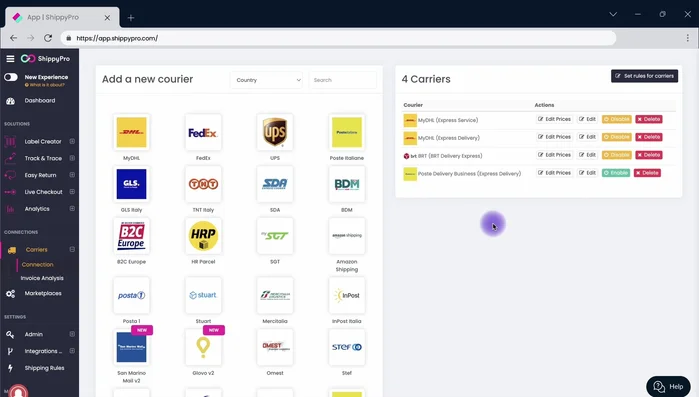
- Choose label types supported by your carrier's contract.
- Set up a thermal printer (optional) for CPL labels. Update your connection in the carrier section by clicking 'edit' next to your carrier connection. Define the desired label format.
- Download the QC tray app from the Shipping Pro platform to connect your thermal printer.

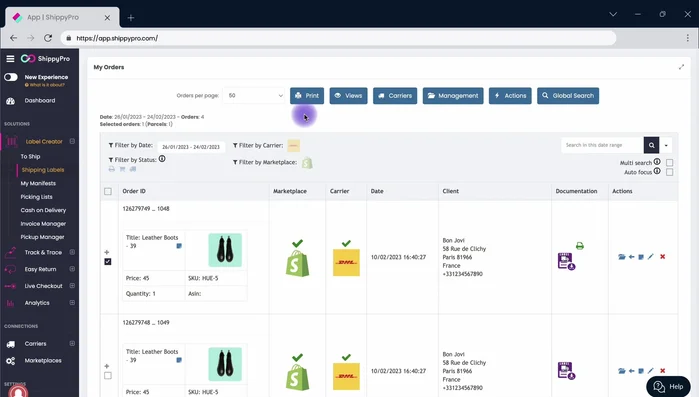
Set Up Label Printing - Refresh your labels after updating connection settings.
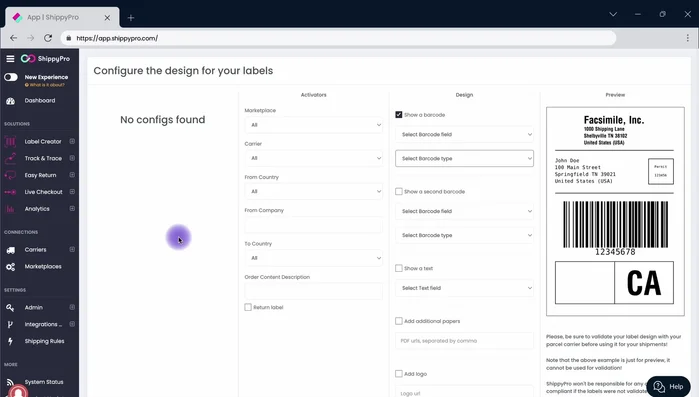
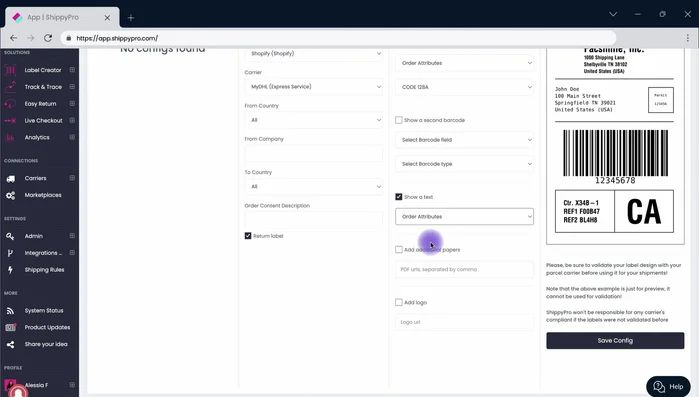
Set Up Label Printing Customize Label Design
- Customize label design using the label design functionality. Align it with your brand for easy customer recognition.
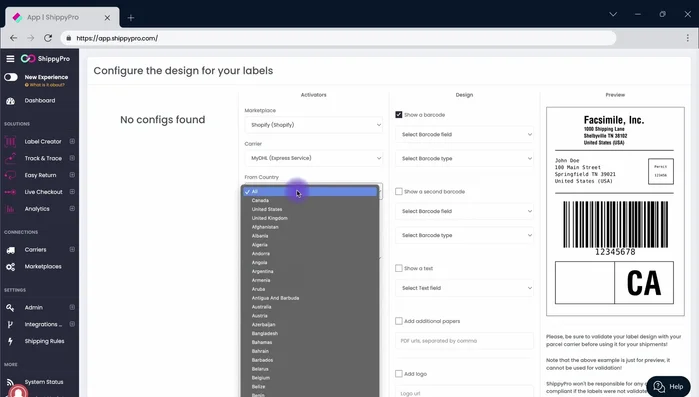
- Set rules (Marketplace, carrier, or country) for applying edits under the 'Activator' section.
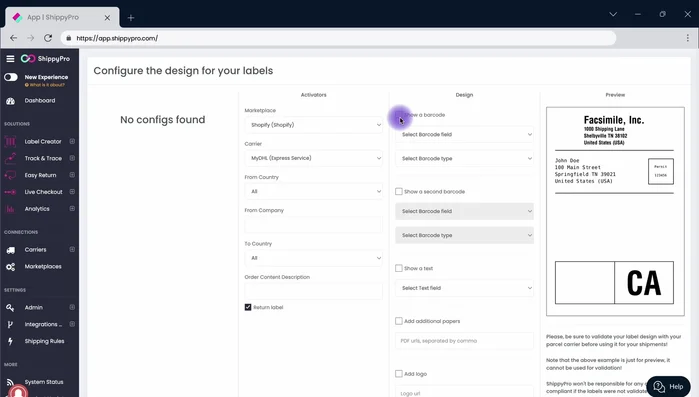
- Enable return label checkbox for return labels.
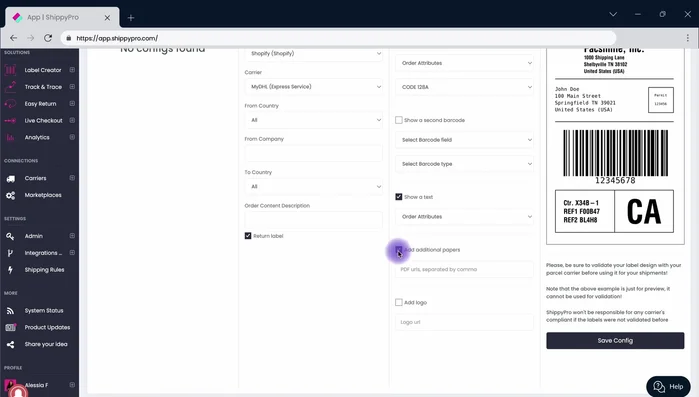
- Customize the design by selecting barcode features (order ID, order attributes). Choose the code type and add additional paper if needed.
Customize Label Design - Specify the URL of the PDF containing return instructions for customers.
- Add your logo by including the image URL.
- Check the preview before finalizing.
Customize Label Design


Read more: Creating FedEx Shipping Labels: A Step-by-Step Guide Using FedEx Ship Manager
Tips
- N/A