Are you tired of searching endlessly for your keys or sifting through piles of mail scattered across your entryway table? A cluttered entryway can instantly create a feeling of chaos, impacting your daily routine and overall sense of calm. This simple DIY project offers a stylish and functional solution: a mail organizer and key holder crafted from readily available foam board. This inexpensive and surprisingly durable craft requires minimal tools and skills, making it perfect for beginners and seasoned DIY enthusiasts alike. Forget expensive, store-bought organizers that often lack personalization and may not perfectly suit your space.
This guide provides a clear and concise step-by-step process for constructing your own custom foam board mail organizer and key holder. From cutting and shaping the foam board to adding decorative elements, we'll walk you through each stage, ensuring you create a beautiful and practical addition to your home that reflects your personal style. Let's get started!
Preparation and Safety Guidelines
- Thick foam board
- Hot glue gun
- Acrylic paints (brown and golden)
- Wall hooks
- 2-inch T pins
- Always use a sharp utility knife or craft blade when cutting foam board. Adult supervision is required, especially when children are involved, to prevent injuries.
- Ensure adequate ventilation when using spray adhesive or other strong-smelling products. Work in a well-ventilated area or wear a respirator.
- Use caution when applying adhesive. Avoid getting it on your skin or clothing. Follow the manufacturer's instructions for the specific adhesive used.
Step-by-Step Instructions
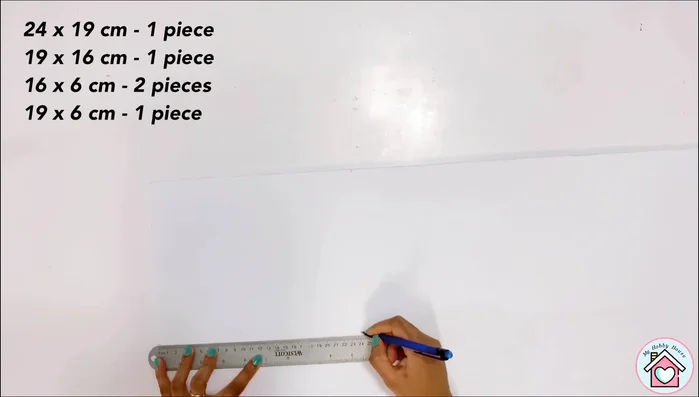
Prepare Foam Board Pieces
- Measure and cut the foam board according to the sizes shown in the video (start with the top piece)
- Measure and cut a smaller piece for the top, creating the shape as shown in the video.

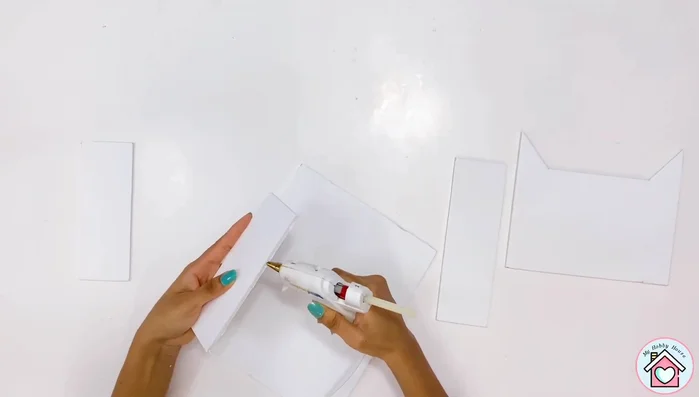
Prepare Foam Board Pieces Assemble the Mail Organizer
- Attach all the foam board pieces using a hot glue gun.
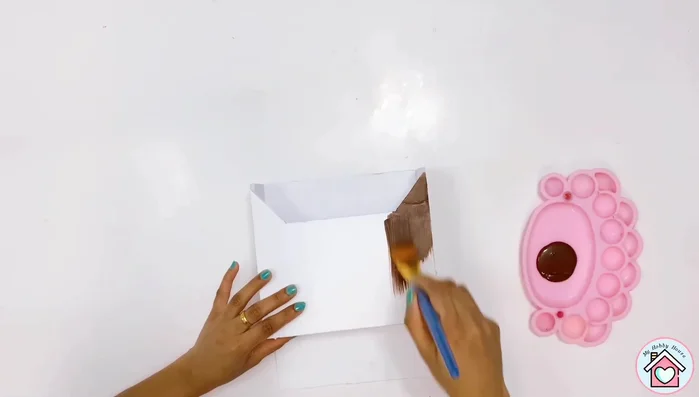
Assemble the Mail Organizer Paint the Mail Organizer
- Paint the entire mail organizer with brown acrylic paint.
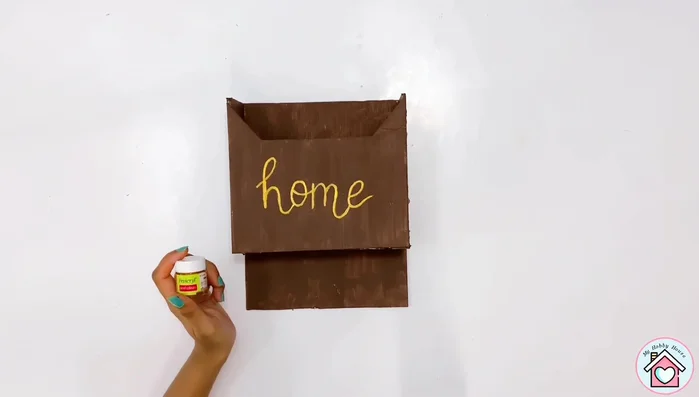
- Paint the word "Home" (or any desired word) using golden acrylic paint.
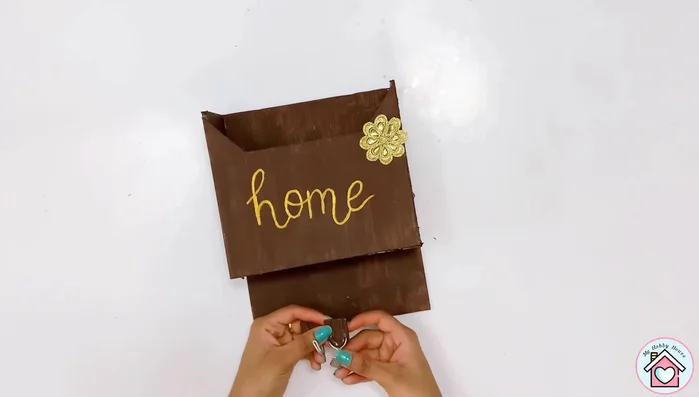
Paint the Mail Organizer Prepare and Attach Key Holders
- Paint the wall hooks with brown acrylic paint.
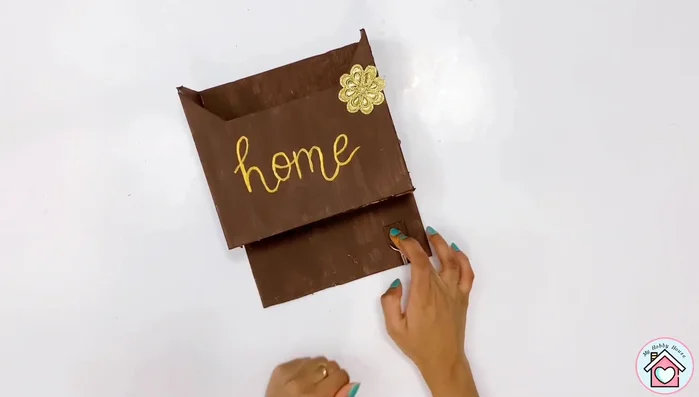
- Attach the wall hooks to the bottom of the mailbox using a hot glue gun for key holders.
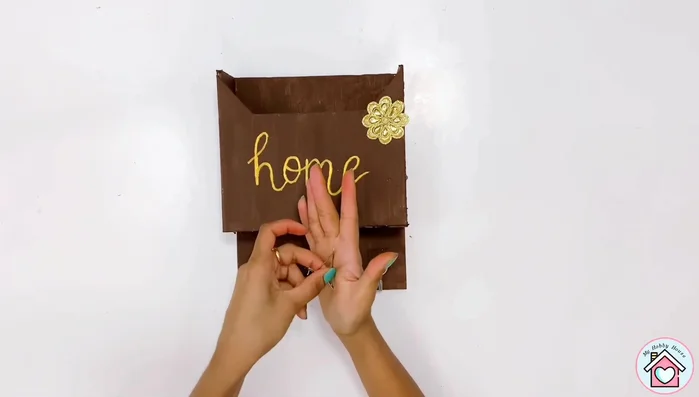
Prepare and Attach Key Holders Mount the Mail Organizer
- Use 2-inch T pins to attach the mailbox to the wall.
Mount the Mail Organizer
Read more: Conquer Your Inbox: The Action-Based Email Management System in Outlook
Tips
- Use a thick foam board for durability. It can last over a year.