Tired of a boring, generic mailbox? Yearning for a touch of rustic charm to enhance your home's curb appeal? Then look no further! This free and easy tutorial will guide you through the process of crafting your own unique rustic pallet wood mail holder. Using readily available and inexpensive materials, you can transform discarded pallets into a beautiful and functional addition to your front porch or driveway. This project is perfect for beginners, requiring minimal tools and expertise, resulting in a personalized piece you'll be proud to display.
Forget expensive store-bought mailboxes and embrace the satisfaction of creating something beautiful with your own two hands. This DIY project is not only budget-friendly but also environmentally conscious, giving new life to recycled materials. We'll walk you step-by-step through the entire process, from sourcing your pallets to the final finishing touches. Ready to get started? Let's dive into the detailed instructions below!
Preparation and Safety Guidelines
- Pallet wood
- Jigsaw
- Miter saw
- Brad nailer
- Sandpaper
- Speed square
- Spar urethane (optional)
- Blank keys (optional)
- Always wear safety glasses when sawing, sanding, or hammering to protect your eyes from wood splinters and debris.
- Use caution when handling nails and screws to avoid injury. Consider pre-drilling holes to prevent wood splitting.
- Ensure the pallet wood is properly cleaned and free of any harmful substances before handling and crafting. Wear gloves if you are concerned about splinters or potential chemical exposure.
Step-by-Step Instructions
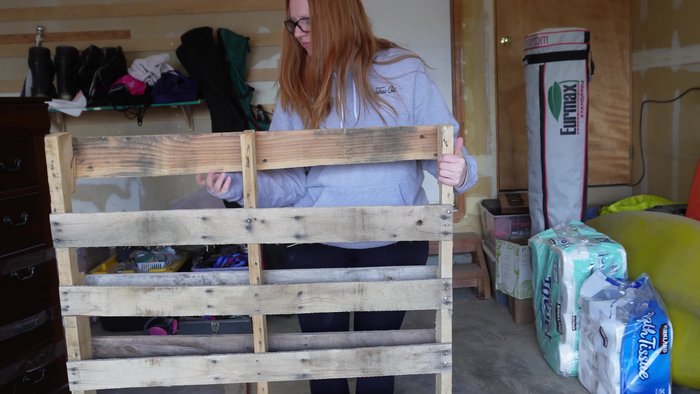
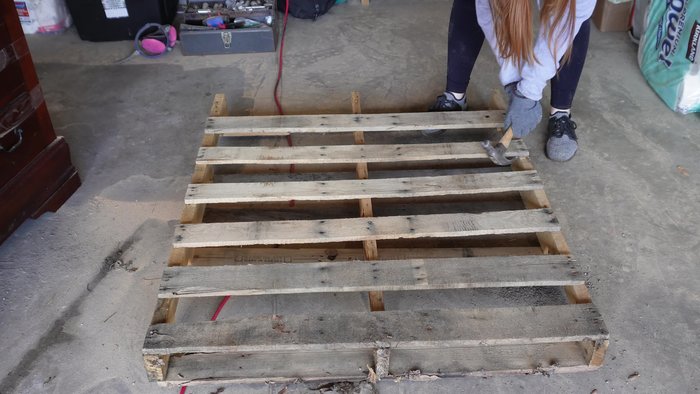
Source and Prepare Pallet Wood
- Source free pallet wood (e.g., Facebook Marketplace).
- Disassemble the pallet using a jigsaw (more efficient than a hammer).
- Cut pallet wood pieces to desired lengths.

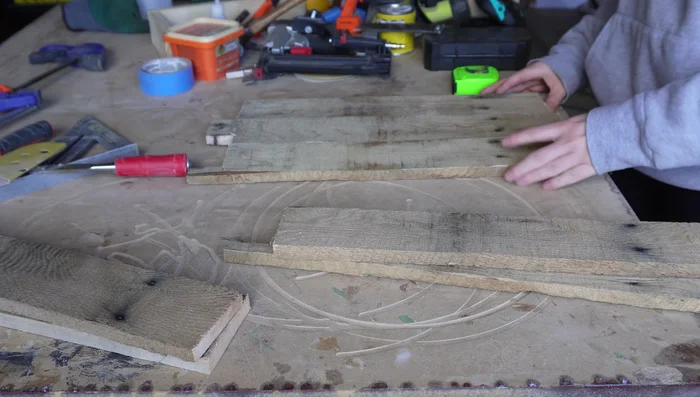
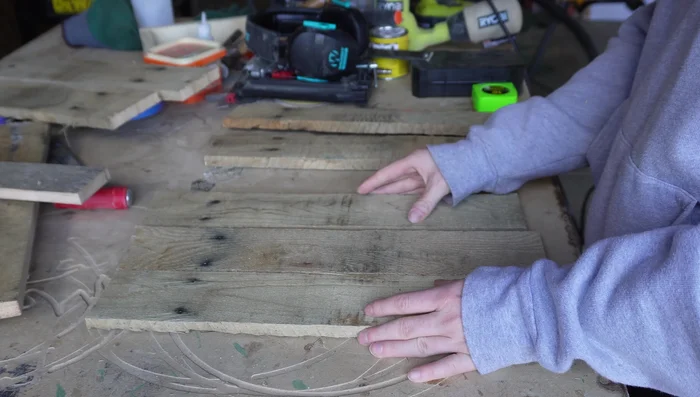
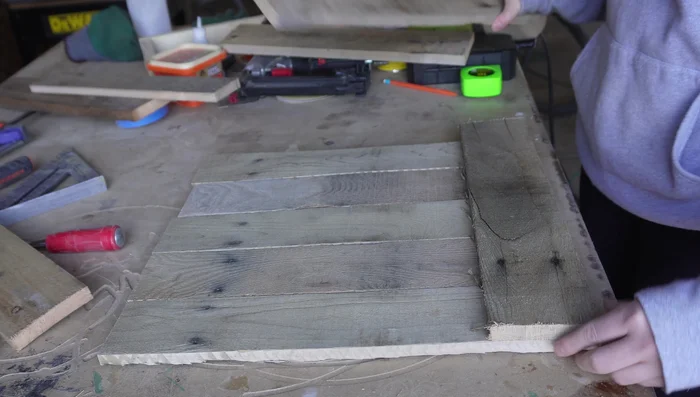
Source and Prepare Pallet Wood Design and Dry-Fit
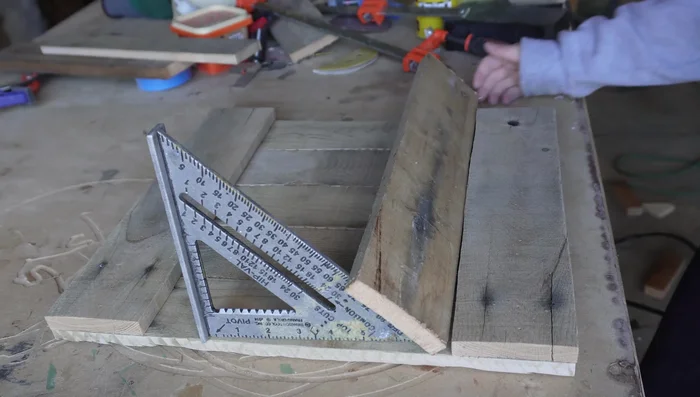
- Arrange and dry-fit the wood pieces to determine the best arrangement.
Design and Dry-Fit Cut Support Pieces
- Cut and add top and bottom support pieces to hold the structure together.
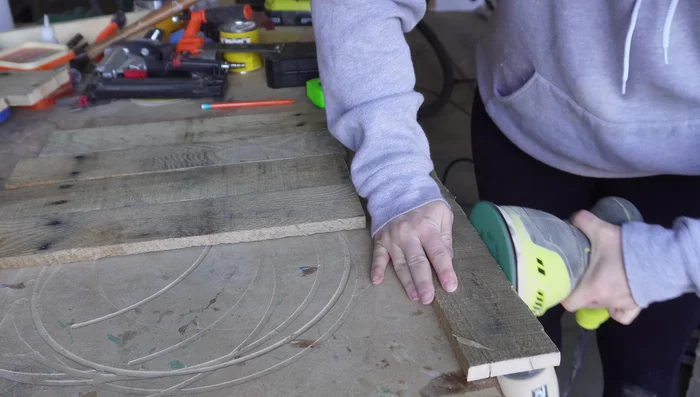
Cut Support Pieces Sand and Prepare for Assembly
- Sand the wood pieces to smooth out rough edges and splinters.
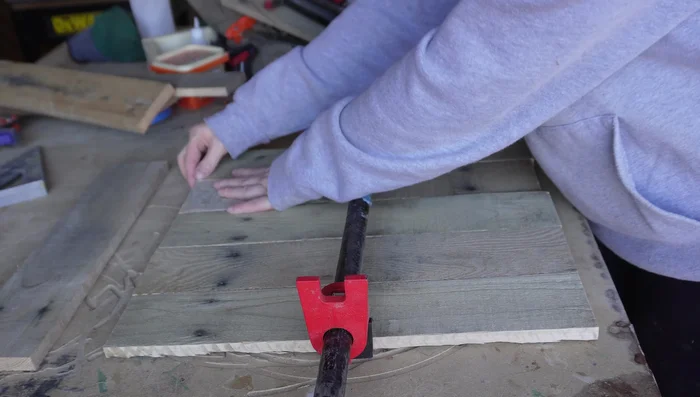
Sand and Prepare for Assembly Assemble the Main Body
- Clamp the pieces together and attach them using a brad nailer.
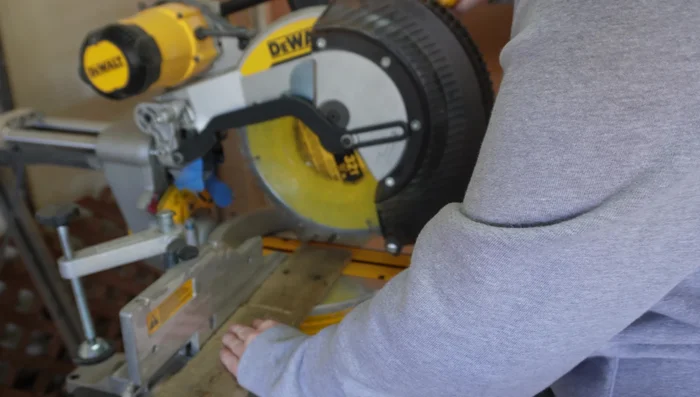
Assemble the Main Body Cut and Attach Mail Slot
- Cut the angled pieces for the mail slot using a miter saw set to 45 degrees.
- Assemble the mail slot by attaching the angled pieces to the main body with a brad nailer.
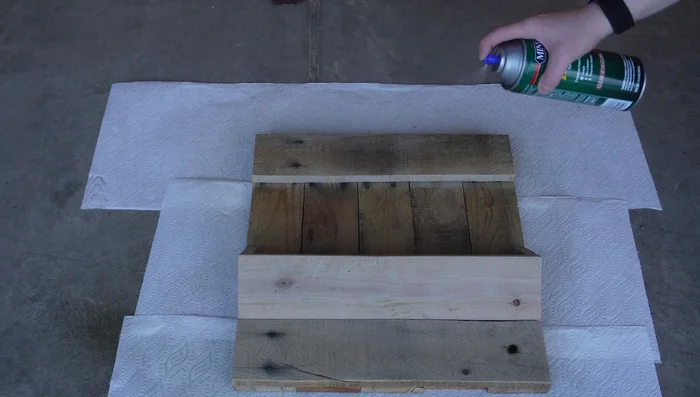
Cut and Attach Mail Slot Finish and Seal
- Apply a sealant (e.g., Spar urethane) for a smooth finish and protection.
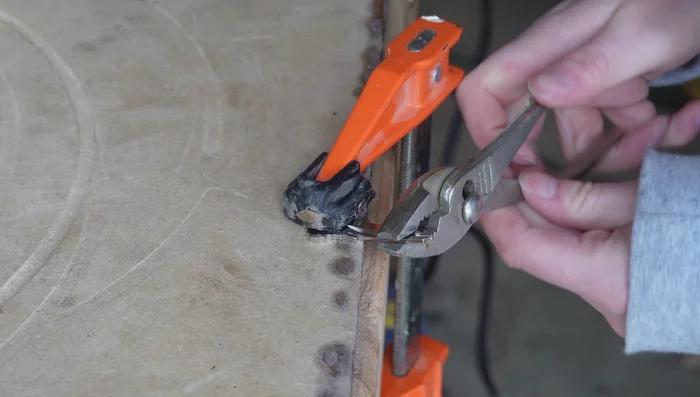
Finish and Seal Add Key Hooks (Optional)
- Attach key hooks to the mail holder (requires careful bending of blank keys).
Add Key Hooks (Optional)
Read more: Conquer Your Inbox: The Action-Based Email Management System in Outlook
Tips
- Use a jigsaw to quickly and efficiently disassemble the pallet.
- Dry-fitting the pieces before attaching them is crucial for a good fit.
- Take your time and be careful when bending the blank keys for the hooks.
- Applying a sealant helps to smooth the finish and protect the wood.