Full-bleed labels, with vibrant colors extending to the very edge of the sticker, offer a powerful and eye-catching way to enhance your products and branding. Achieving this professional look, however, requires careful design and printing techniques. Many label printers struggle to handle this type of print job effectively, leading to frustrating results. But with the Primera Technology LX801 color label printer, creating stunning, full-bleed labels is surprisingly straightforward. This powerful little machine offers exceptional print quality and precise control, making it the ideal choice for both small businesses and larger enterprises.
This guide will walk you through the entire process of designing and printing full-bleed labels using the LX801 color label printer, from initial design considerations to final printing. Let's dive into a step-by-step process that will enable you to produce professional-quality, full-bleed labels that will make your products stand out from the crowd.
Preparation and Safety Guidelines
- L801 Color Label Printer
- Pre-die cut media
- Continuous and black marked label stock
- Rewinder
- Always ensure the label material is compatible with the L801 printer. Using incompatible materials can damage the printer or produce poor print quality.
- Before printing full-bleed labels, carefully check your design's bleed settings in your design software. Insufficient bleed will result in white borders on your printed labels.
- Never attempt to force the label material into the printer. If it jams, immediately turn off the printer and follow the instructions in the user manual for clearing jams. Forcibly removing jammed material could damage the printer's internal components.
Step-by-Step Instructions
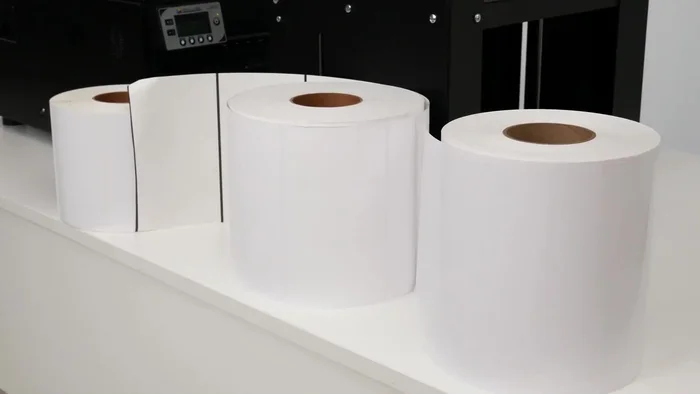
Load Label Roll
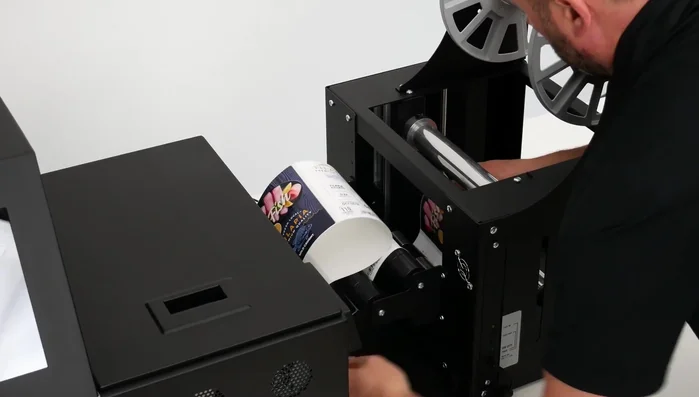
- Load the label roll into the printer. Guide the roll under the dancer arm and feed it into the back of the printer.

Load Label Roll Align Label Stock
- Adjust the guide to align the label stock for straight printing.
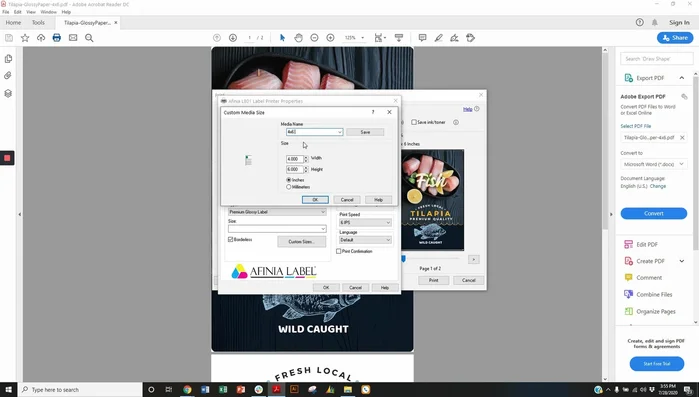
Align Label Stock Configure Printer for Full Bleed
- Create a custom page size in your printer settings for full bleed printing (e.g., 4.04 inches wide x 6.04 inches tall for a 4x6 label).
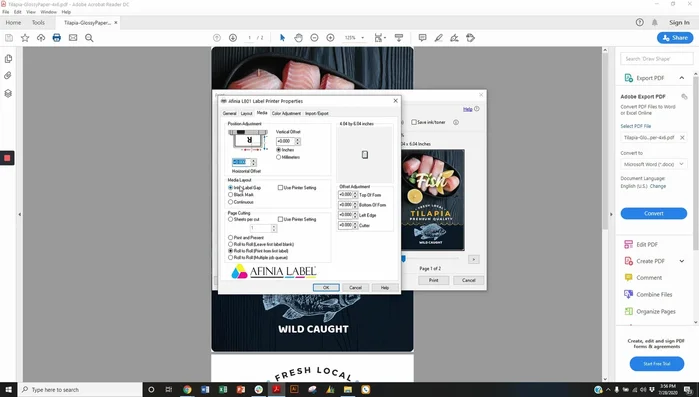
- Set the inter-label gap setting for sensor detection. Use horizontal offset (-0.05 inches) and top/bottom of form settings (+0.04 inches, -0.06 inches) to prevent ink bleeding onto the liner and achieve full bleed.
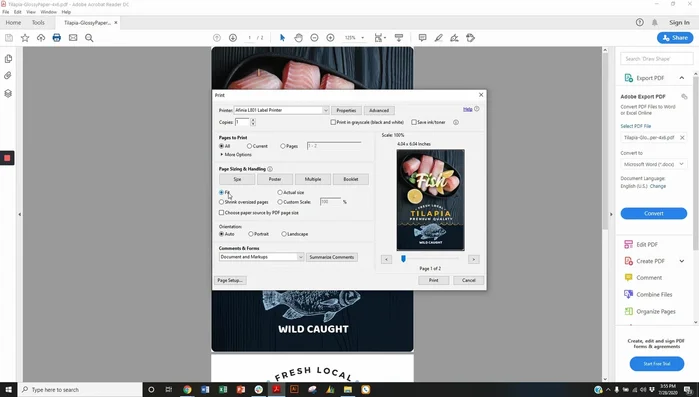
Configure Printer for Full Bleed Prepare PDF for Full Bleed Printing
- In your PDF software, select 'Fit to actual size' to ensure the artwork fills the custom page size.
Prepare PDF for Full Bleed Printing Test Print and Adjust
- Send a test print and adjust settings as needed.
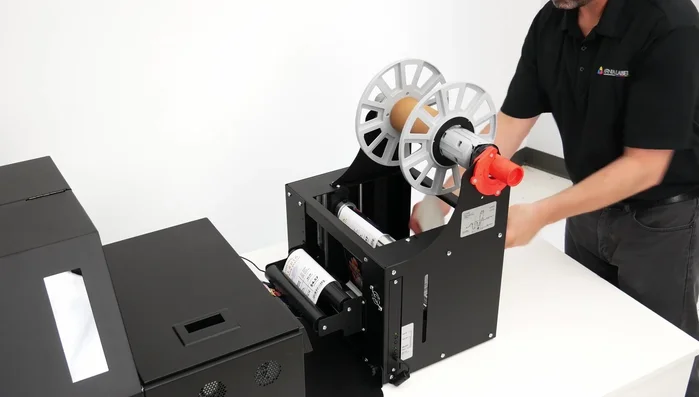
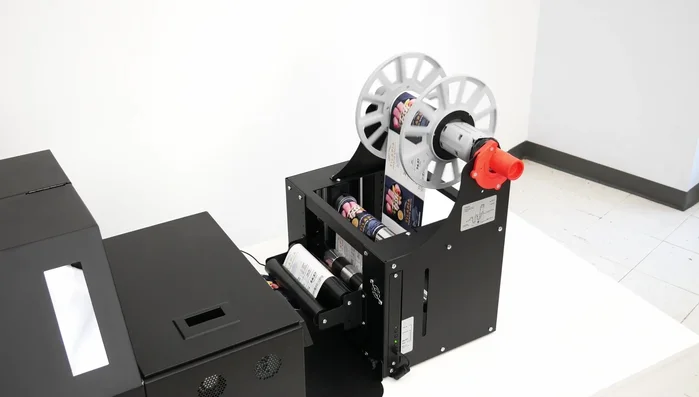
Test Print and Adjust Set Up Rewinder
- Set up the rewinder, ensuring proper paper path as indicated on the rewinder.
- Attach the rewinder core and start the rewinder.
Set Up Rewinder Print Labels
- Unpause the printer to begin printing.
Print Labels


Read more: Quick Fix: Reset Your Label Printer for Disconnect Issues
Tips
- Using a 4x6 page setting alone won't give you full bleed; you need a custom, slightly larger page size.
- The horizontal offset adjustment helps center the image on the label, preventing over-bleeding.
- Fine-tune top and bottom of form settings to control the ink's reach to the edges of the label.
- The pause button allows for setup of the rewinder and prevents wasted material.